We've grilled / smoked chili now several times. Every time we add something different. We make a large amount so we can freeze it. We bring out the chili goodness while watching football on TV or just a lazy day of not cooking. Our last batch of chili went together like this:
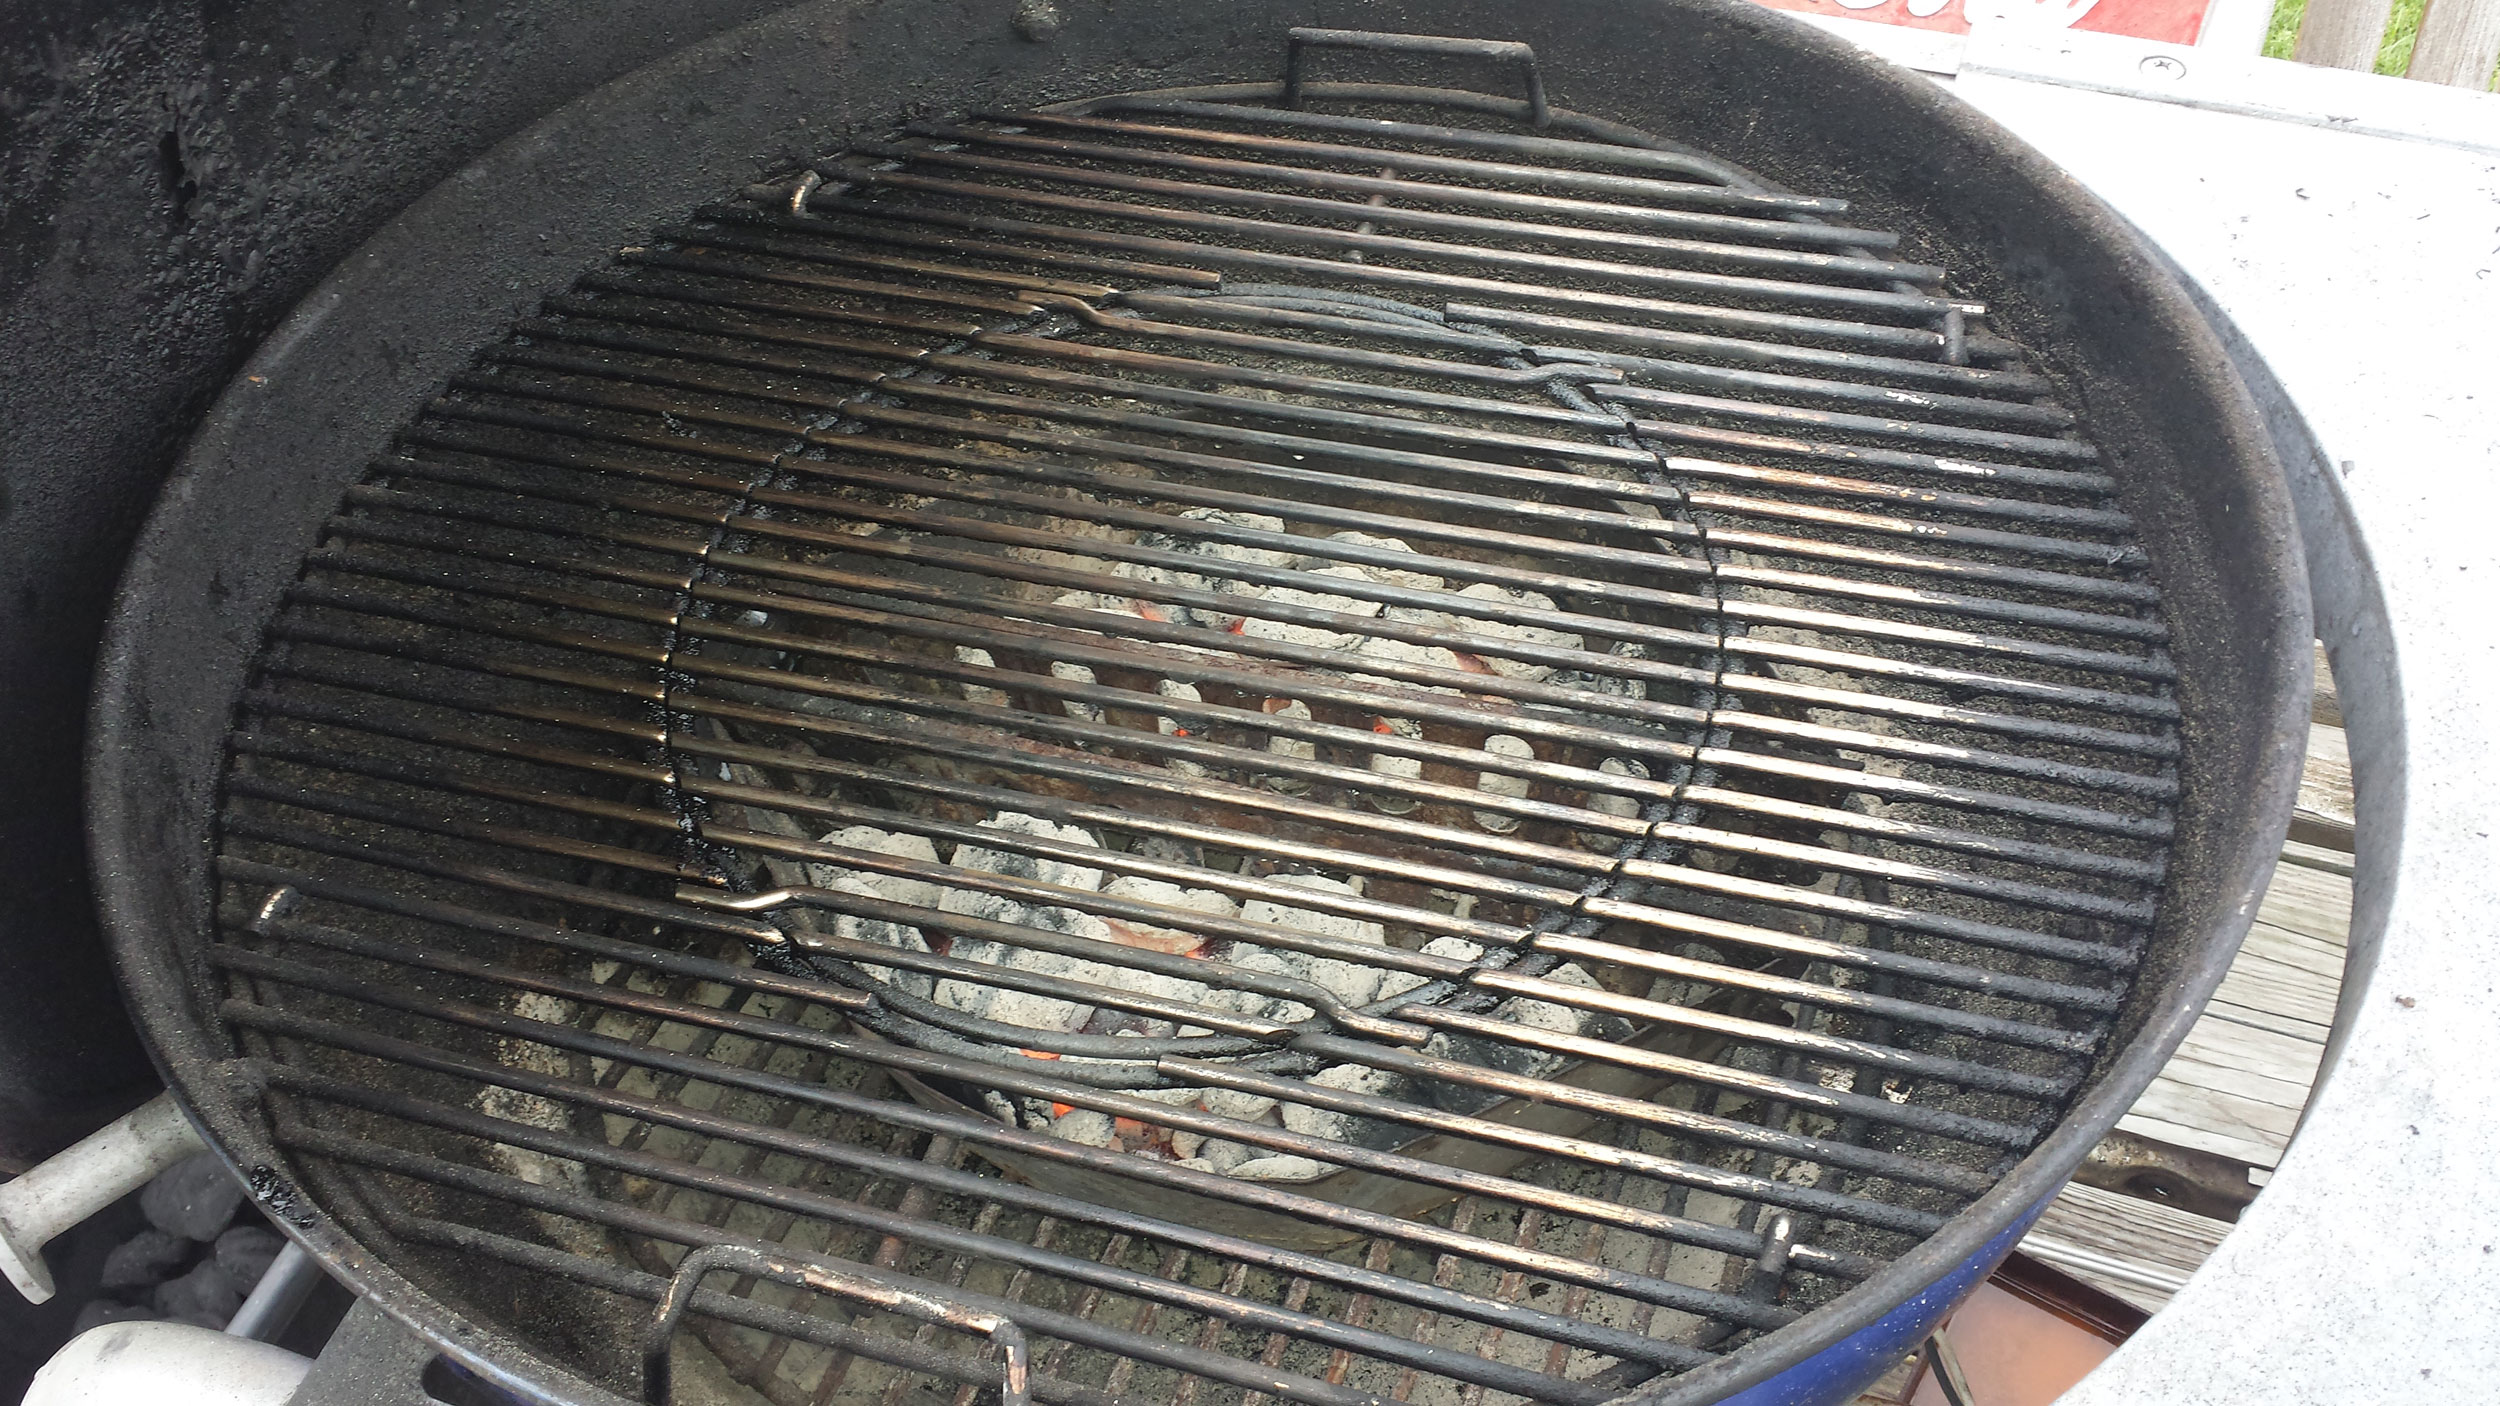
Getting the grill started.

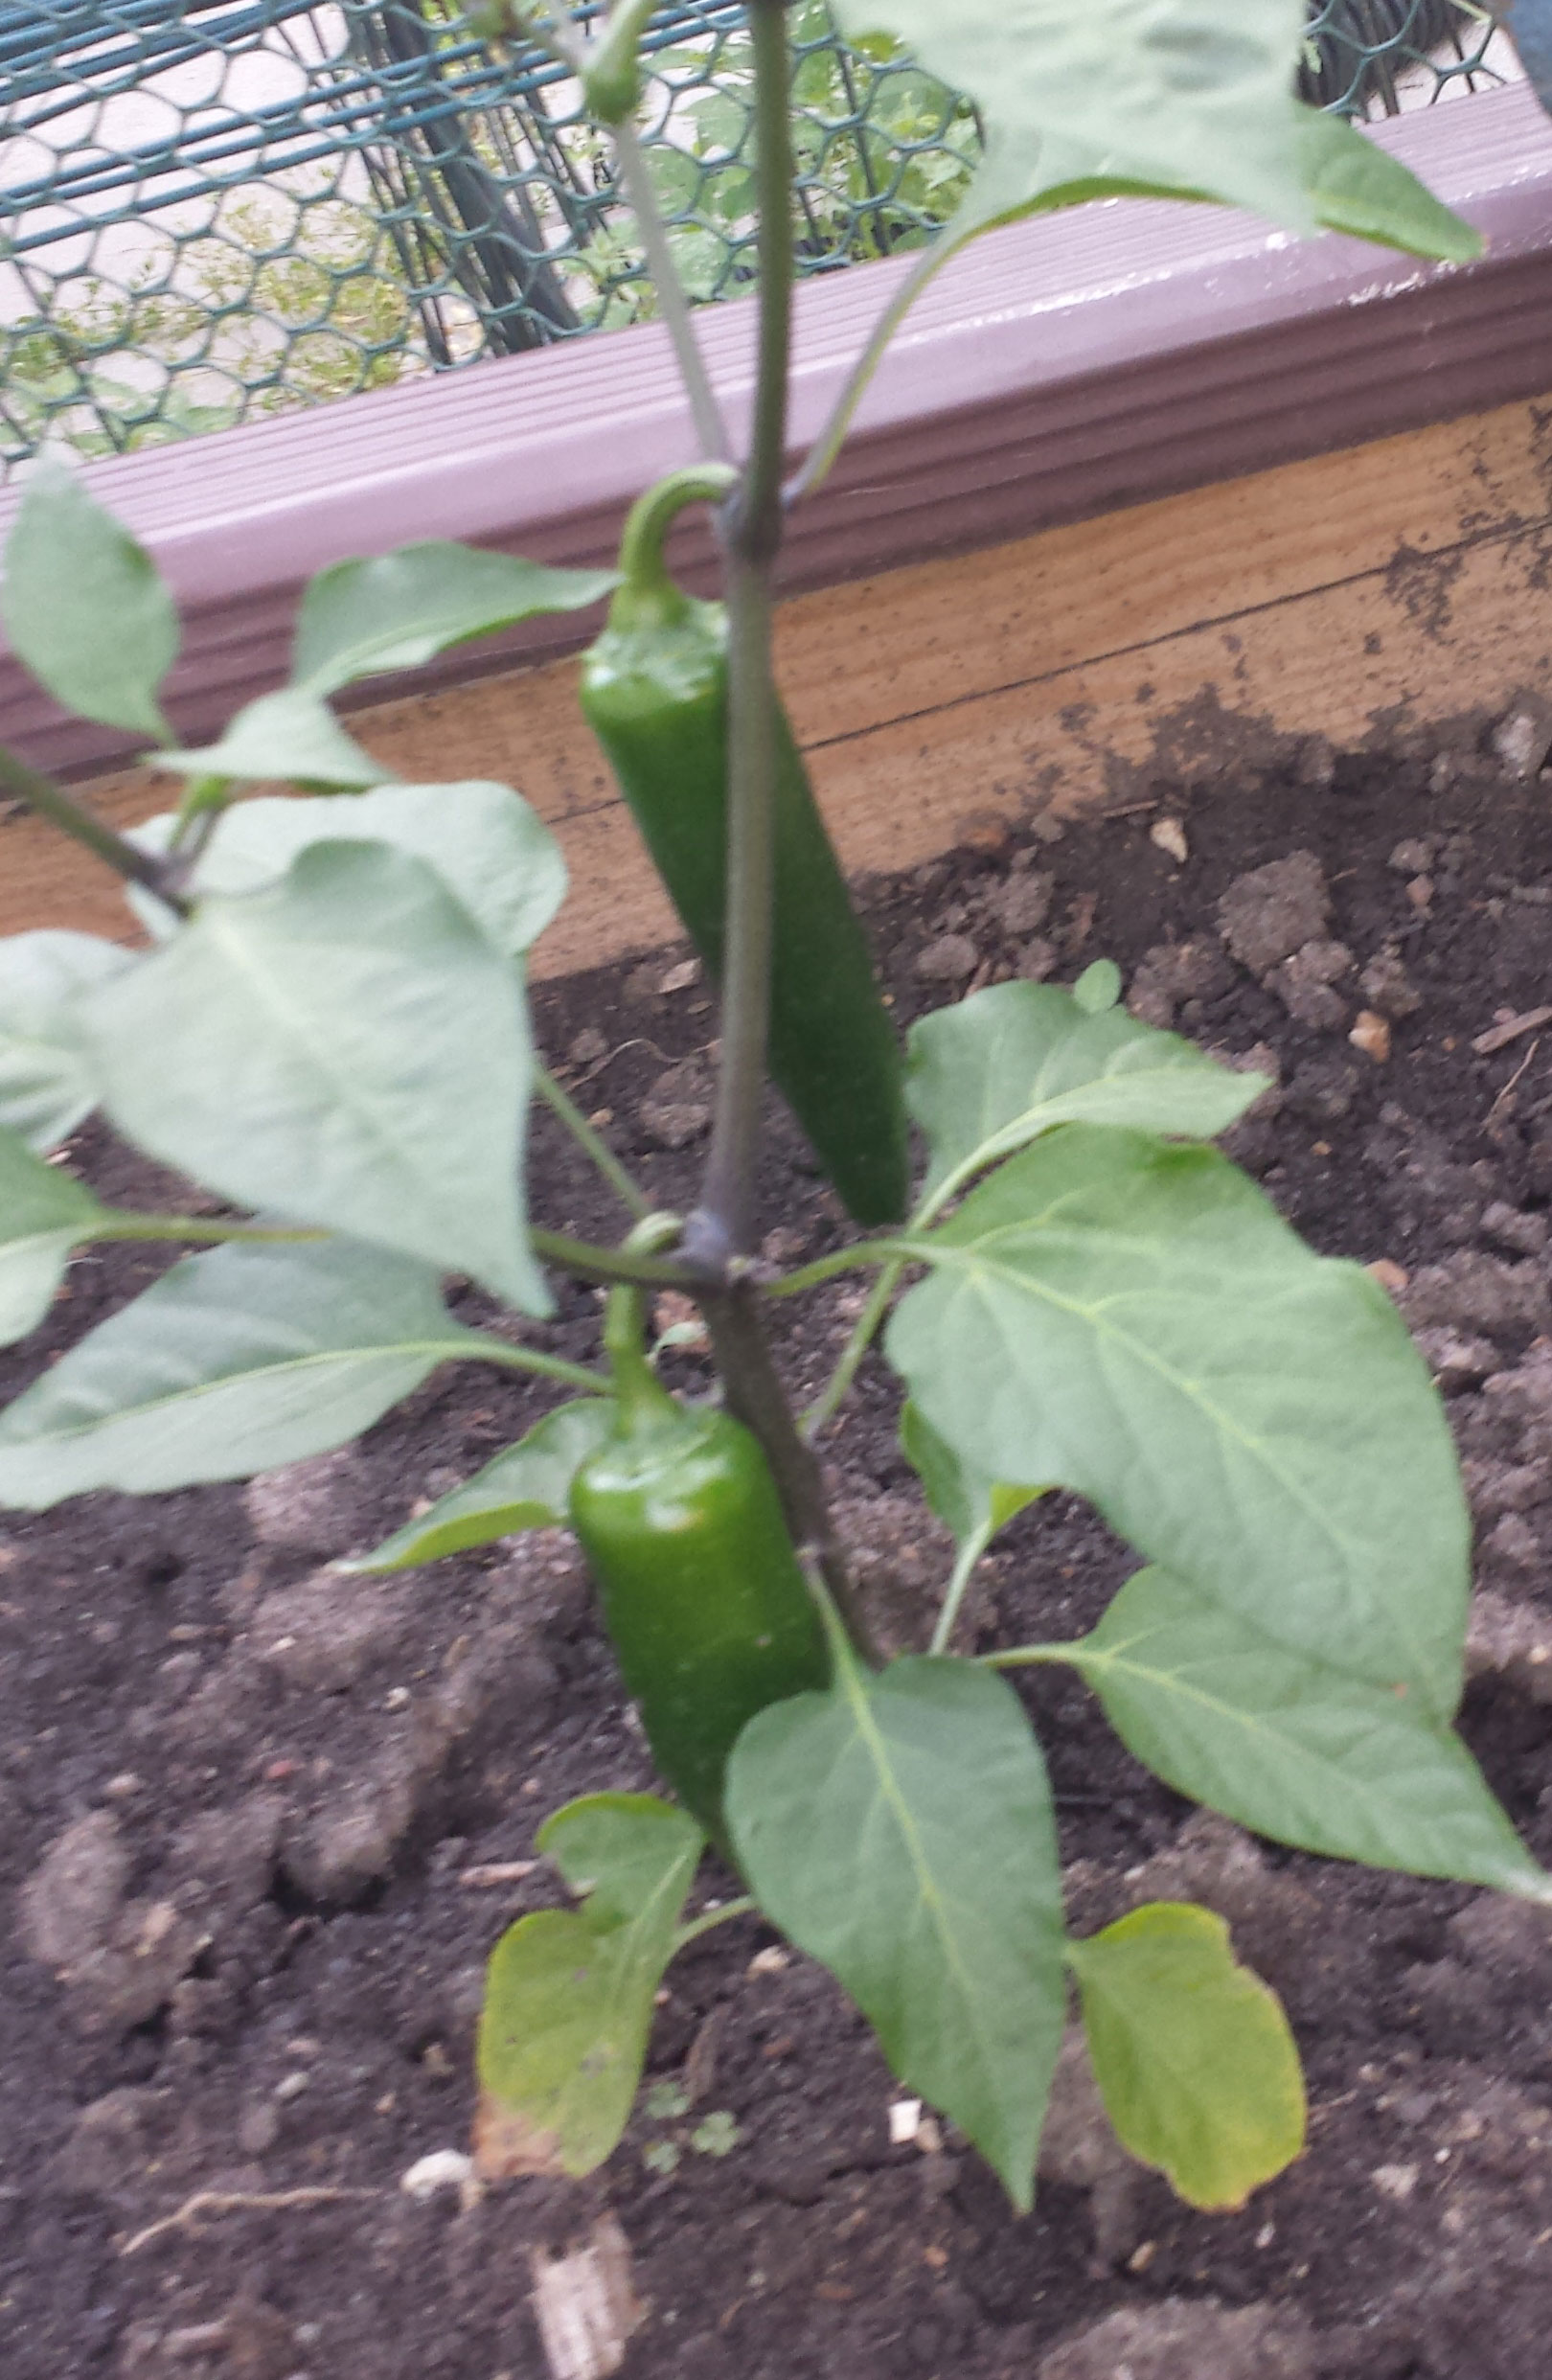
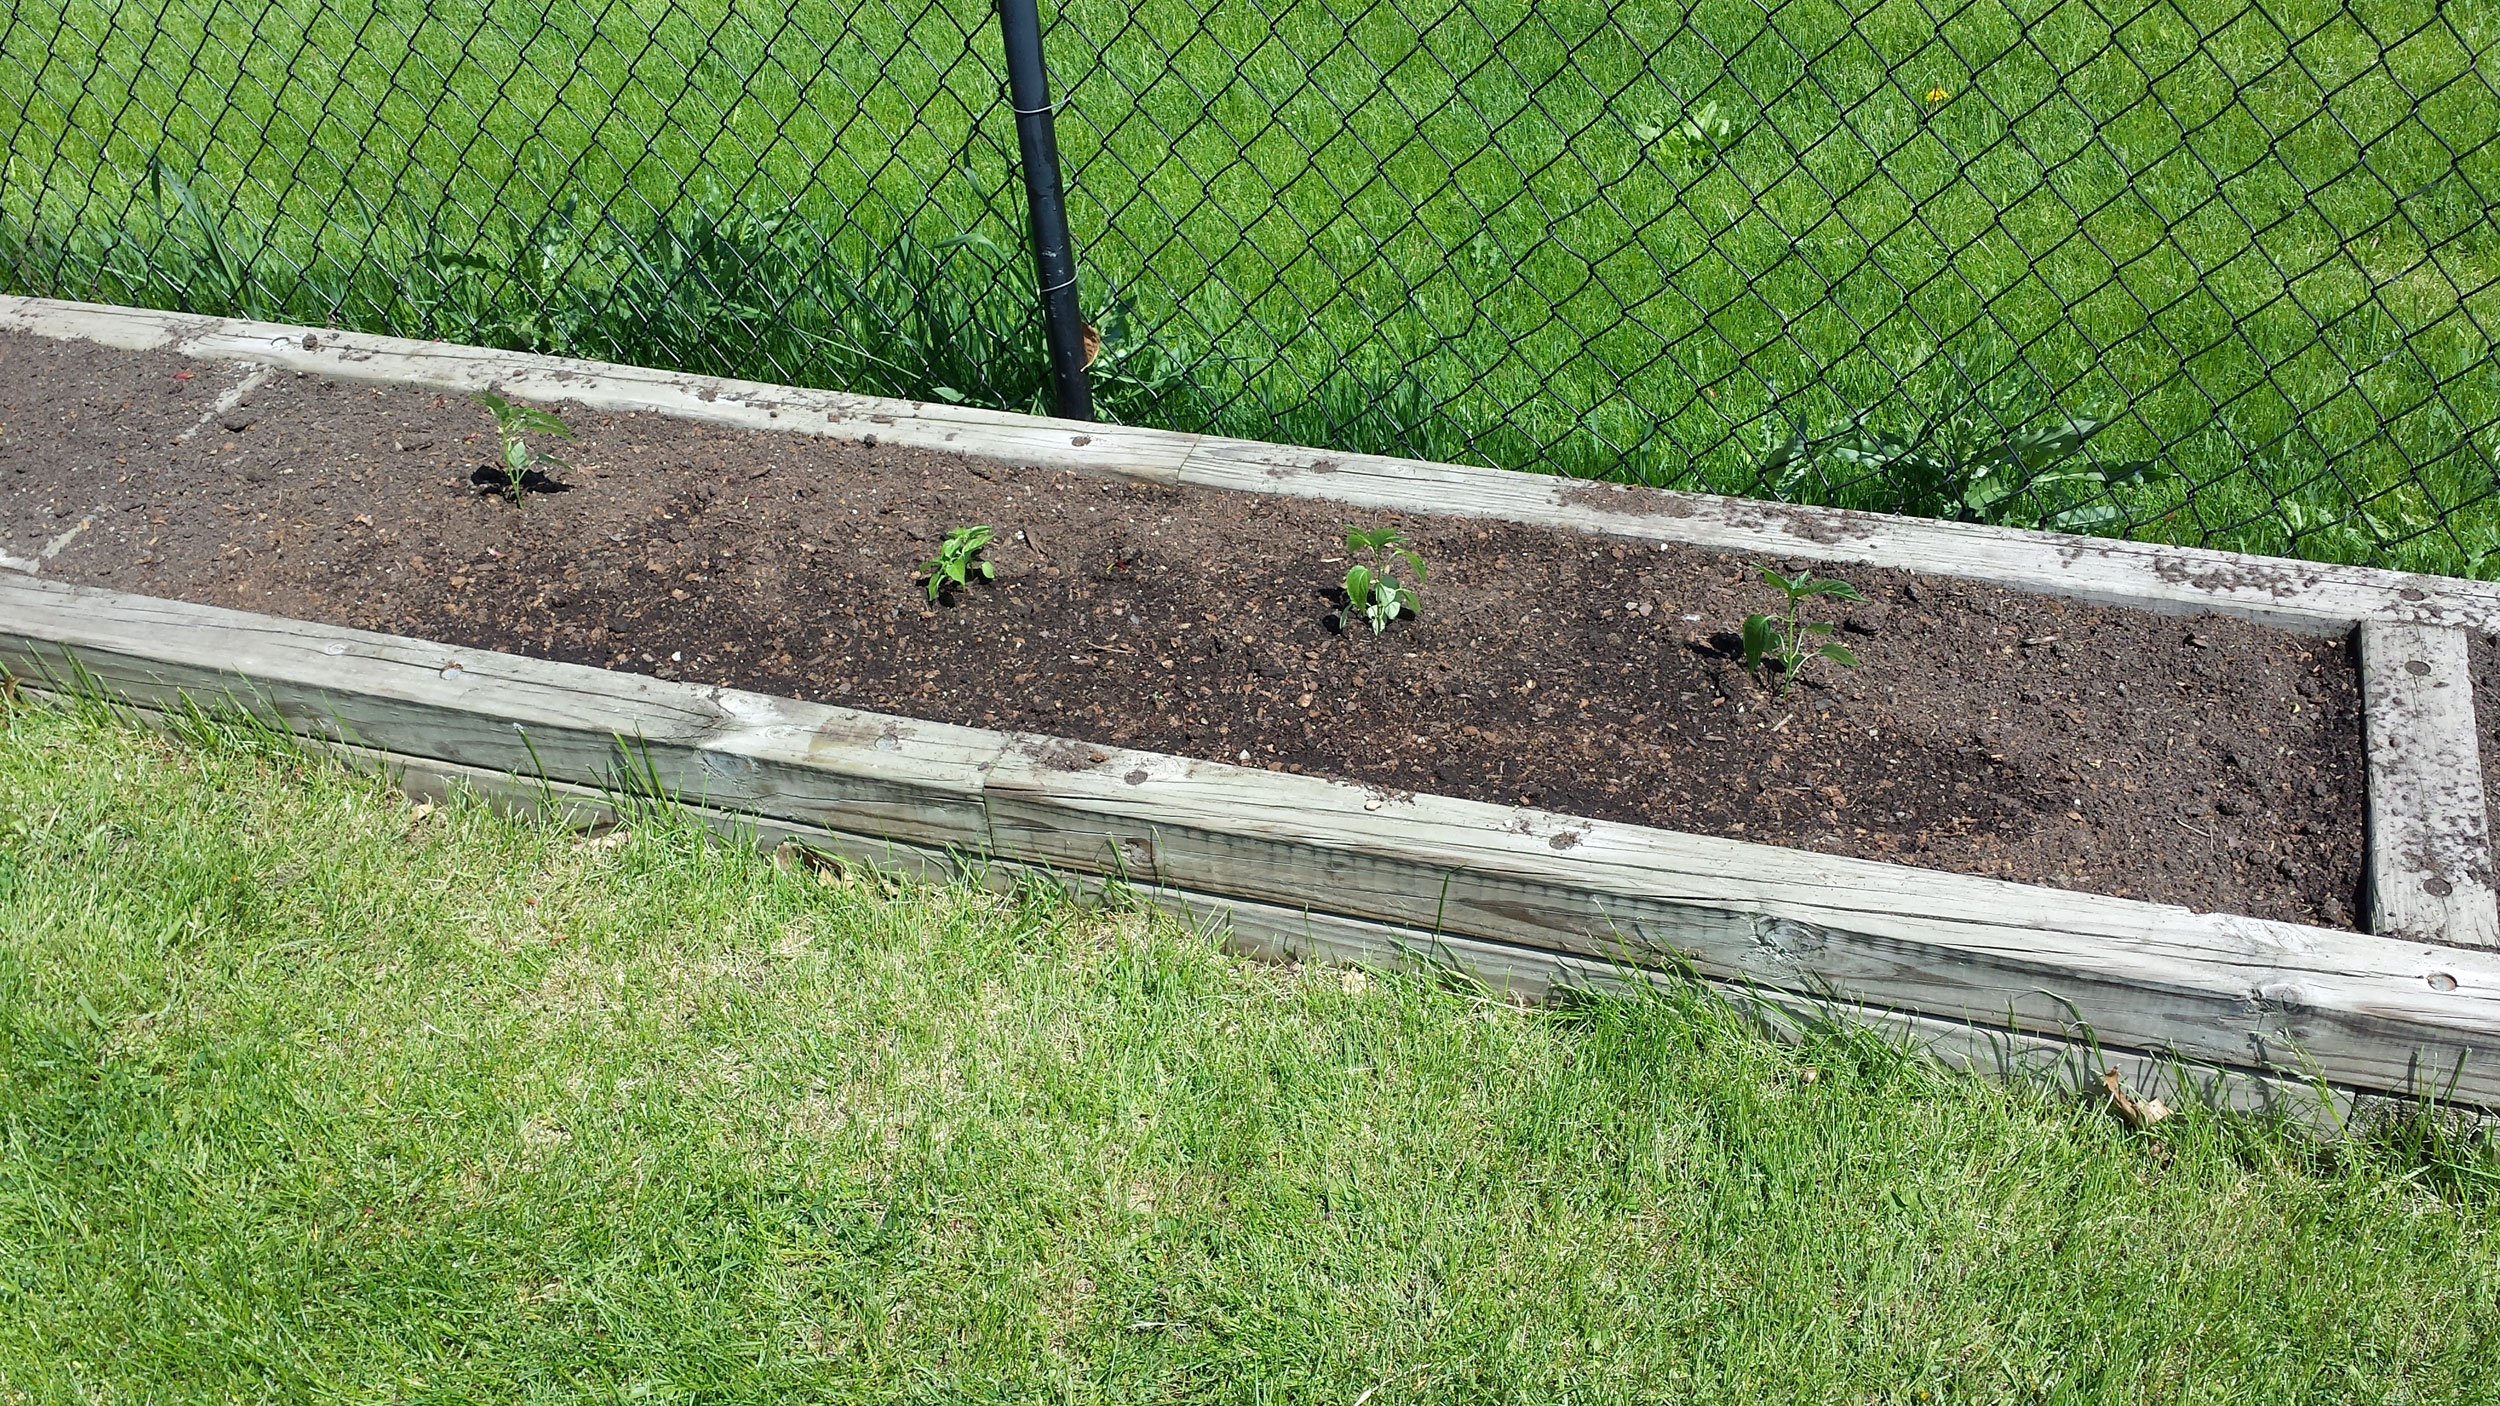
Roasted onion slices, home grown jalapenos and poblanos
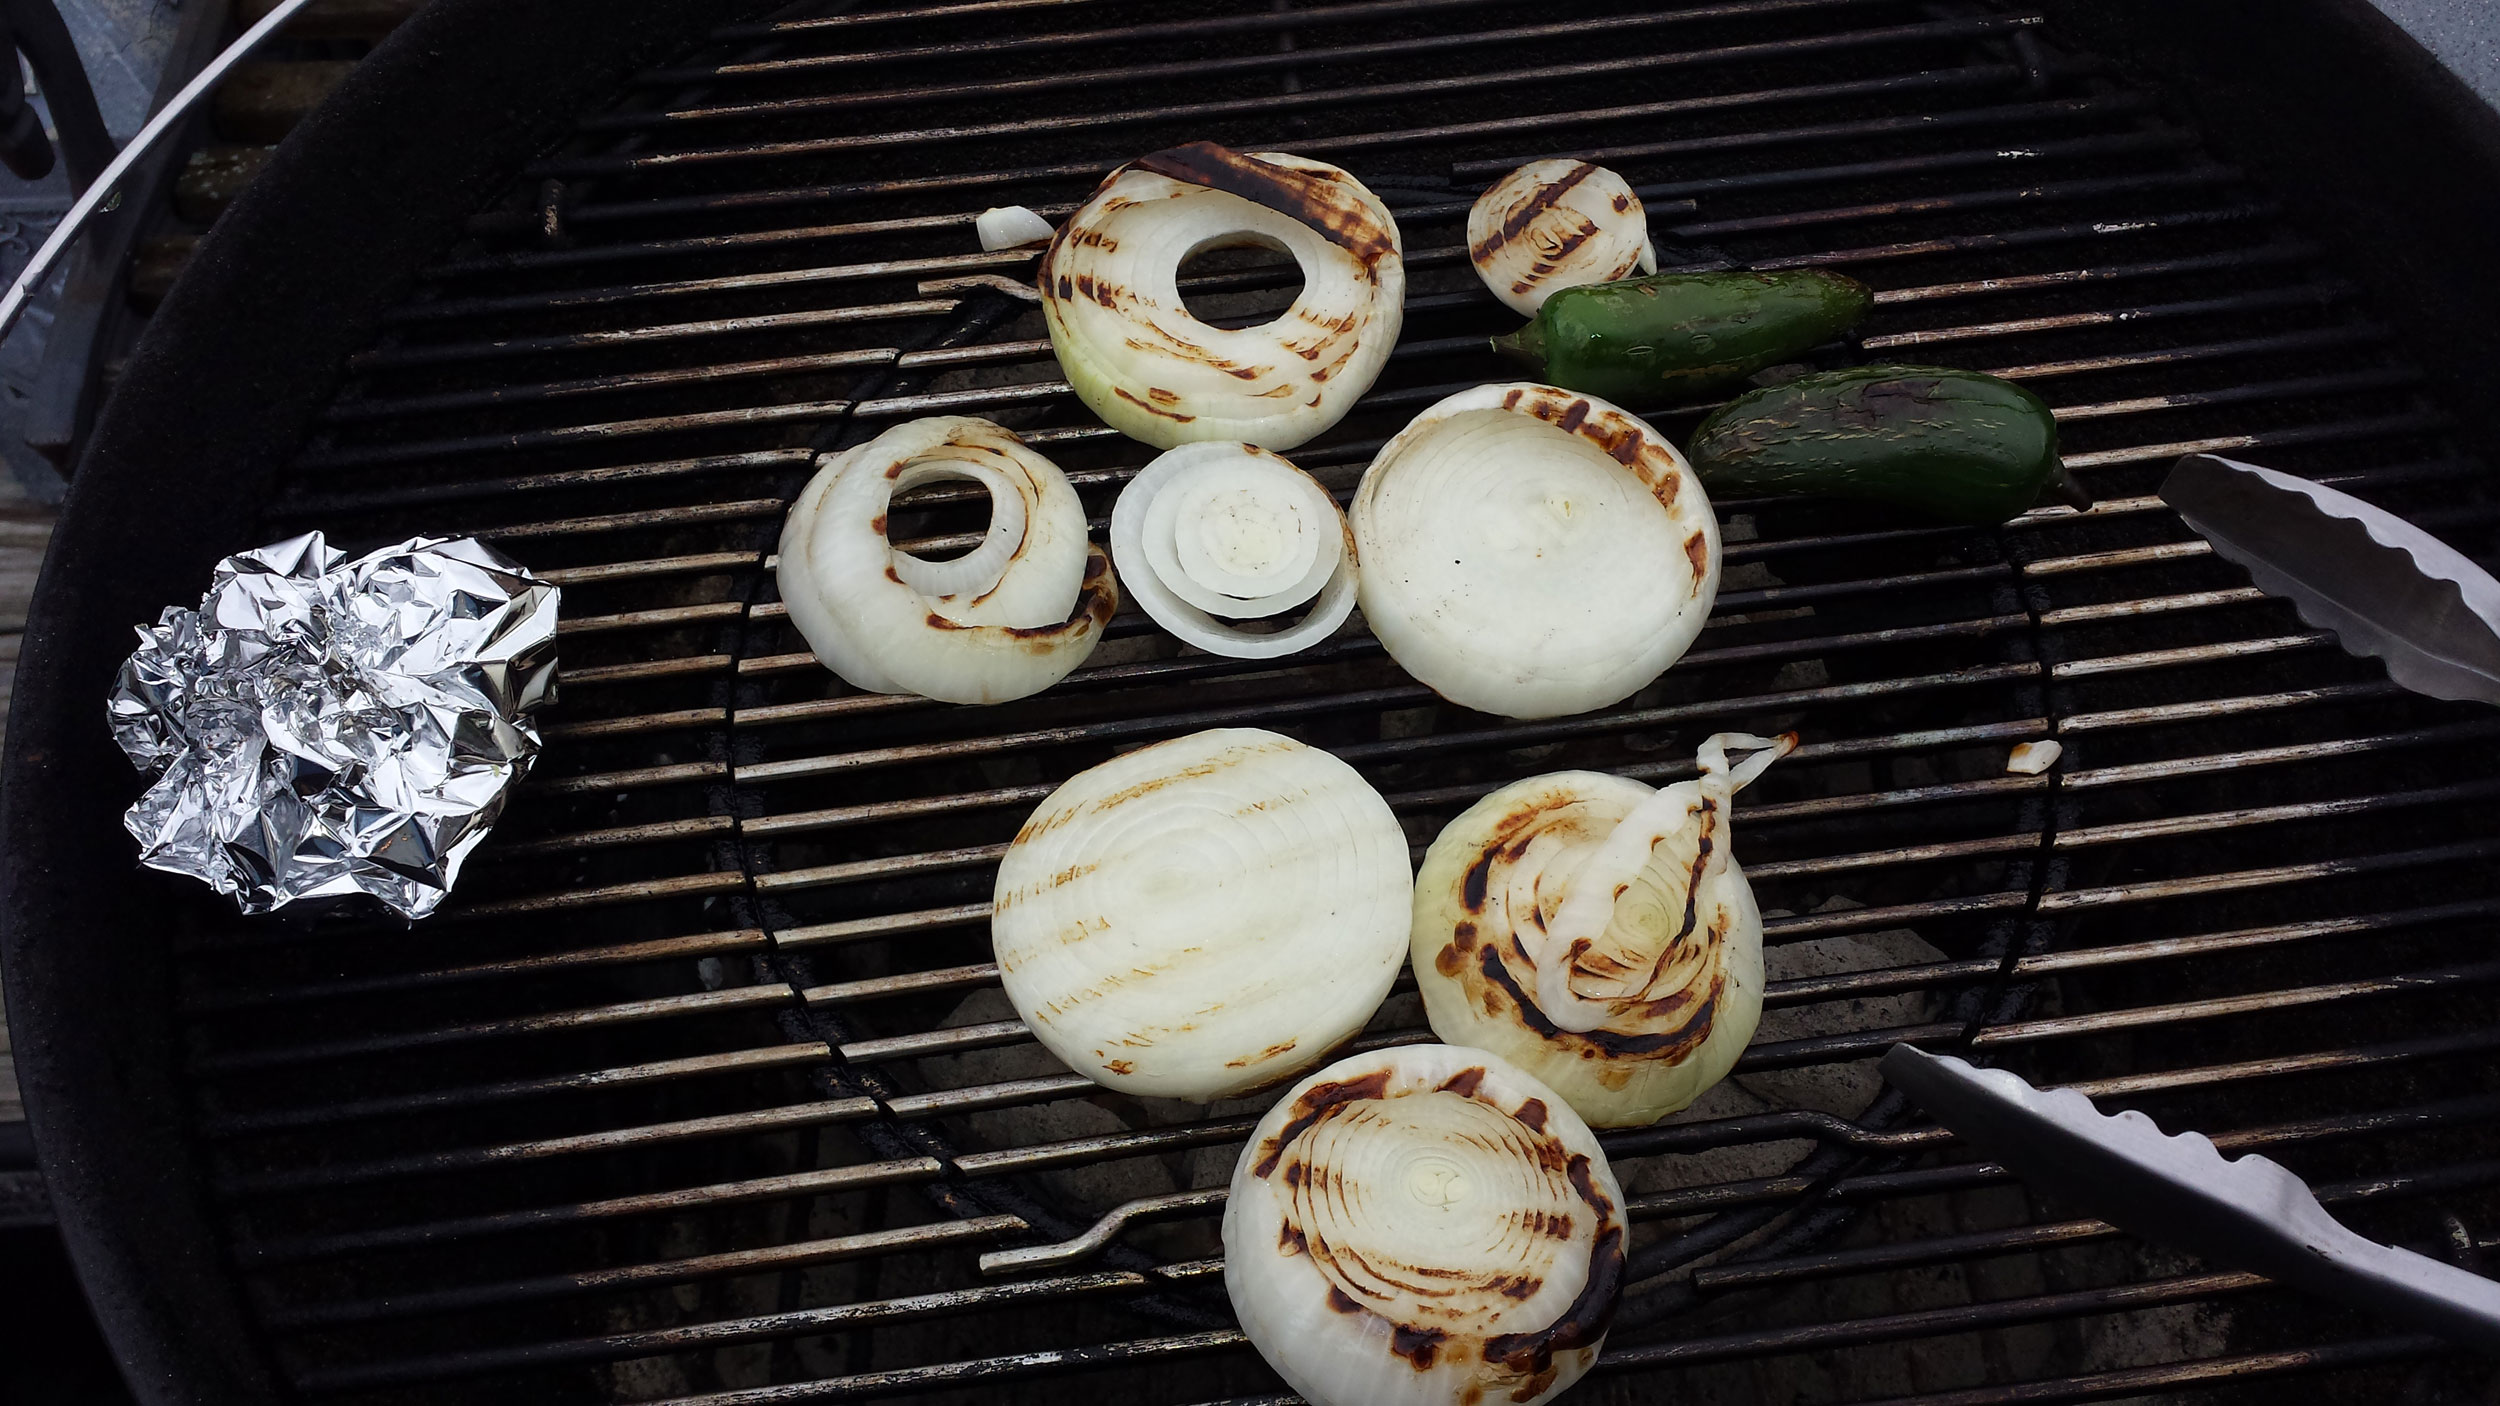
Added 2 heads of fresh garlic (in foil) to roast as well
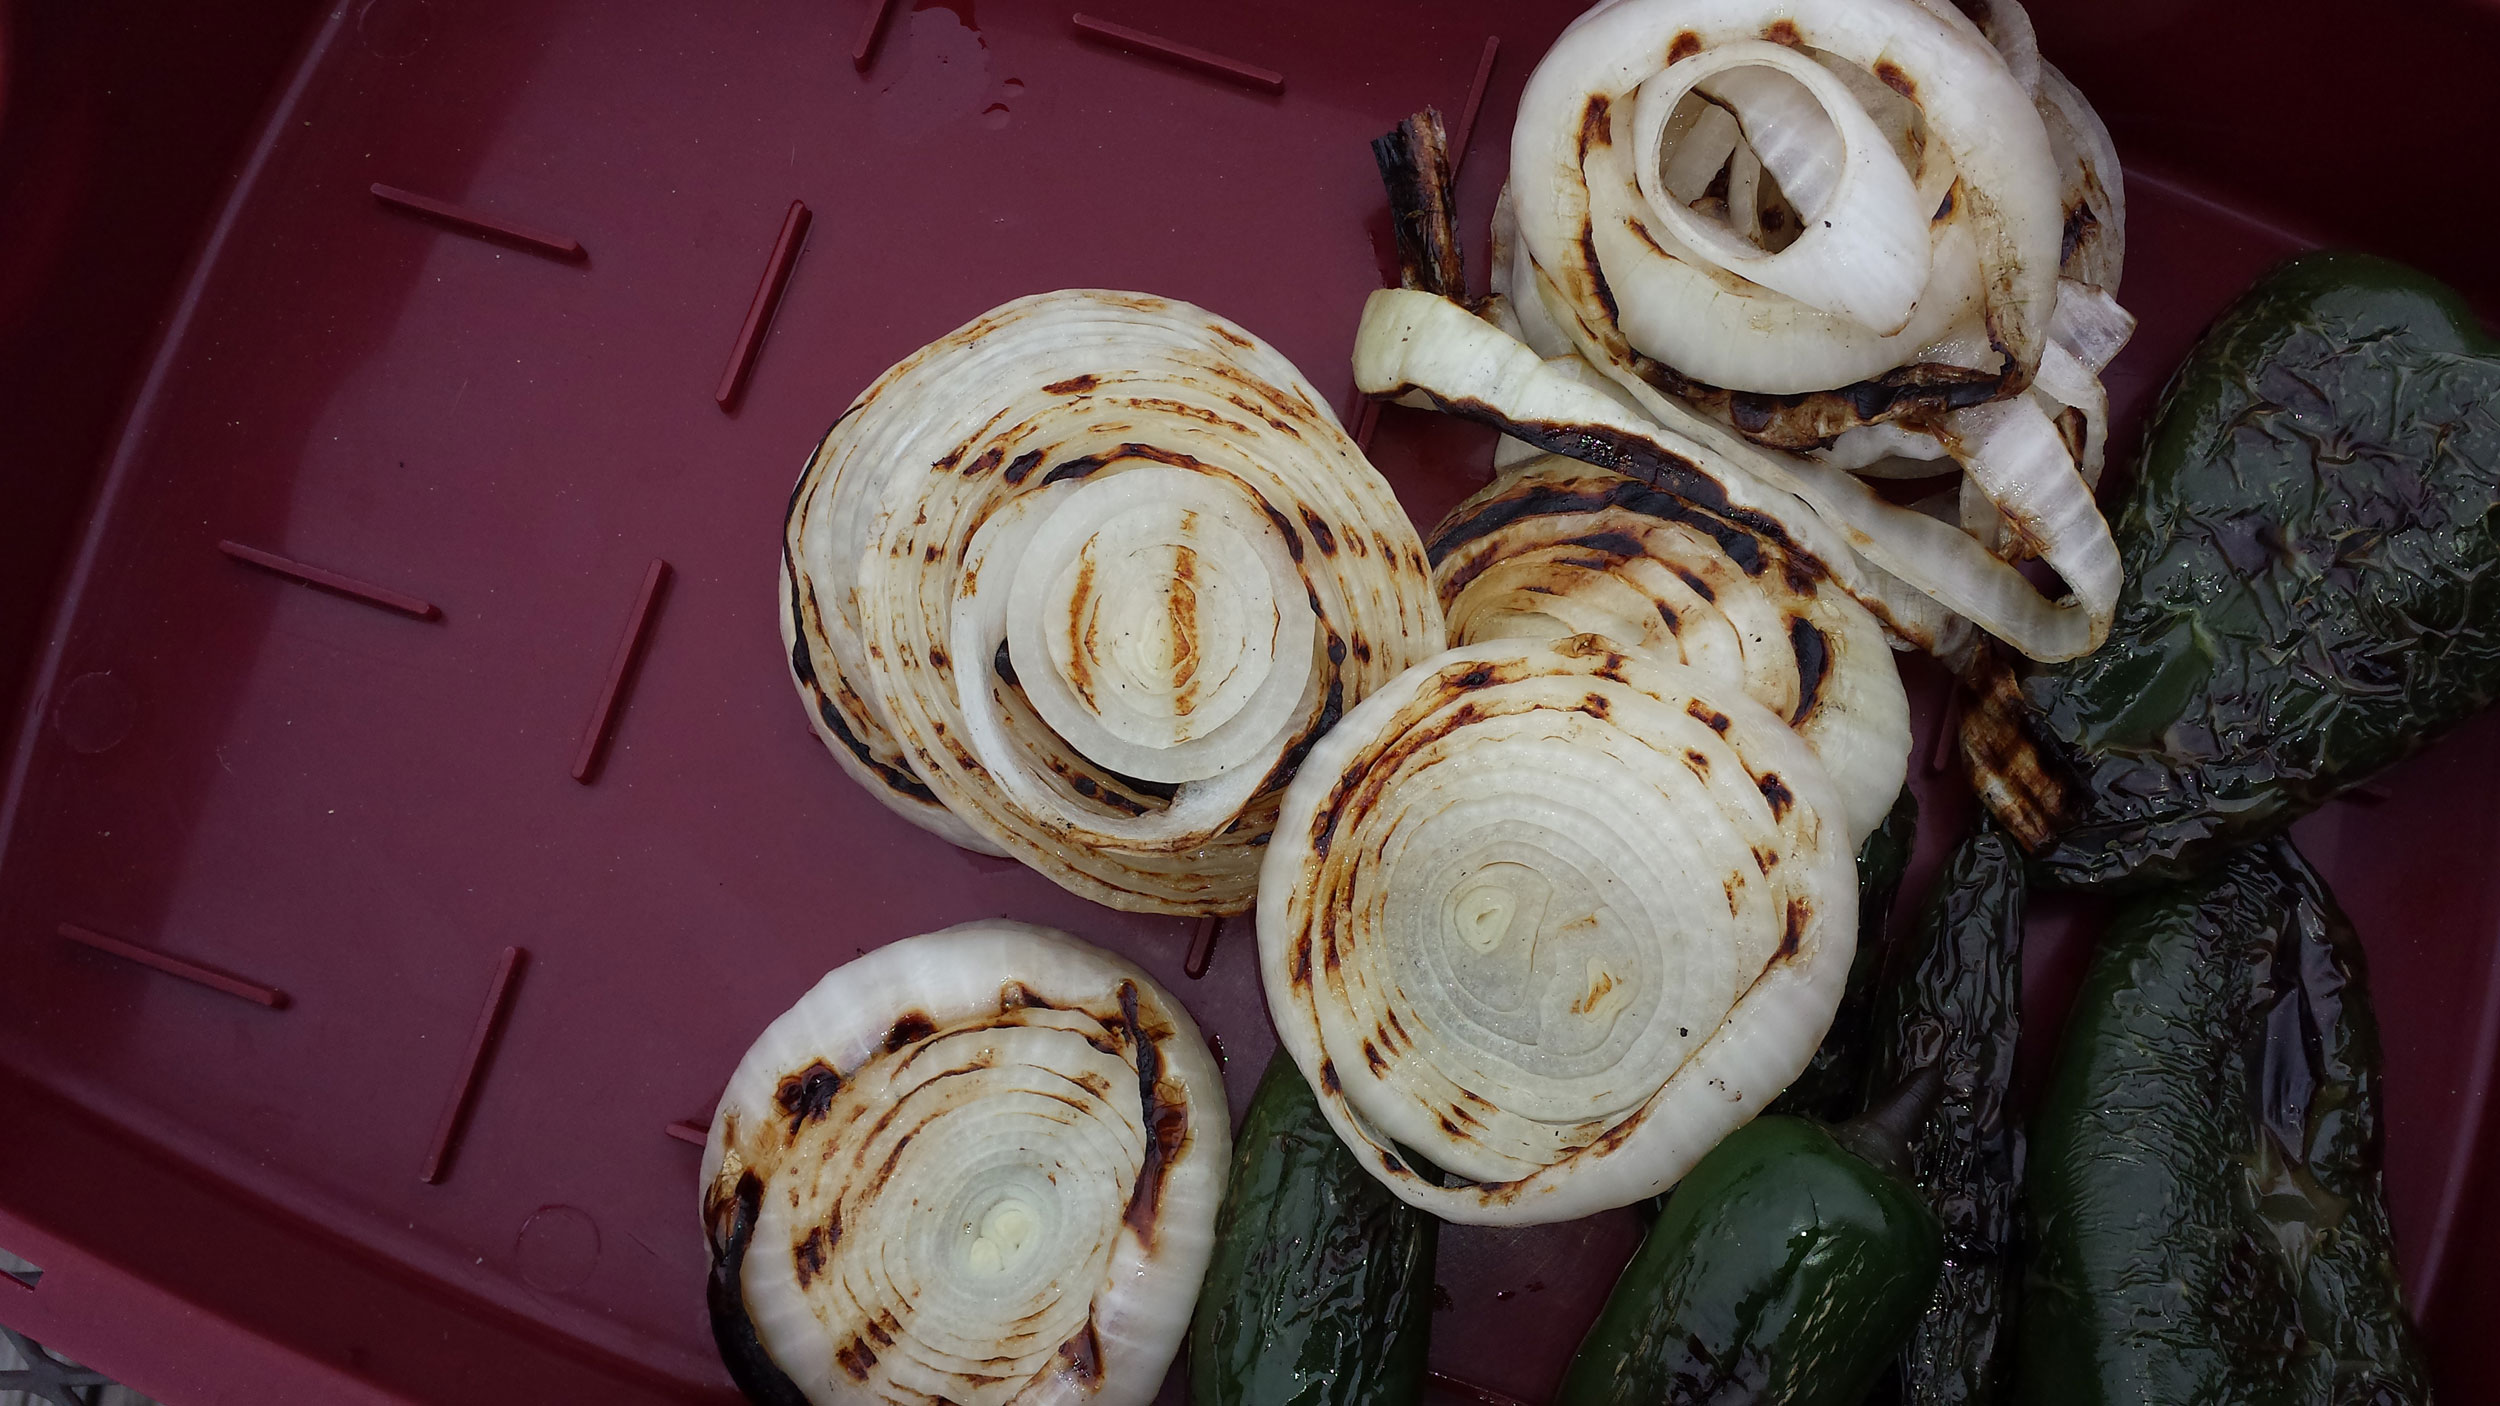
Onions and peppers ready to chop
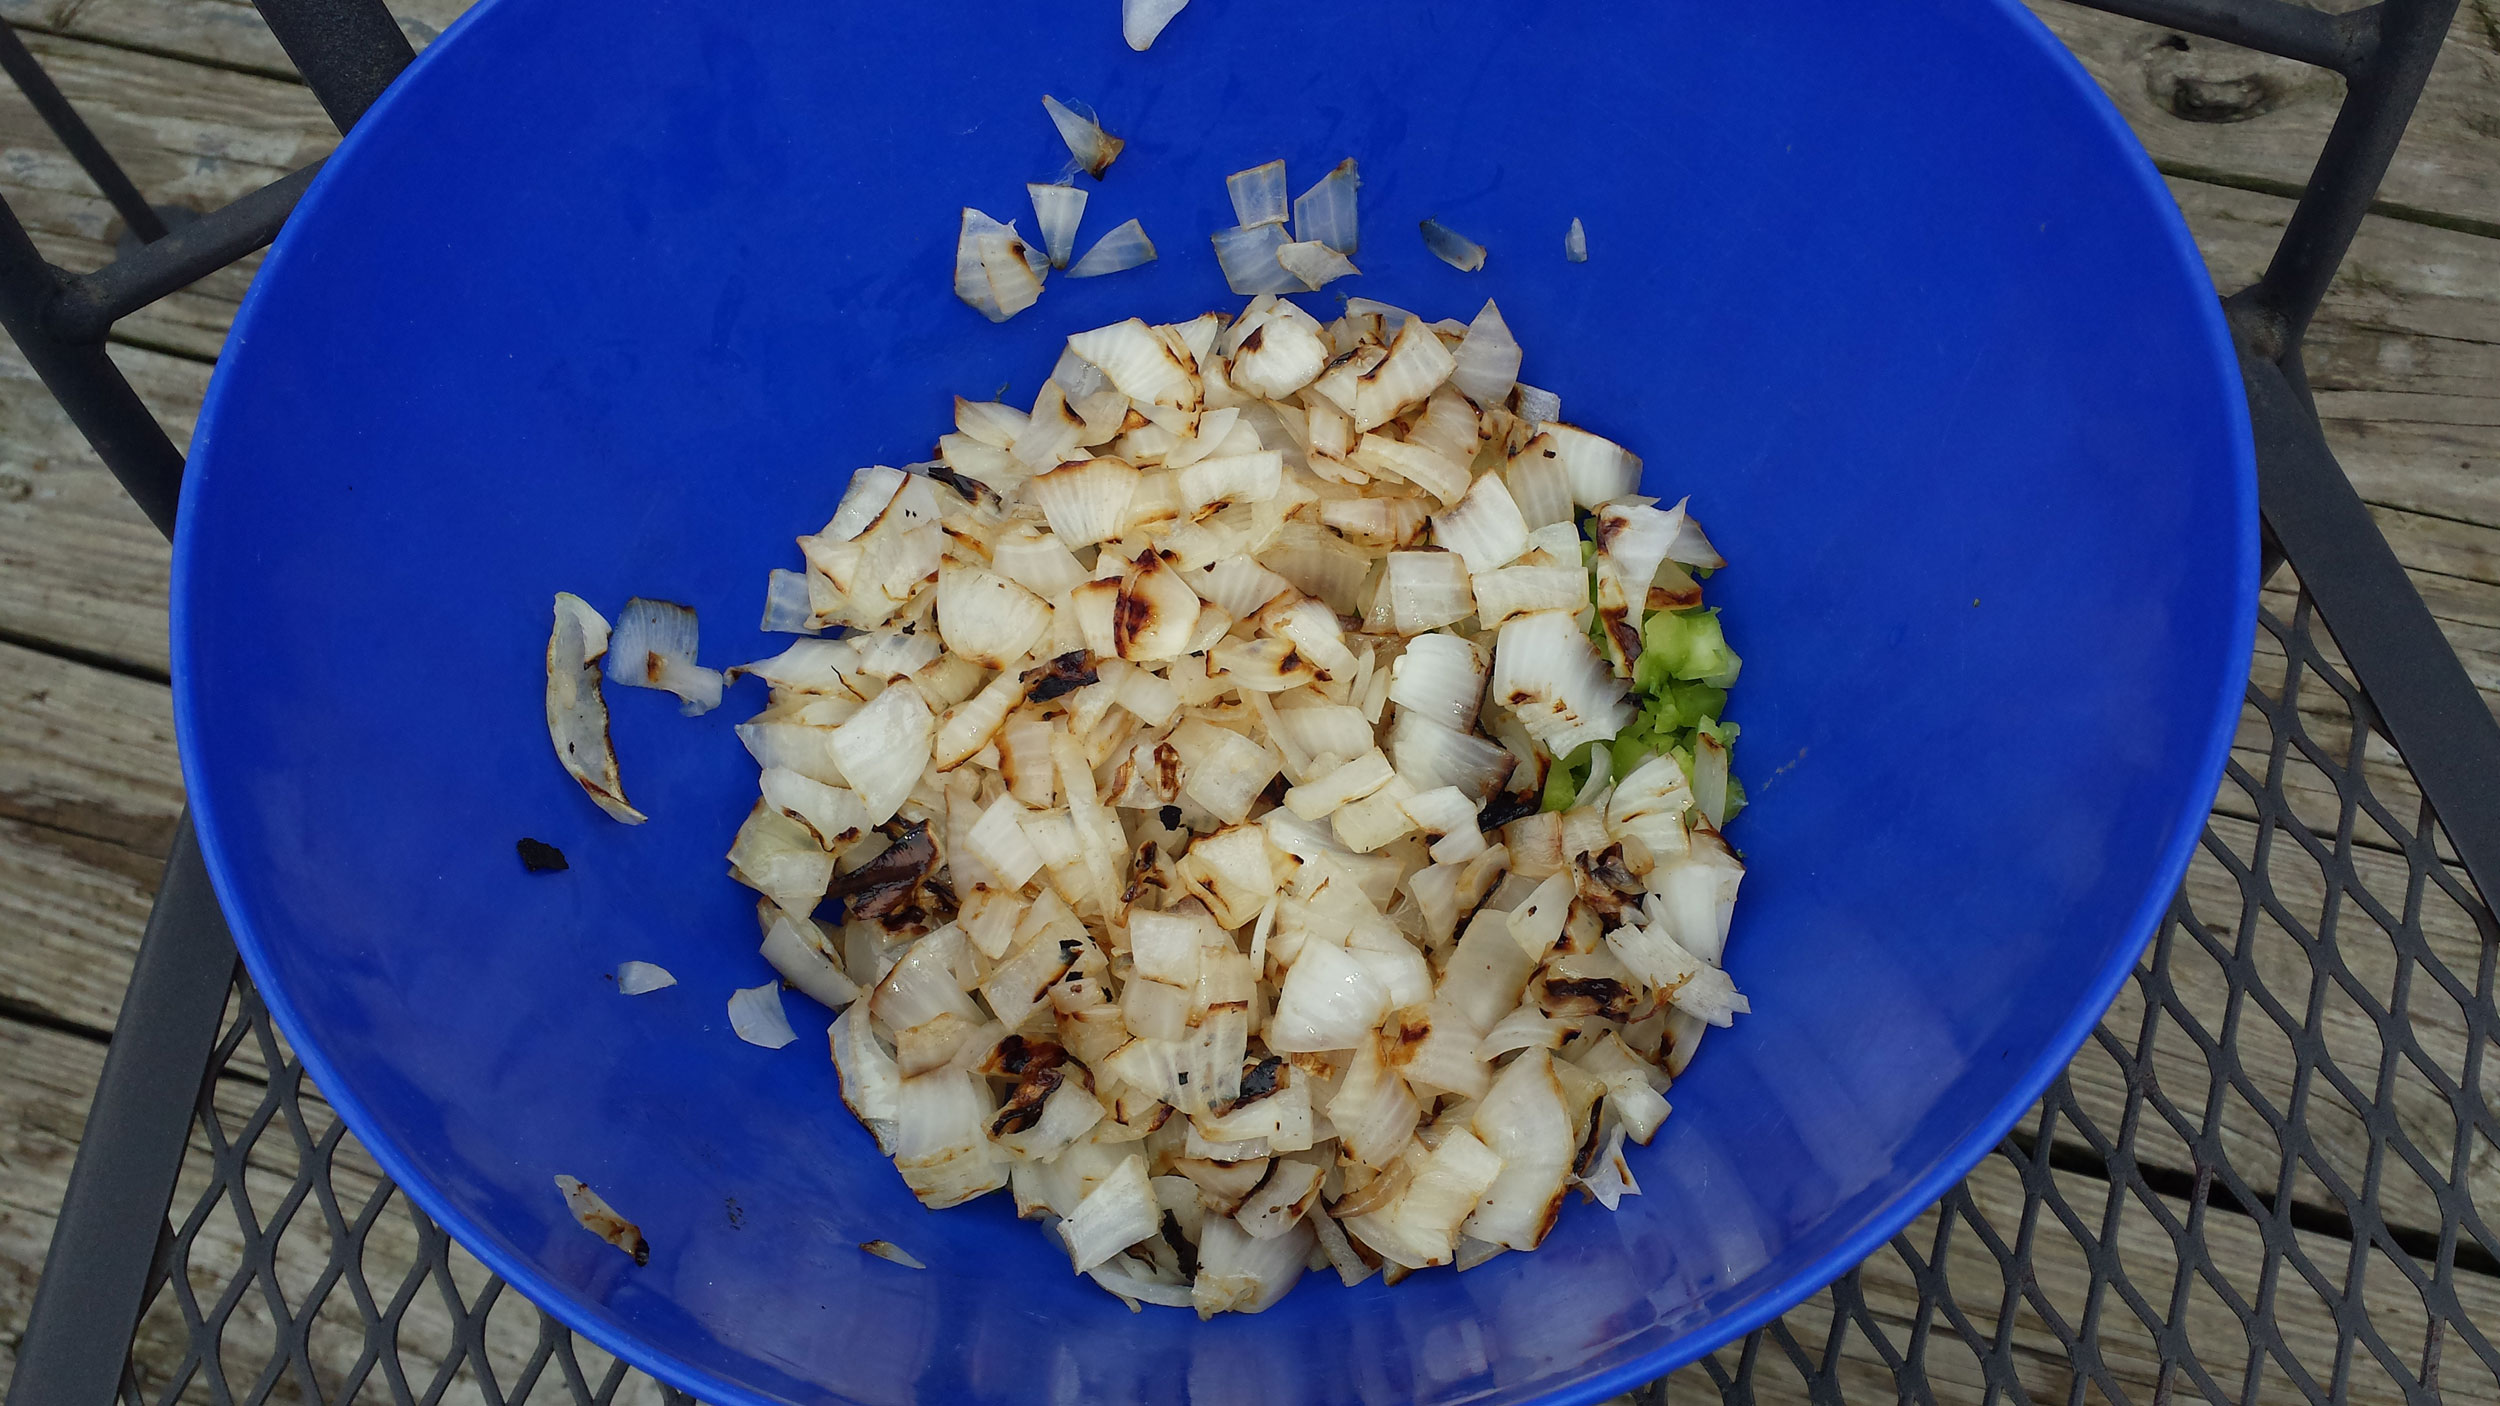
Peppers and onions all chopped and ready to go

Almost forgot to char the green peppers grown from my mom's garden.
Garlic still roasting.
Garlic still roasting.

Grilled up a cup of chopped bacon
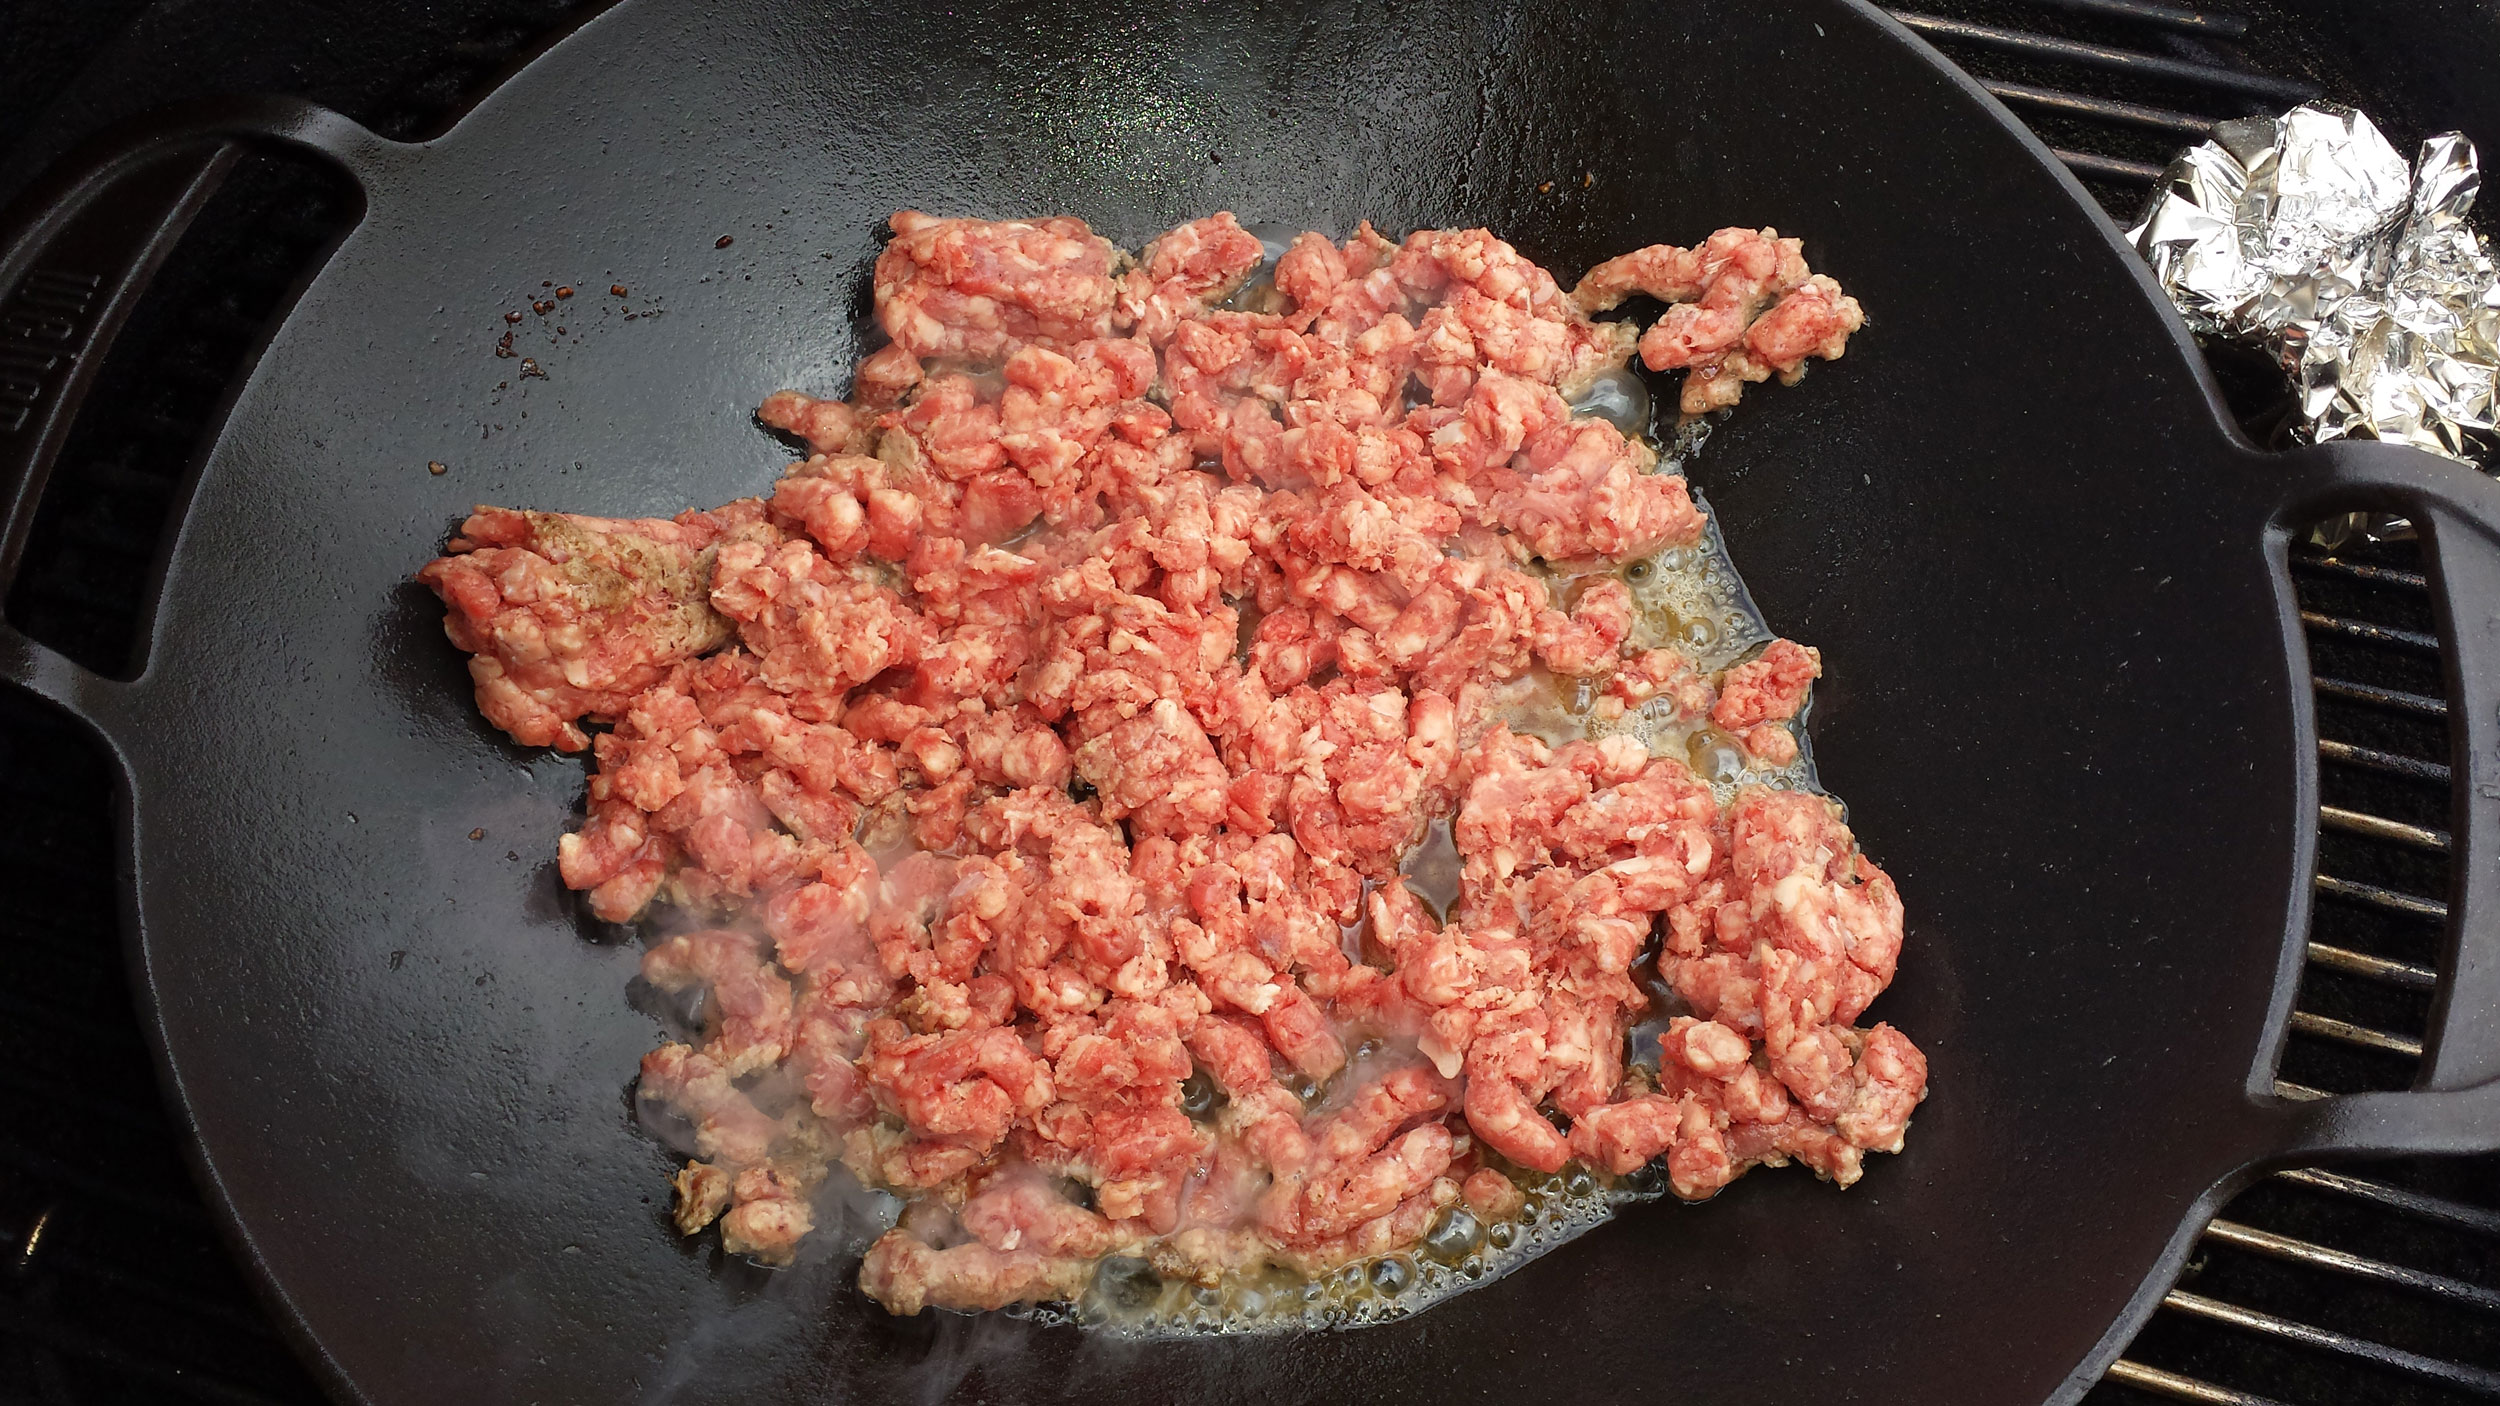
Next, 2lbs of course ground beef
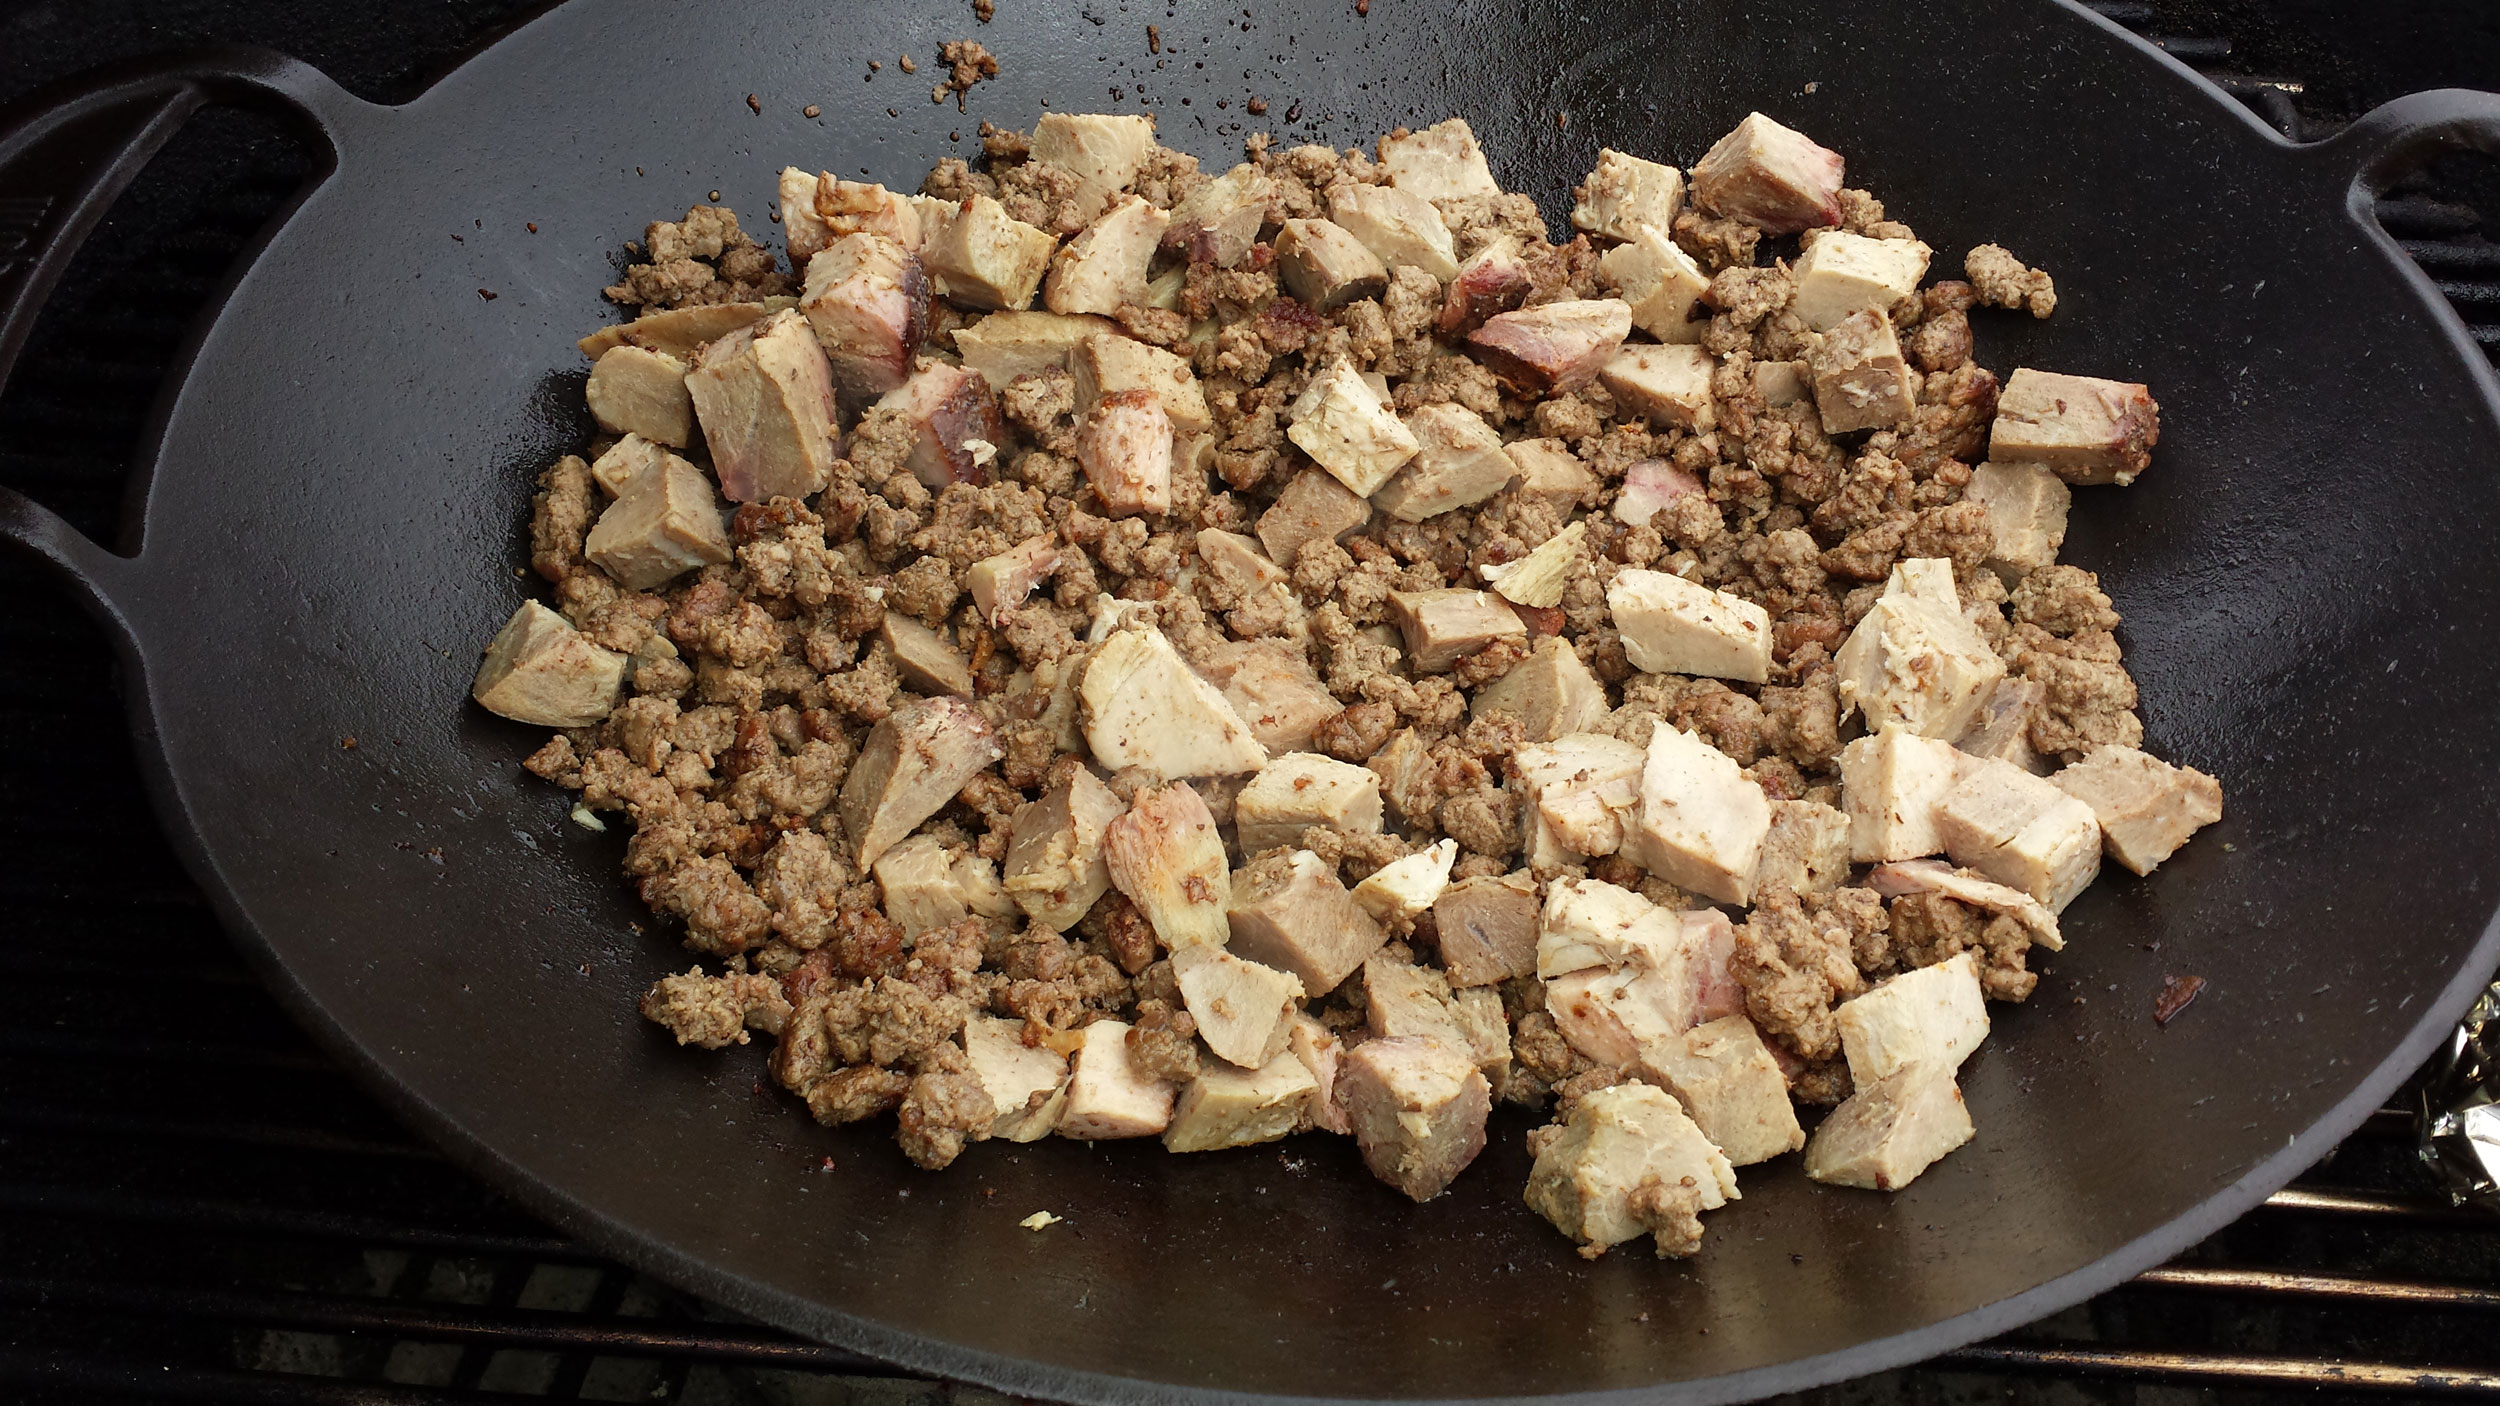
We had leftover smoked pork from the week before and froze.
Decided to throw that in for added flavor and texture.
Decided to throw that in for added flavor and texture.
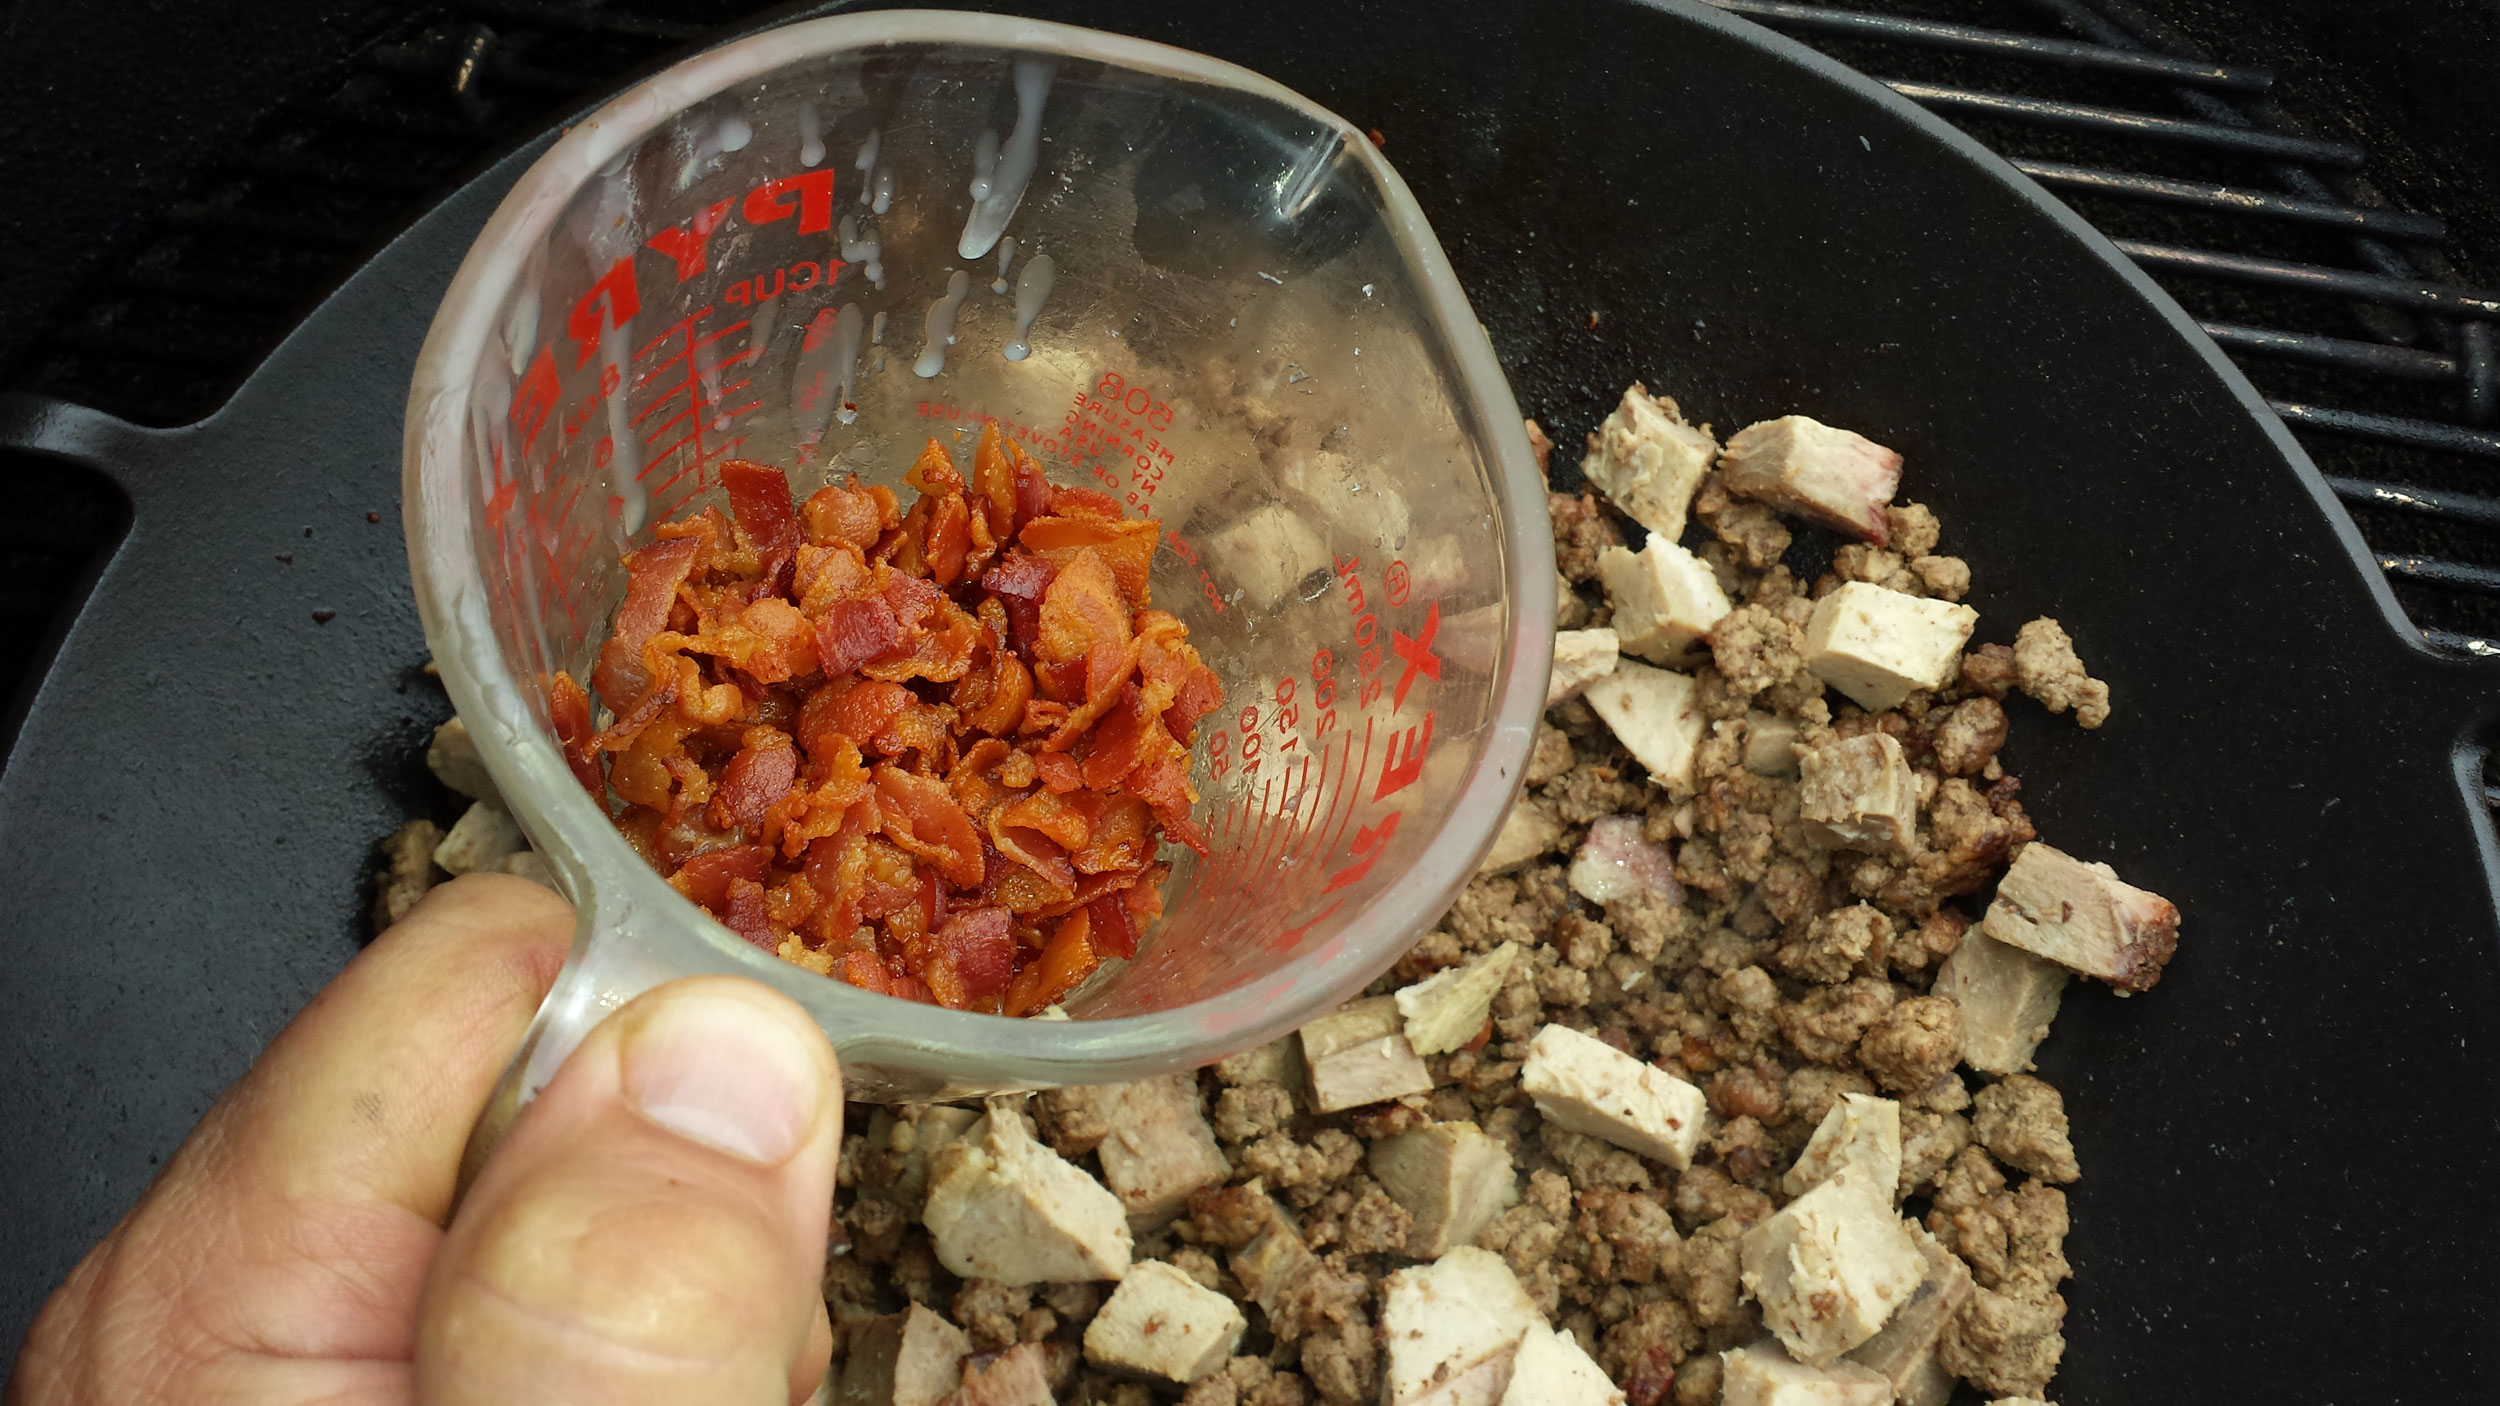
Time to throw in the grilled bacon!

There's all the meat.
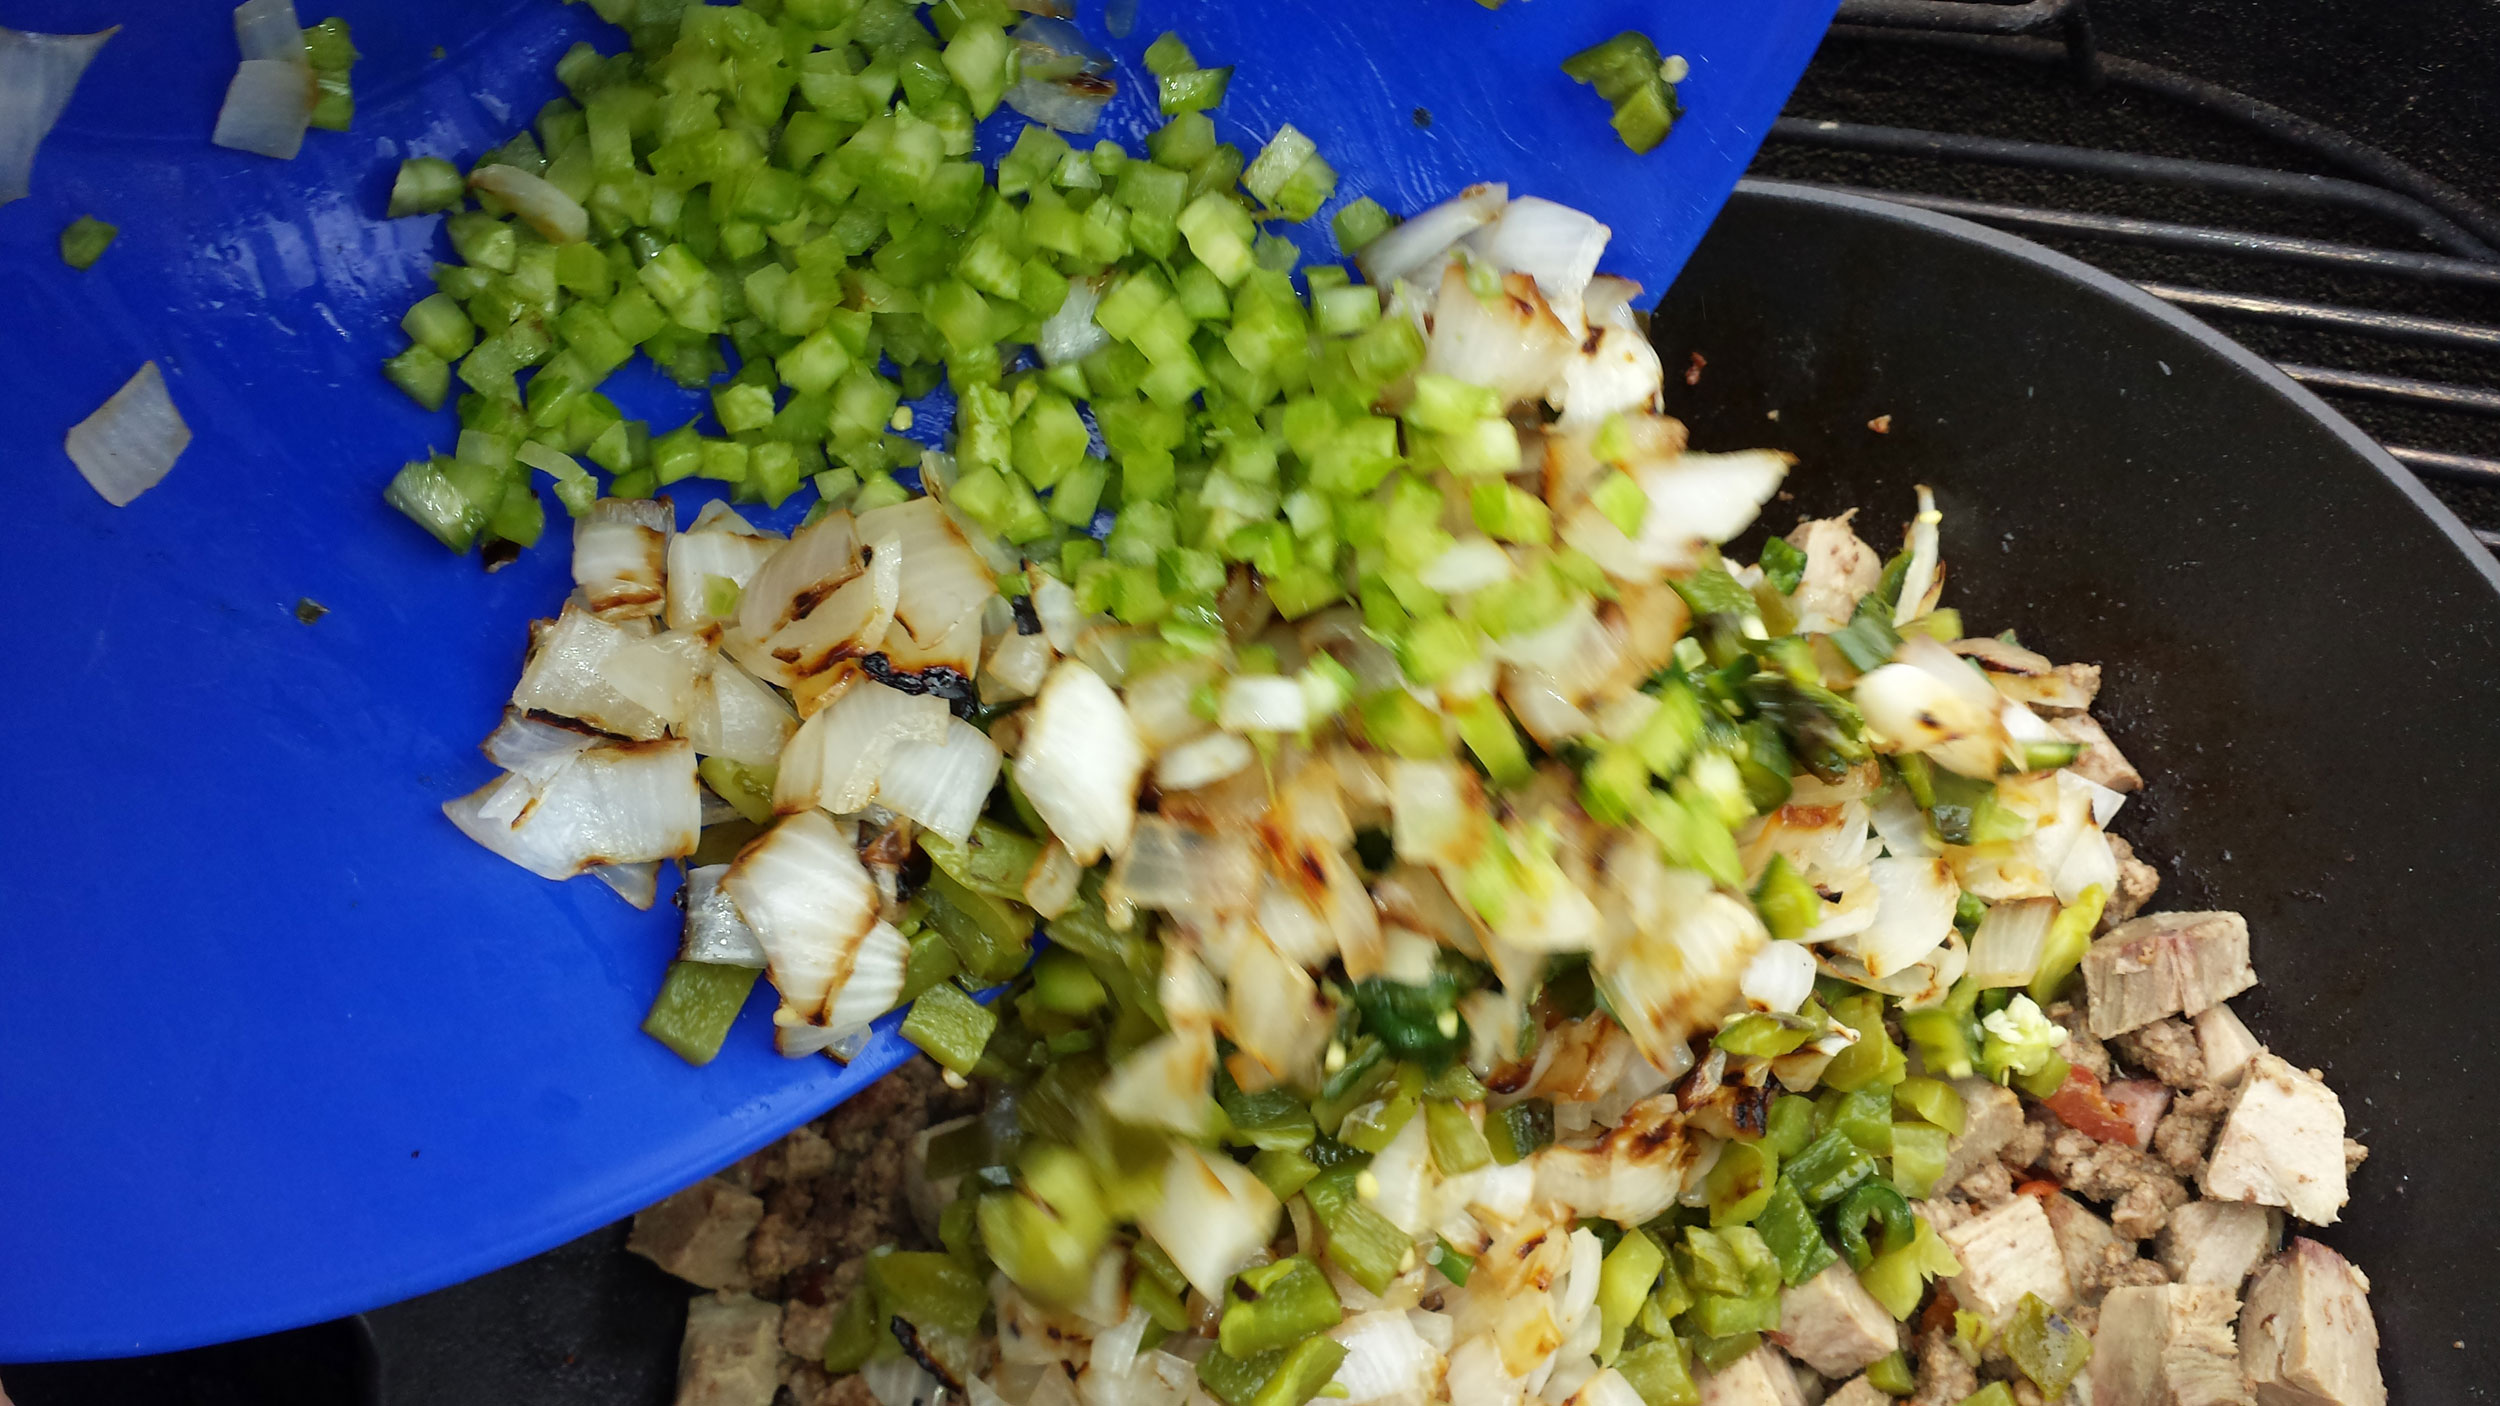
Add grilled, chopped onions and peppers.
Also added chopped celery.
Also added chopped celery.

Stir it all up!

Added large can of tomato sauce and a can of crushed tomatoes.

Stir that all up
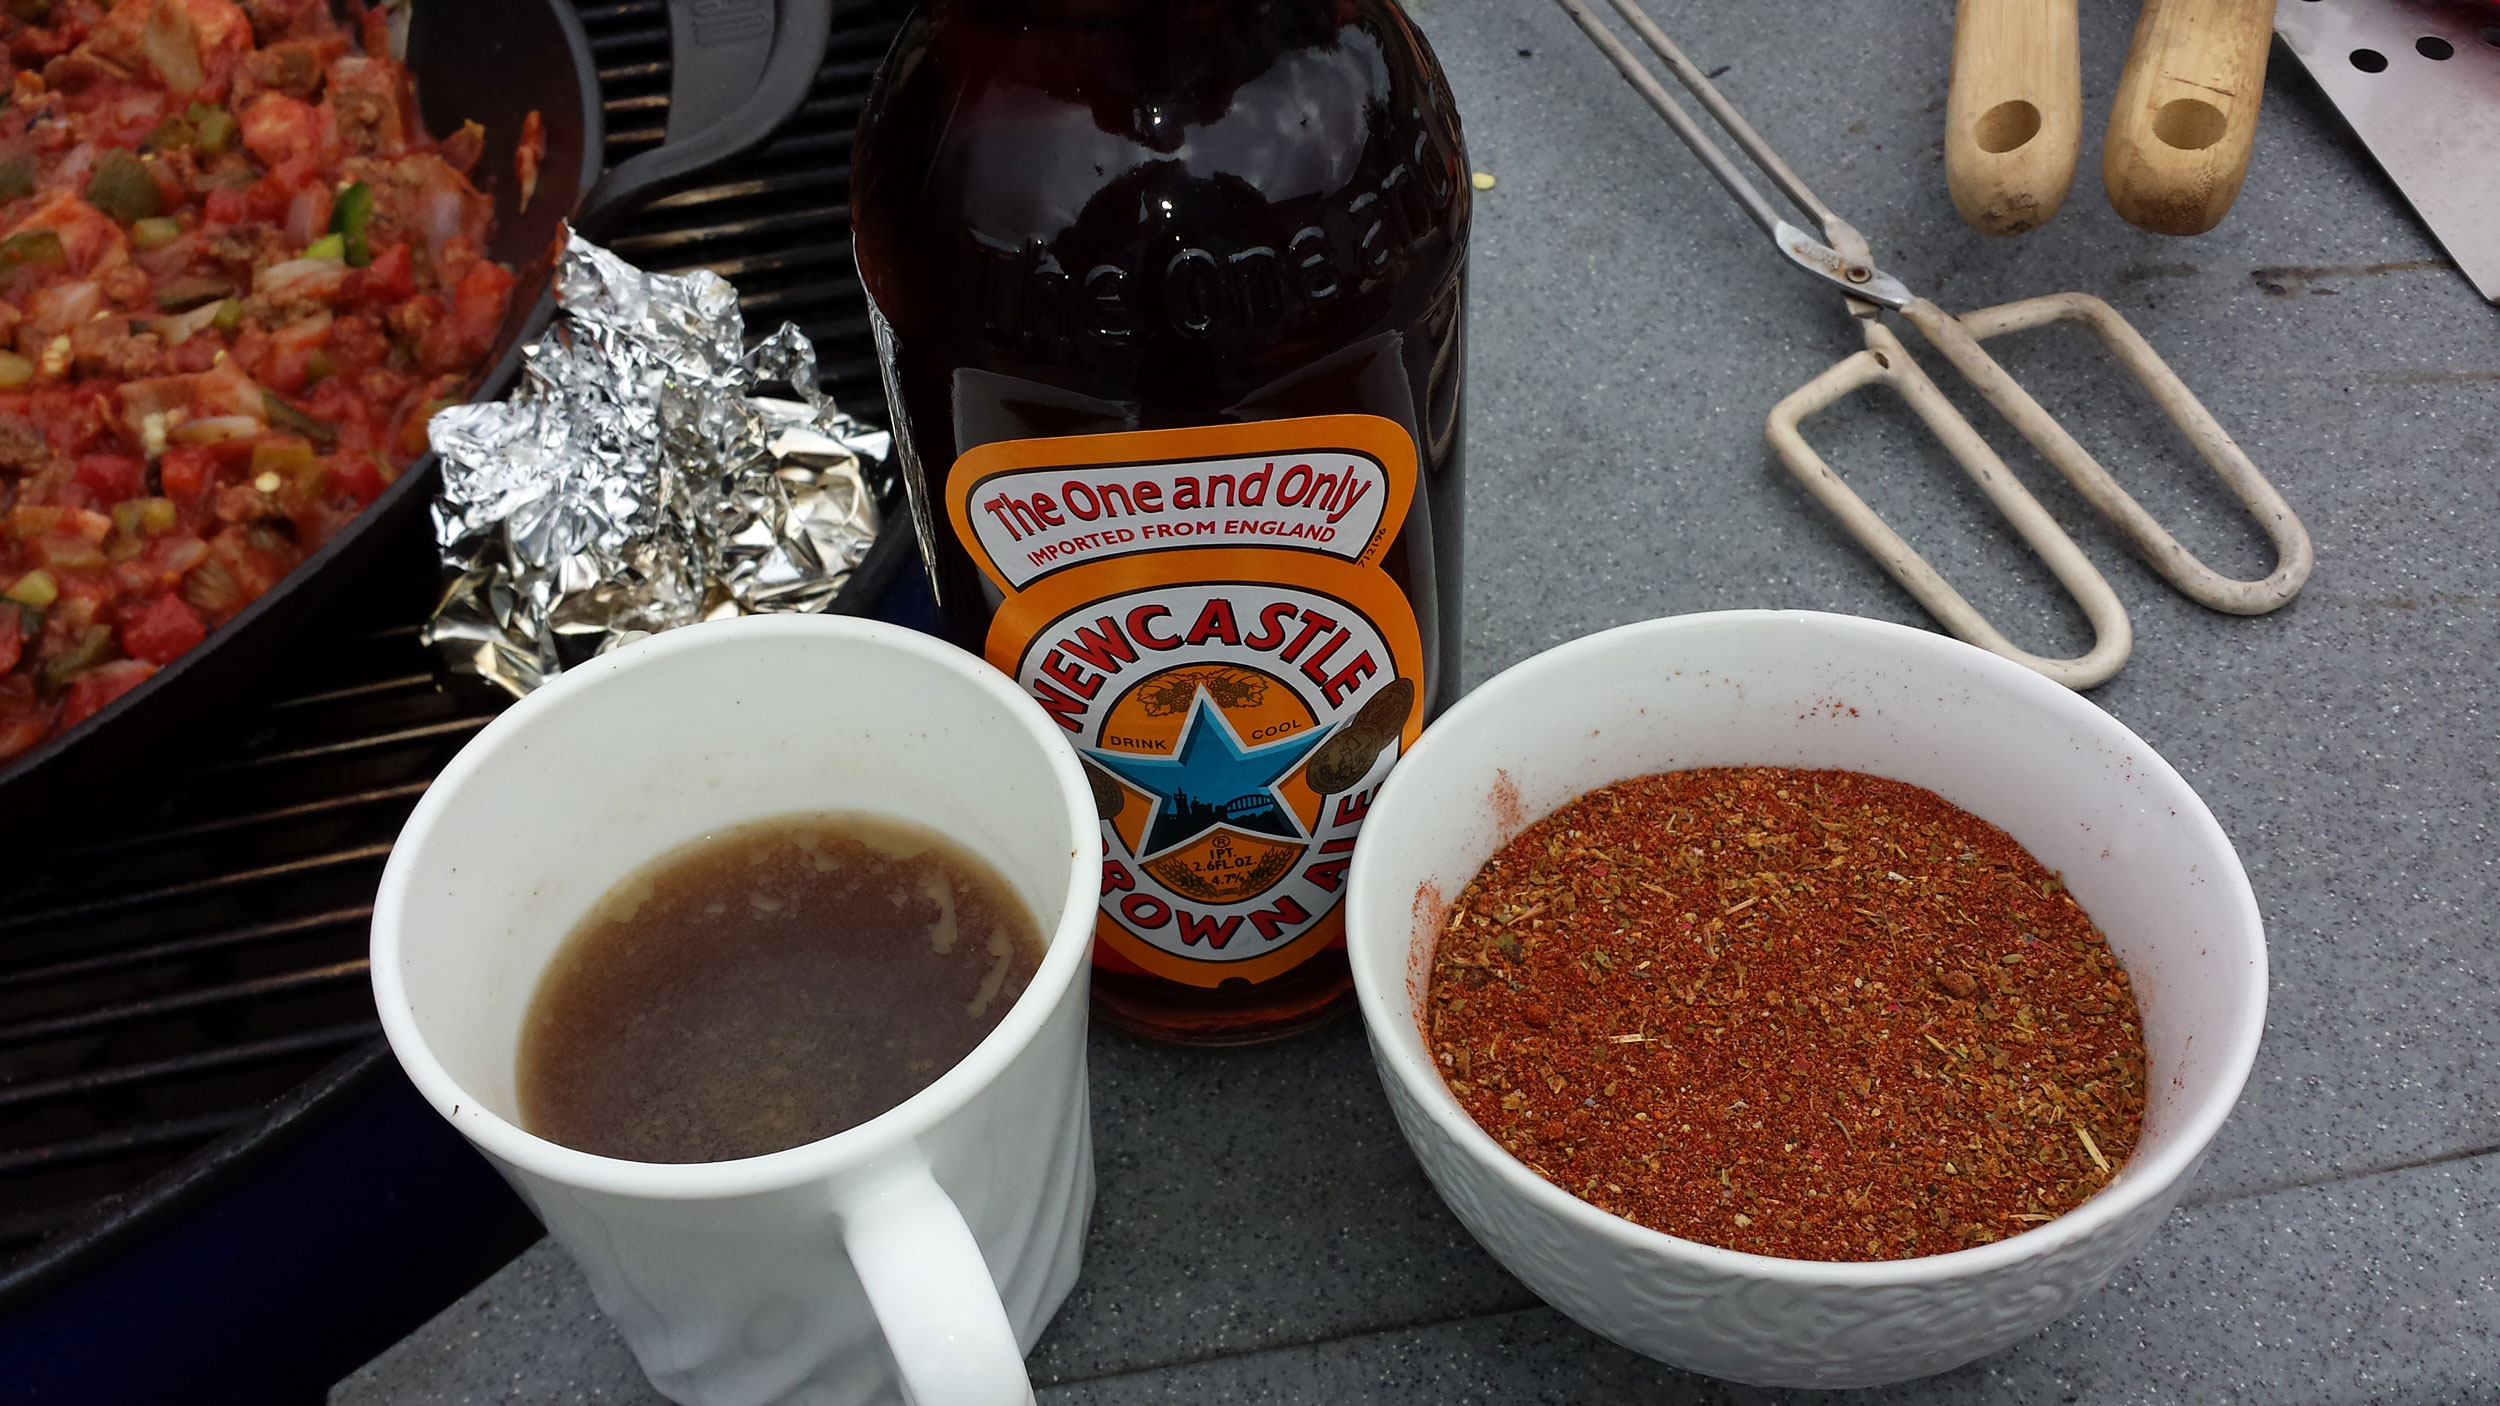
Added a bottle of Ale, a cup of beef broth and my mixture of spices.

spices:
1 TBL
salt
2 TBL freshly ground peppercorn medley (red, green, white and black)
2 TBL paprika1 TBL chile powder
1 TBL chipotle chili powder
1 TBL ancho chili powder
1 TBL ground cumin
1 TBL dried oregano
¼ tsp ground cayenne pepper
2 TBL freshly ground peppercorn medley (red, green, white and black)
2 TBL paprika1 TBL chile powder
1 TBL chipotle chili powder
1 TBL ancho chili powder
1 TBL ground cumin
1 TBL dried oregano
¼ tsp ground cayenne pepper
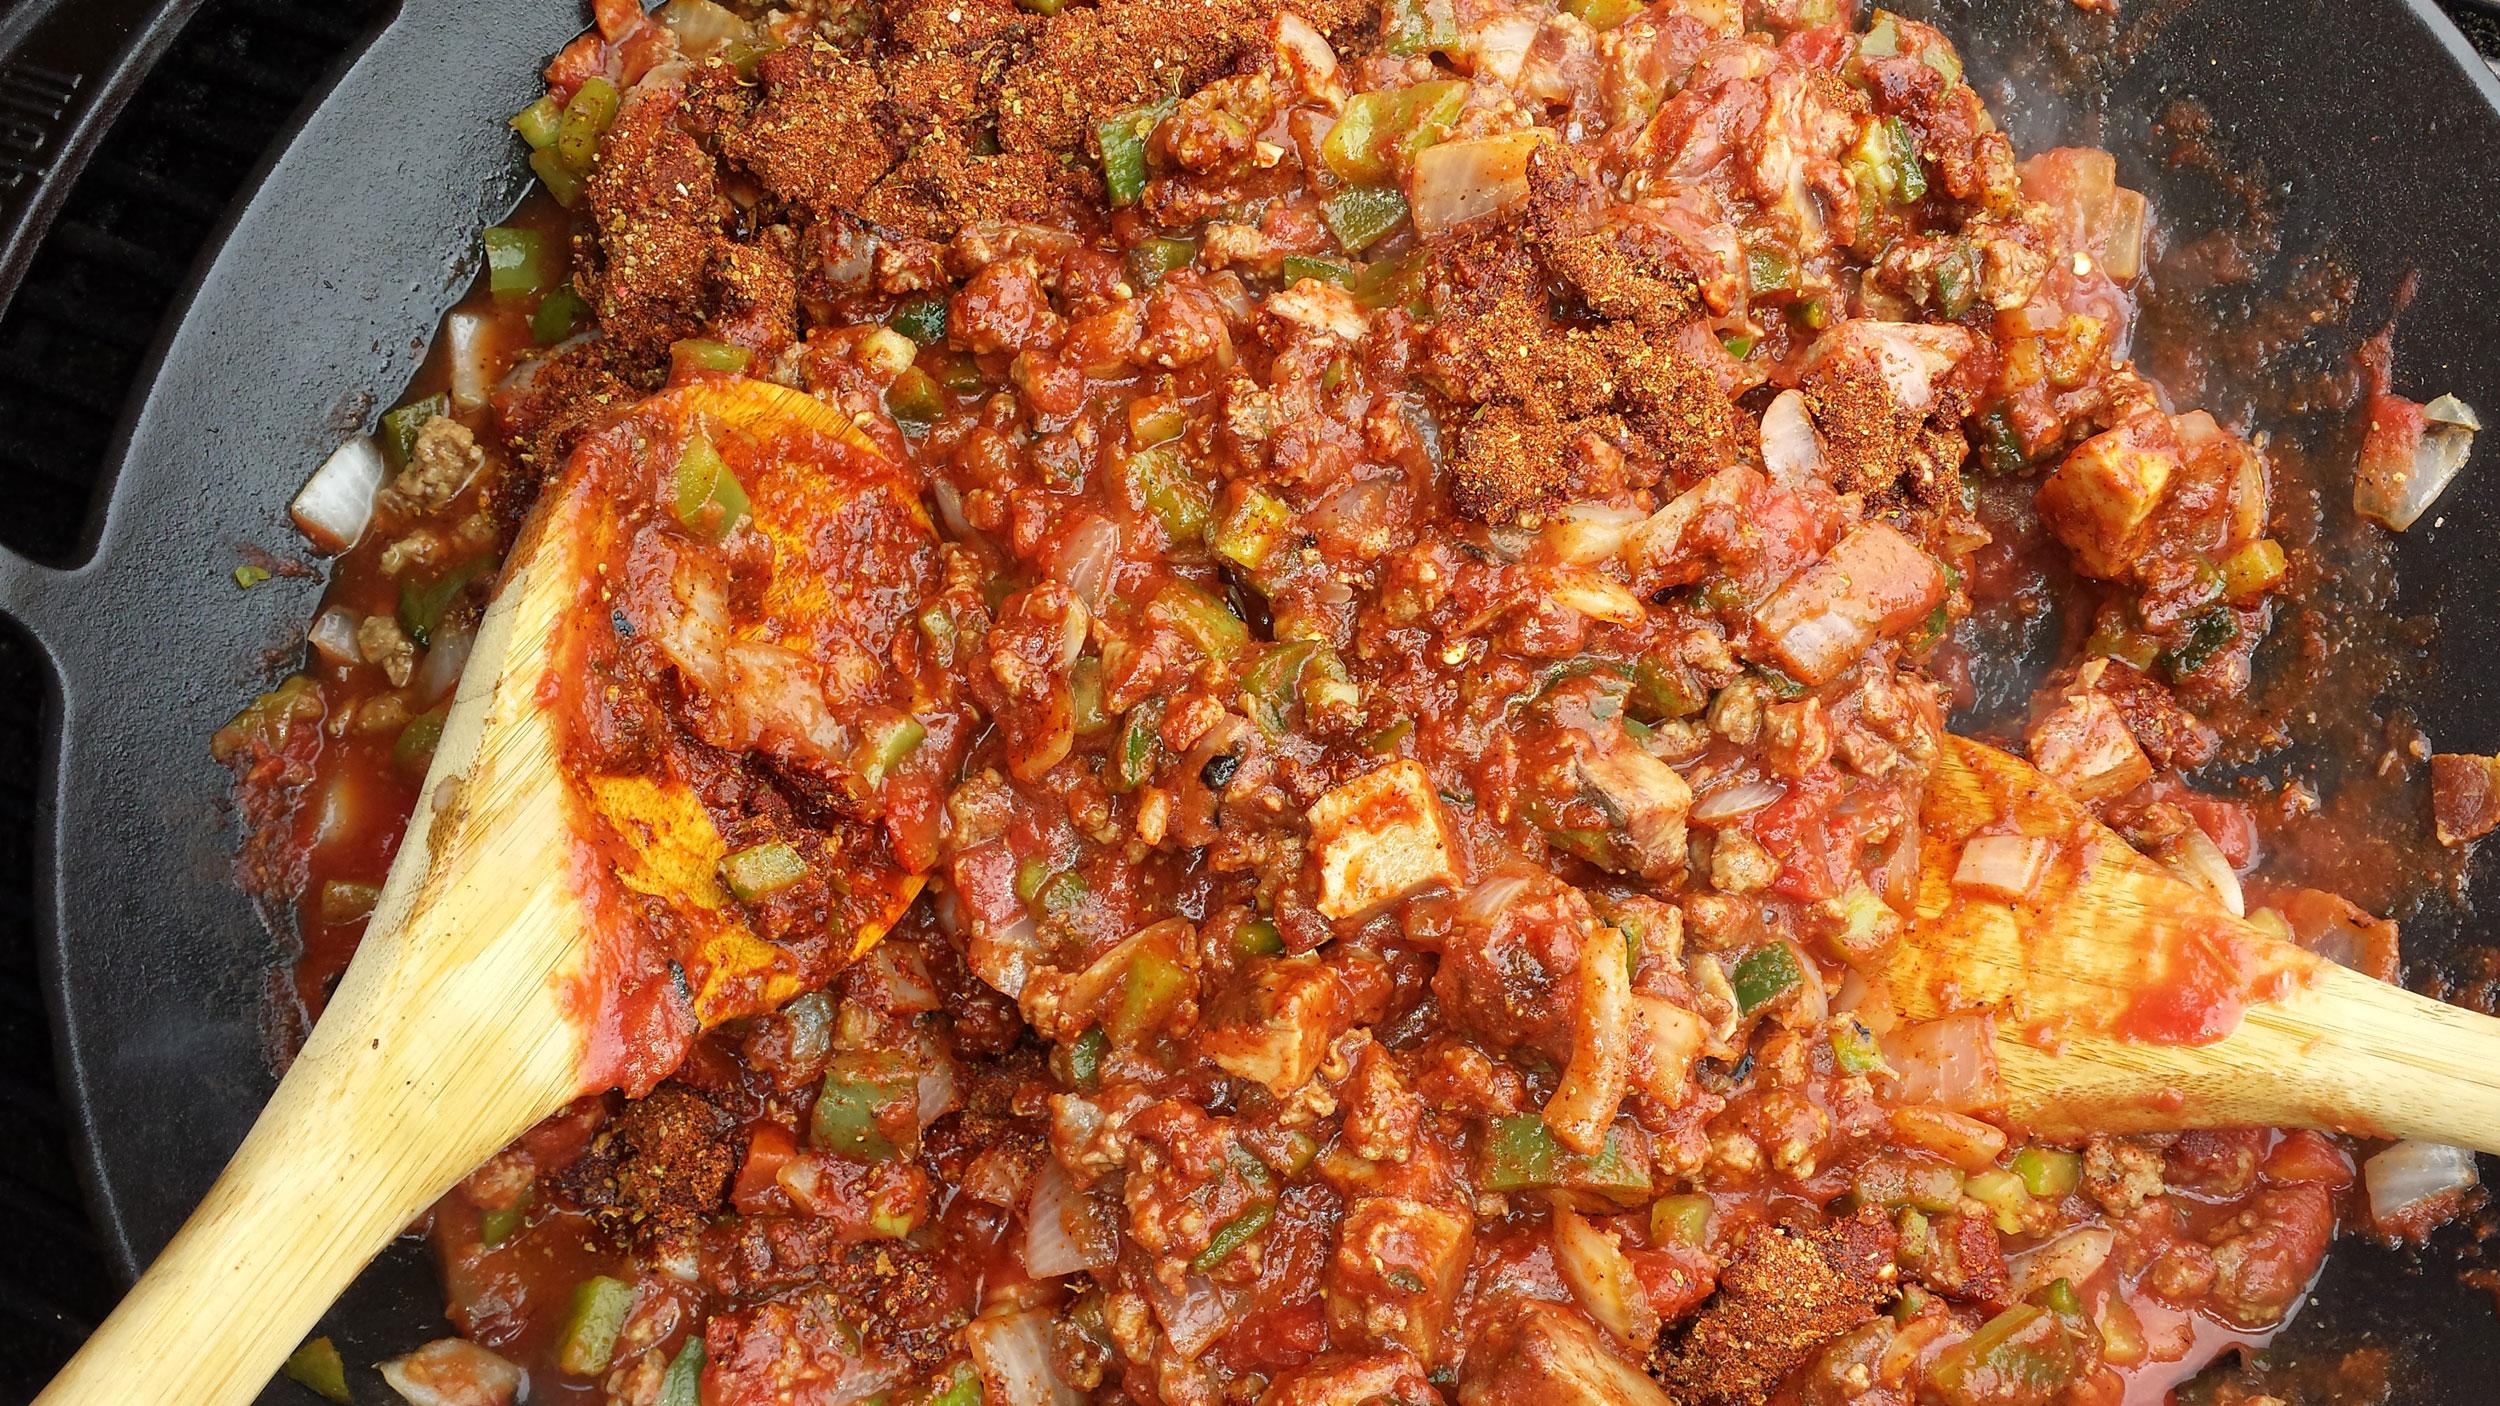
Stir the spices in
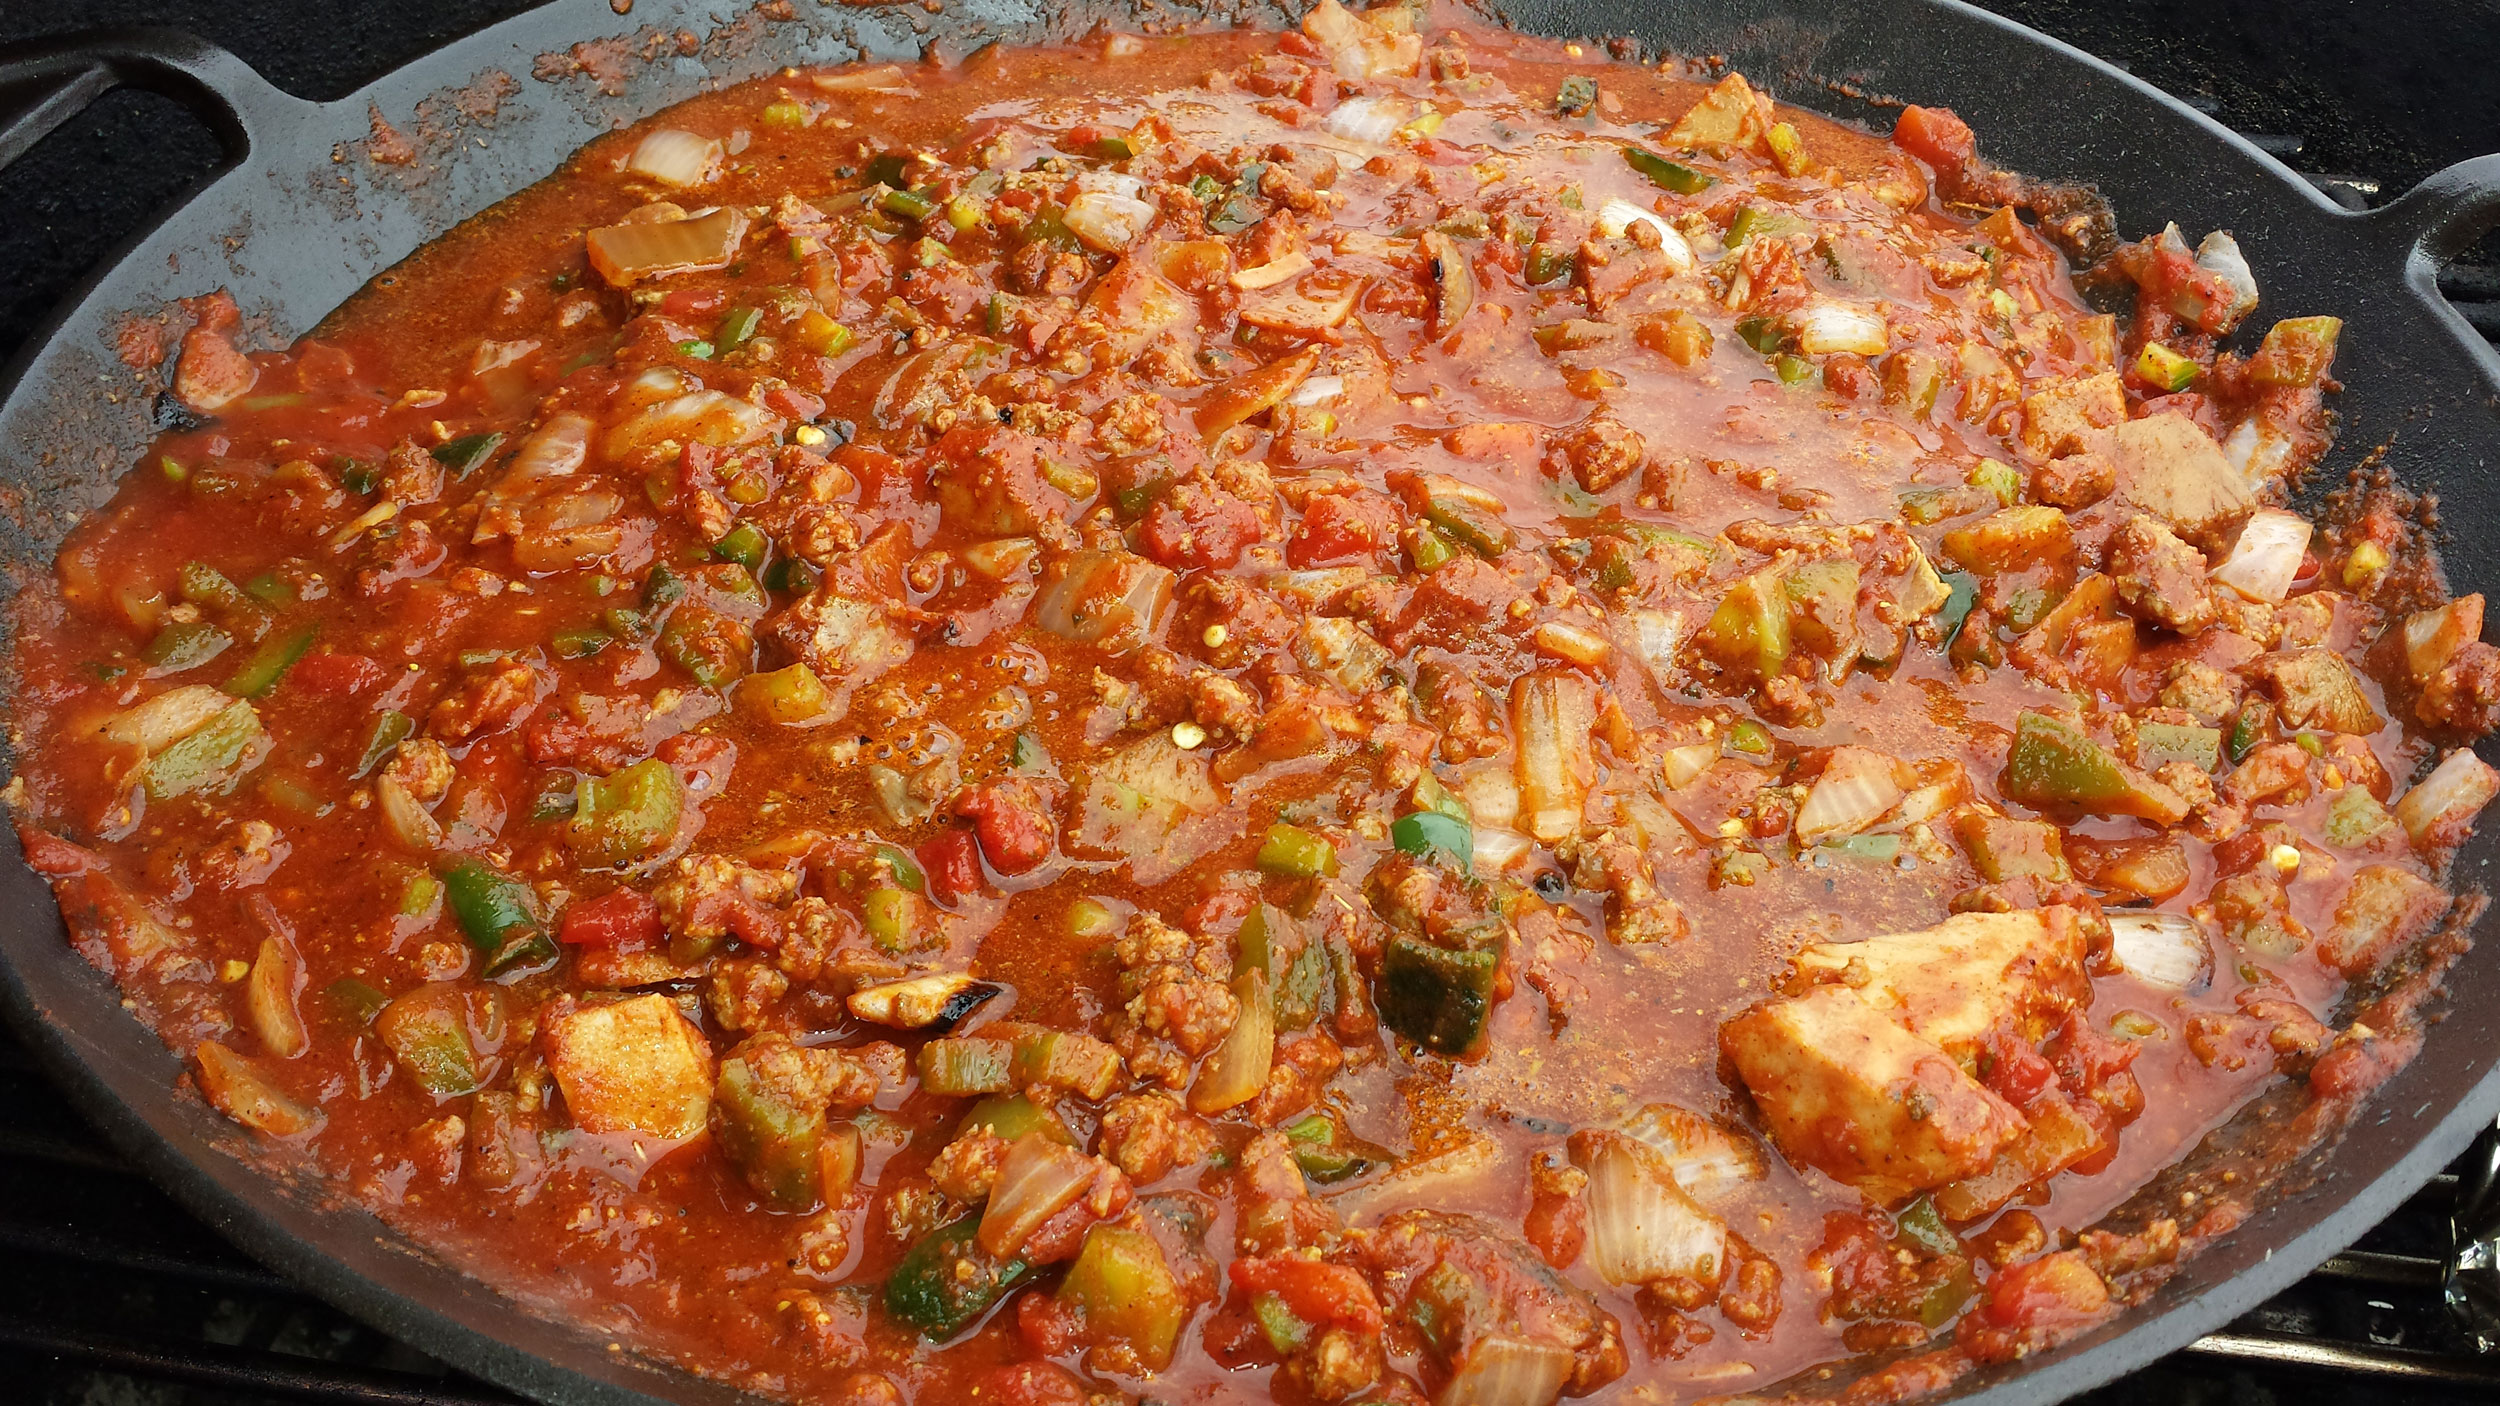
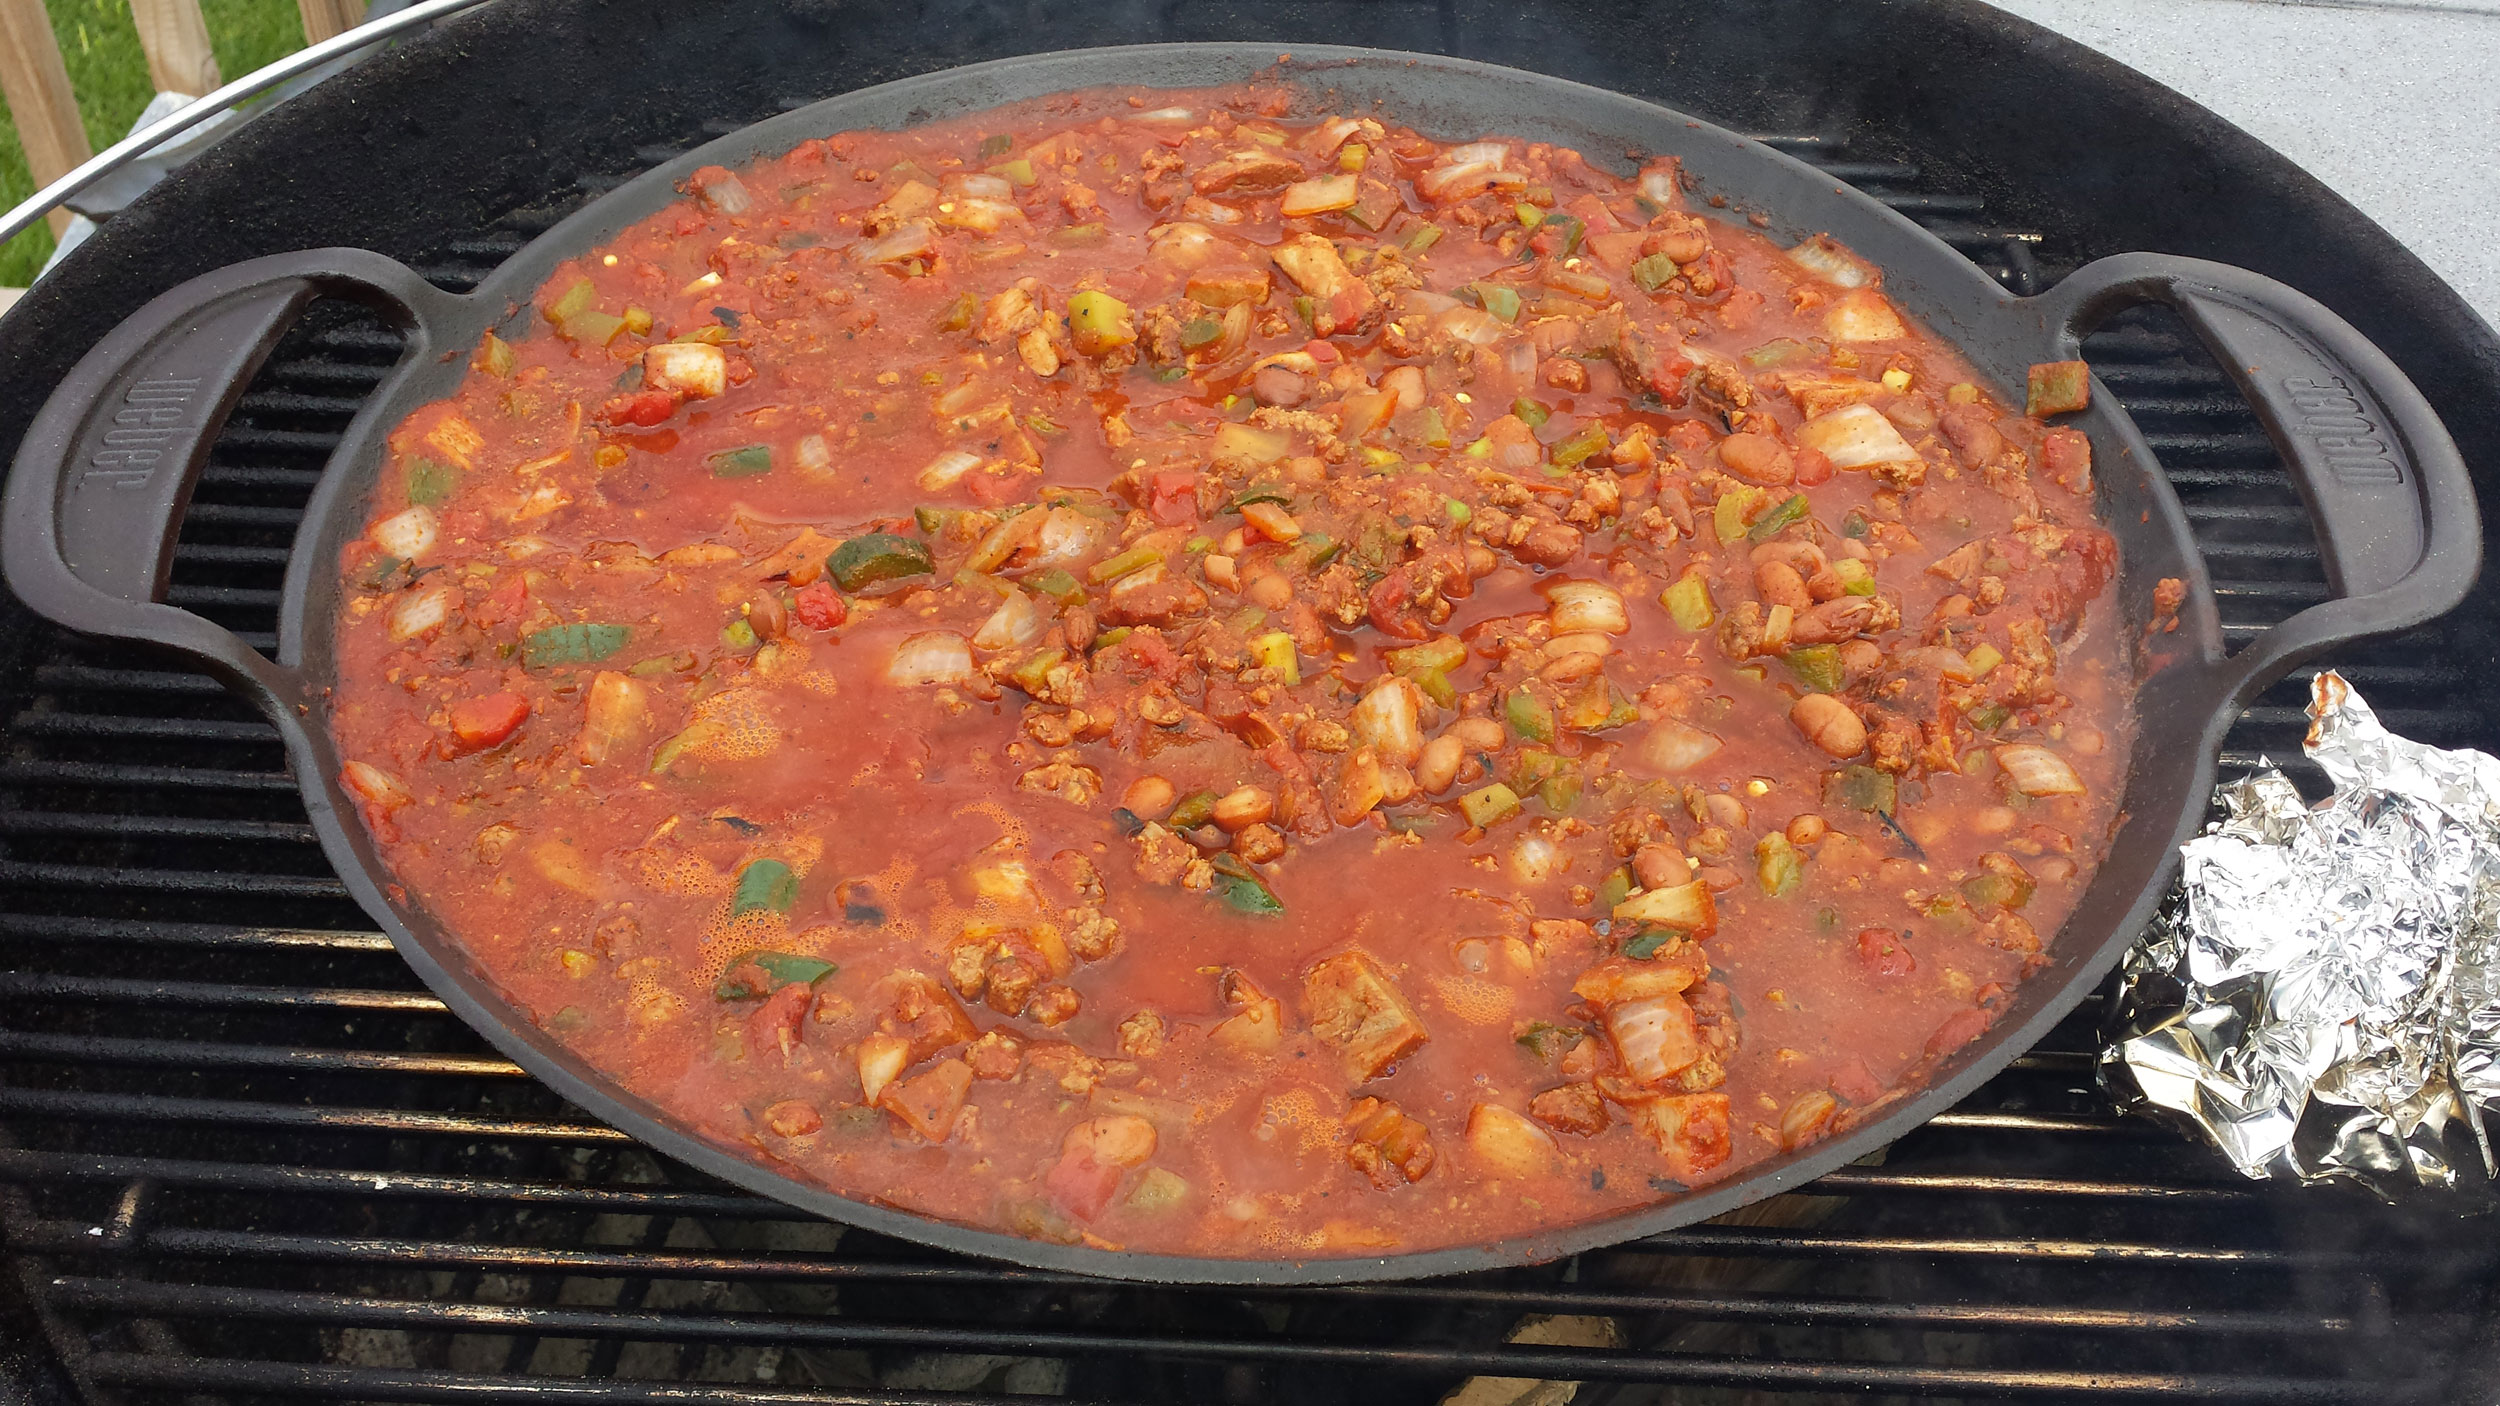
Looking great!
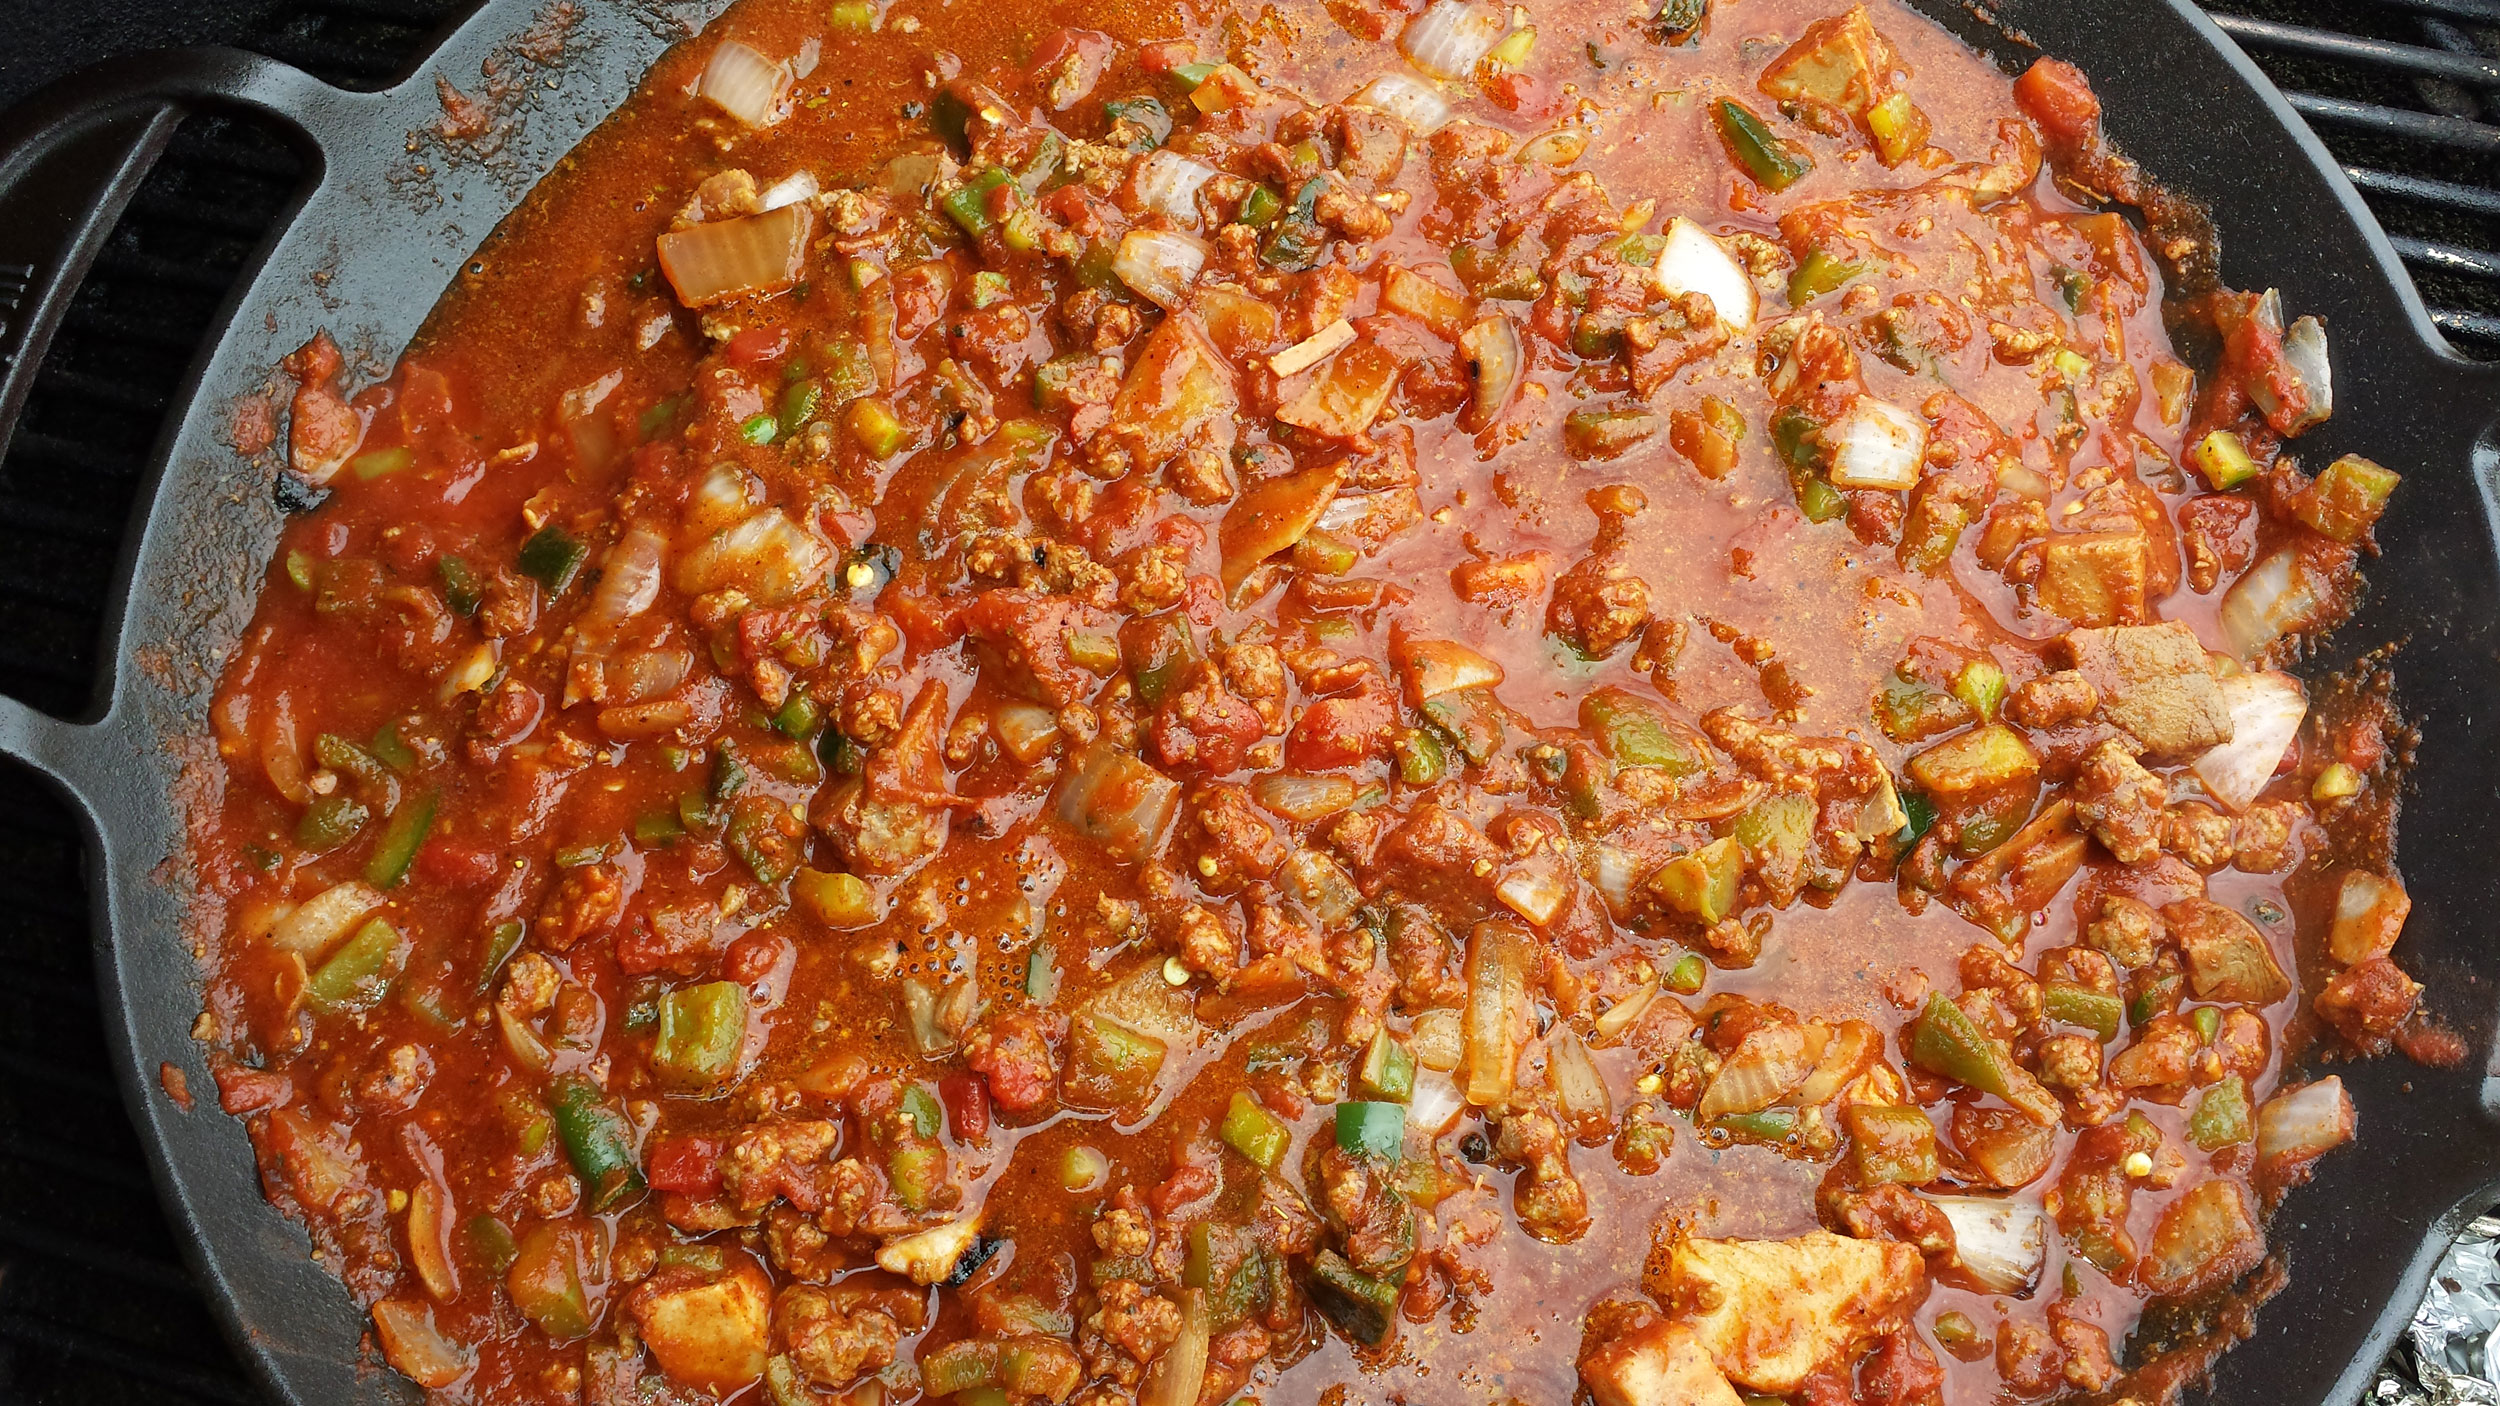
While grilling, we had to keep adding more liquid.
So keep water or broth or beer handy.
So keep water or broth or beer handy.
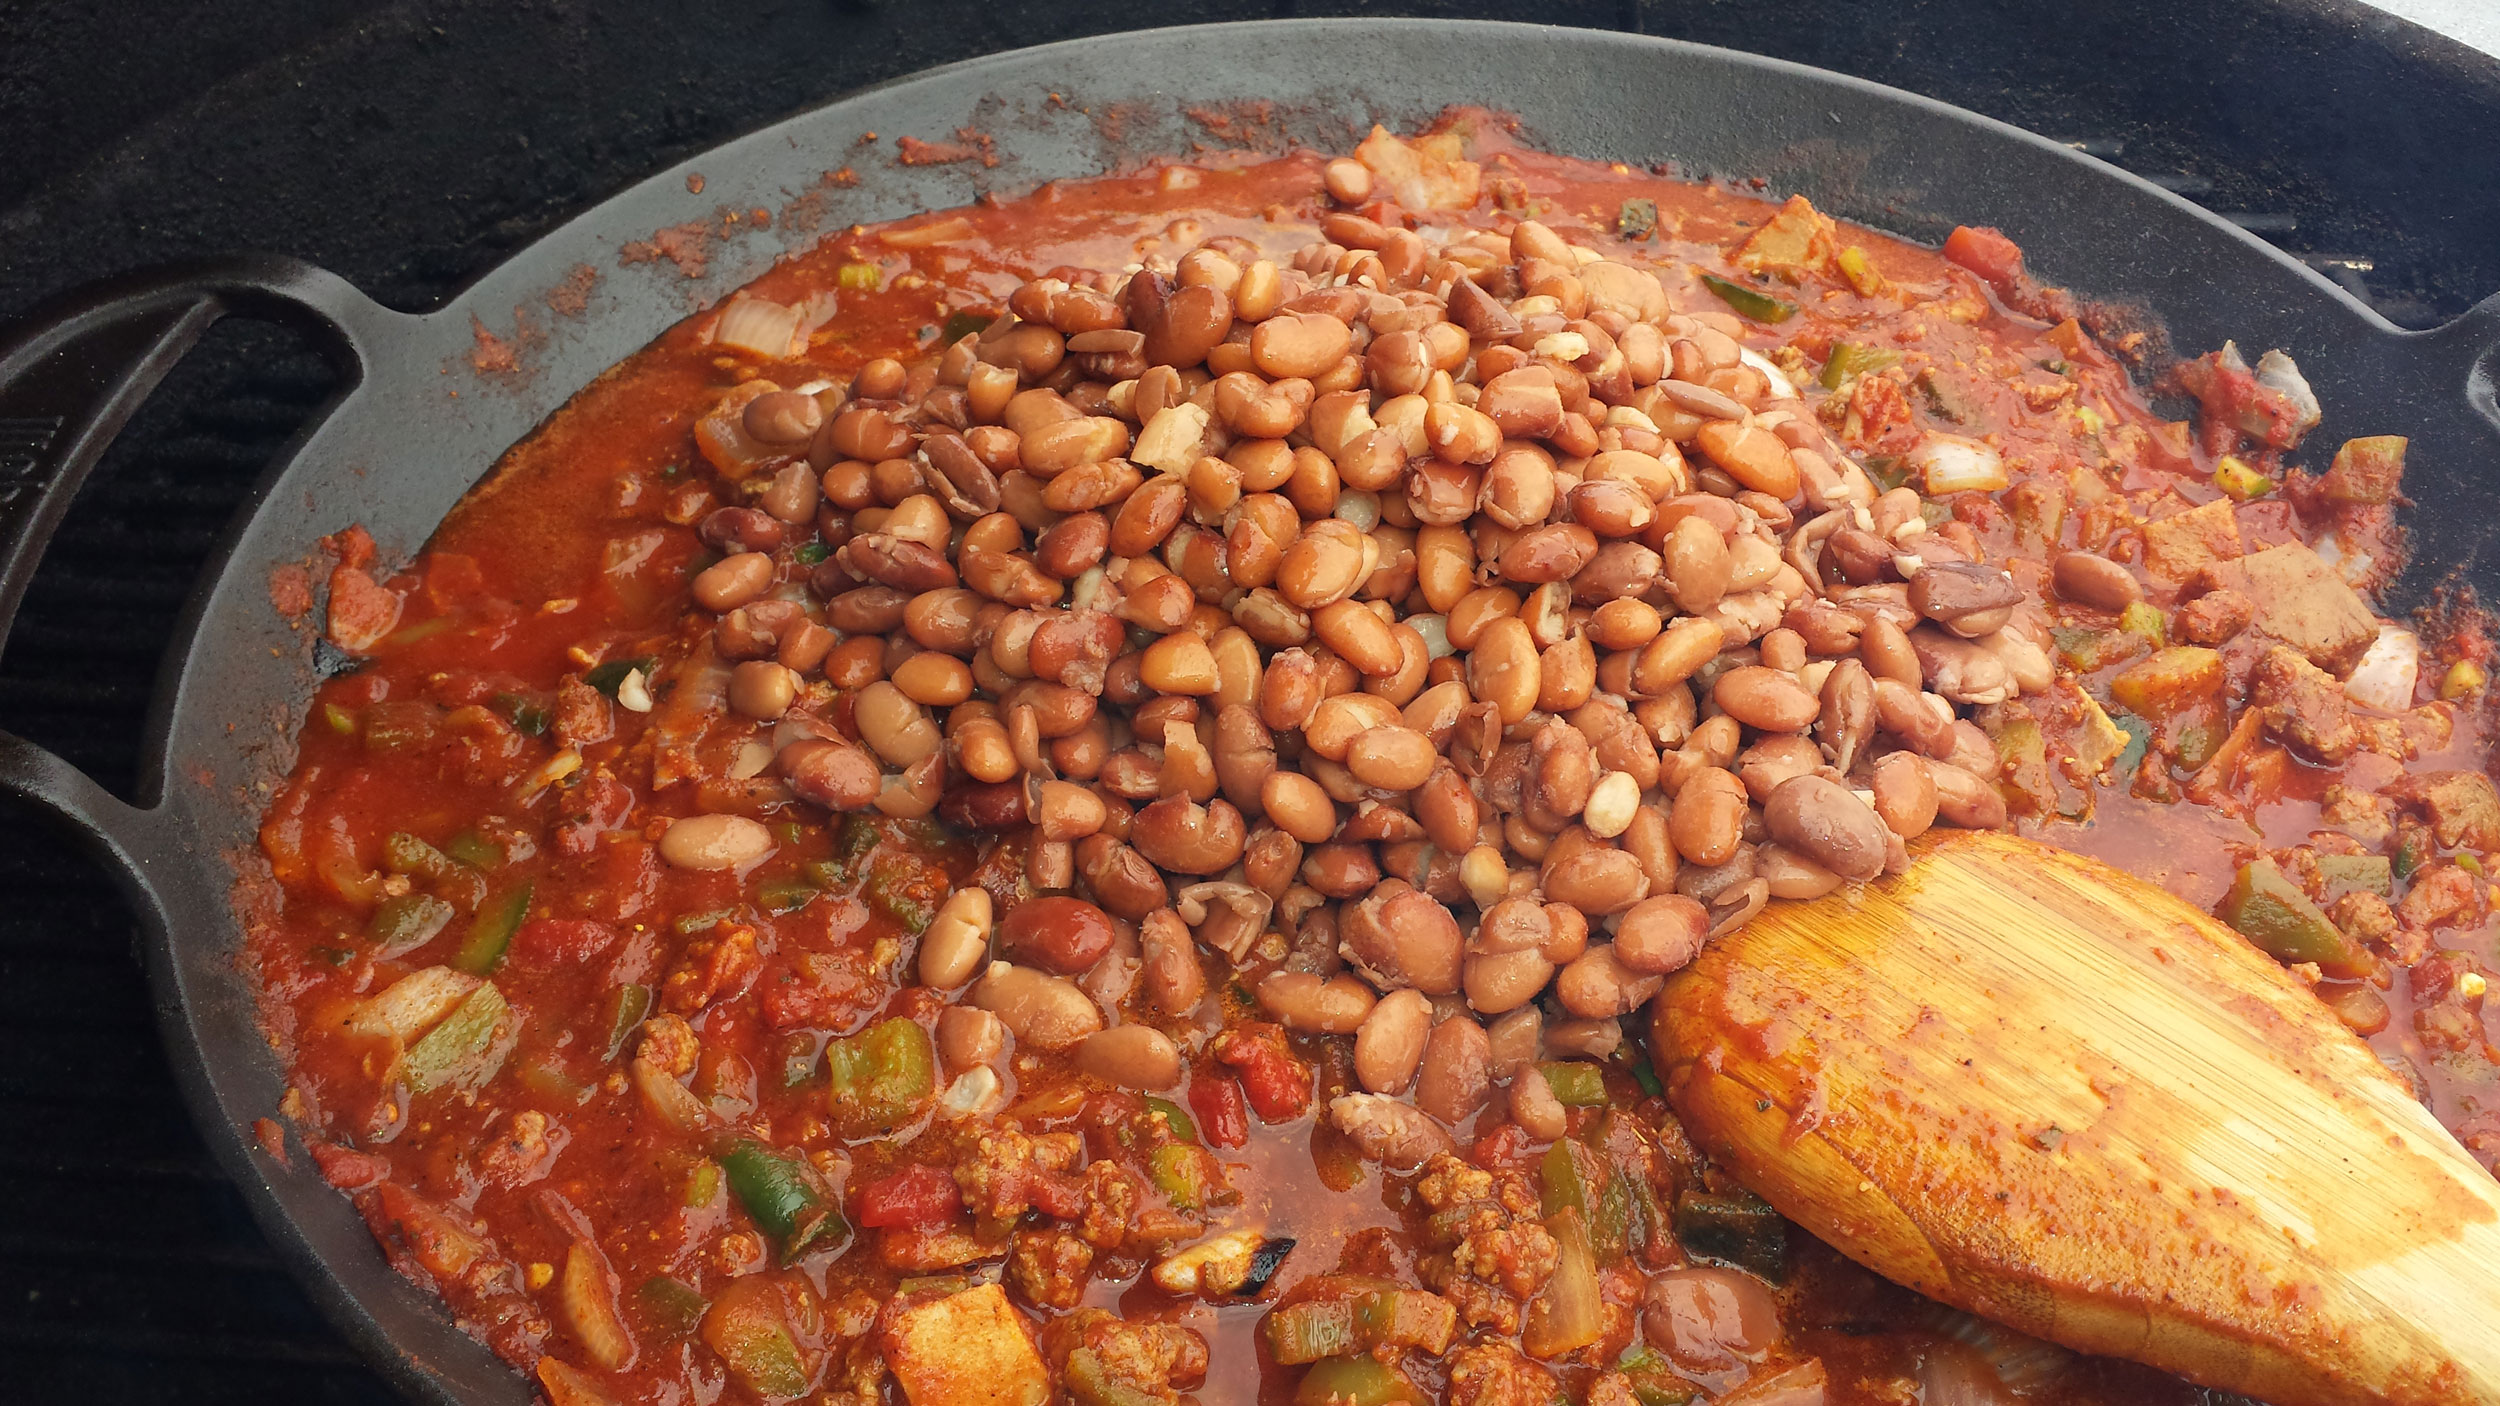
Add pinto beans and black beans. I had cooked a cup of dried bean (each type) the day before separately. You get a good amount of beans from dried. Plus I didn't add extra salt (which you get from canned).
Oops, we have to get that roasted garlic in there.
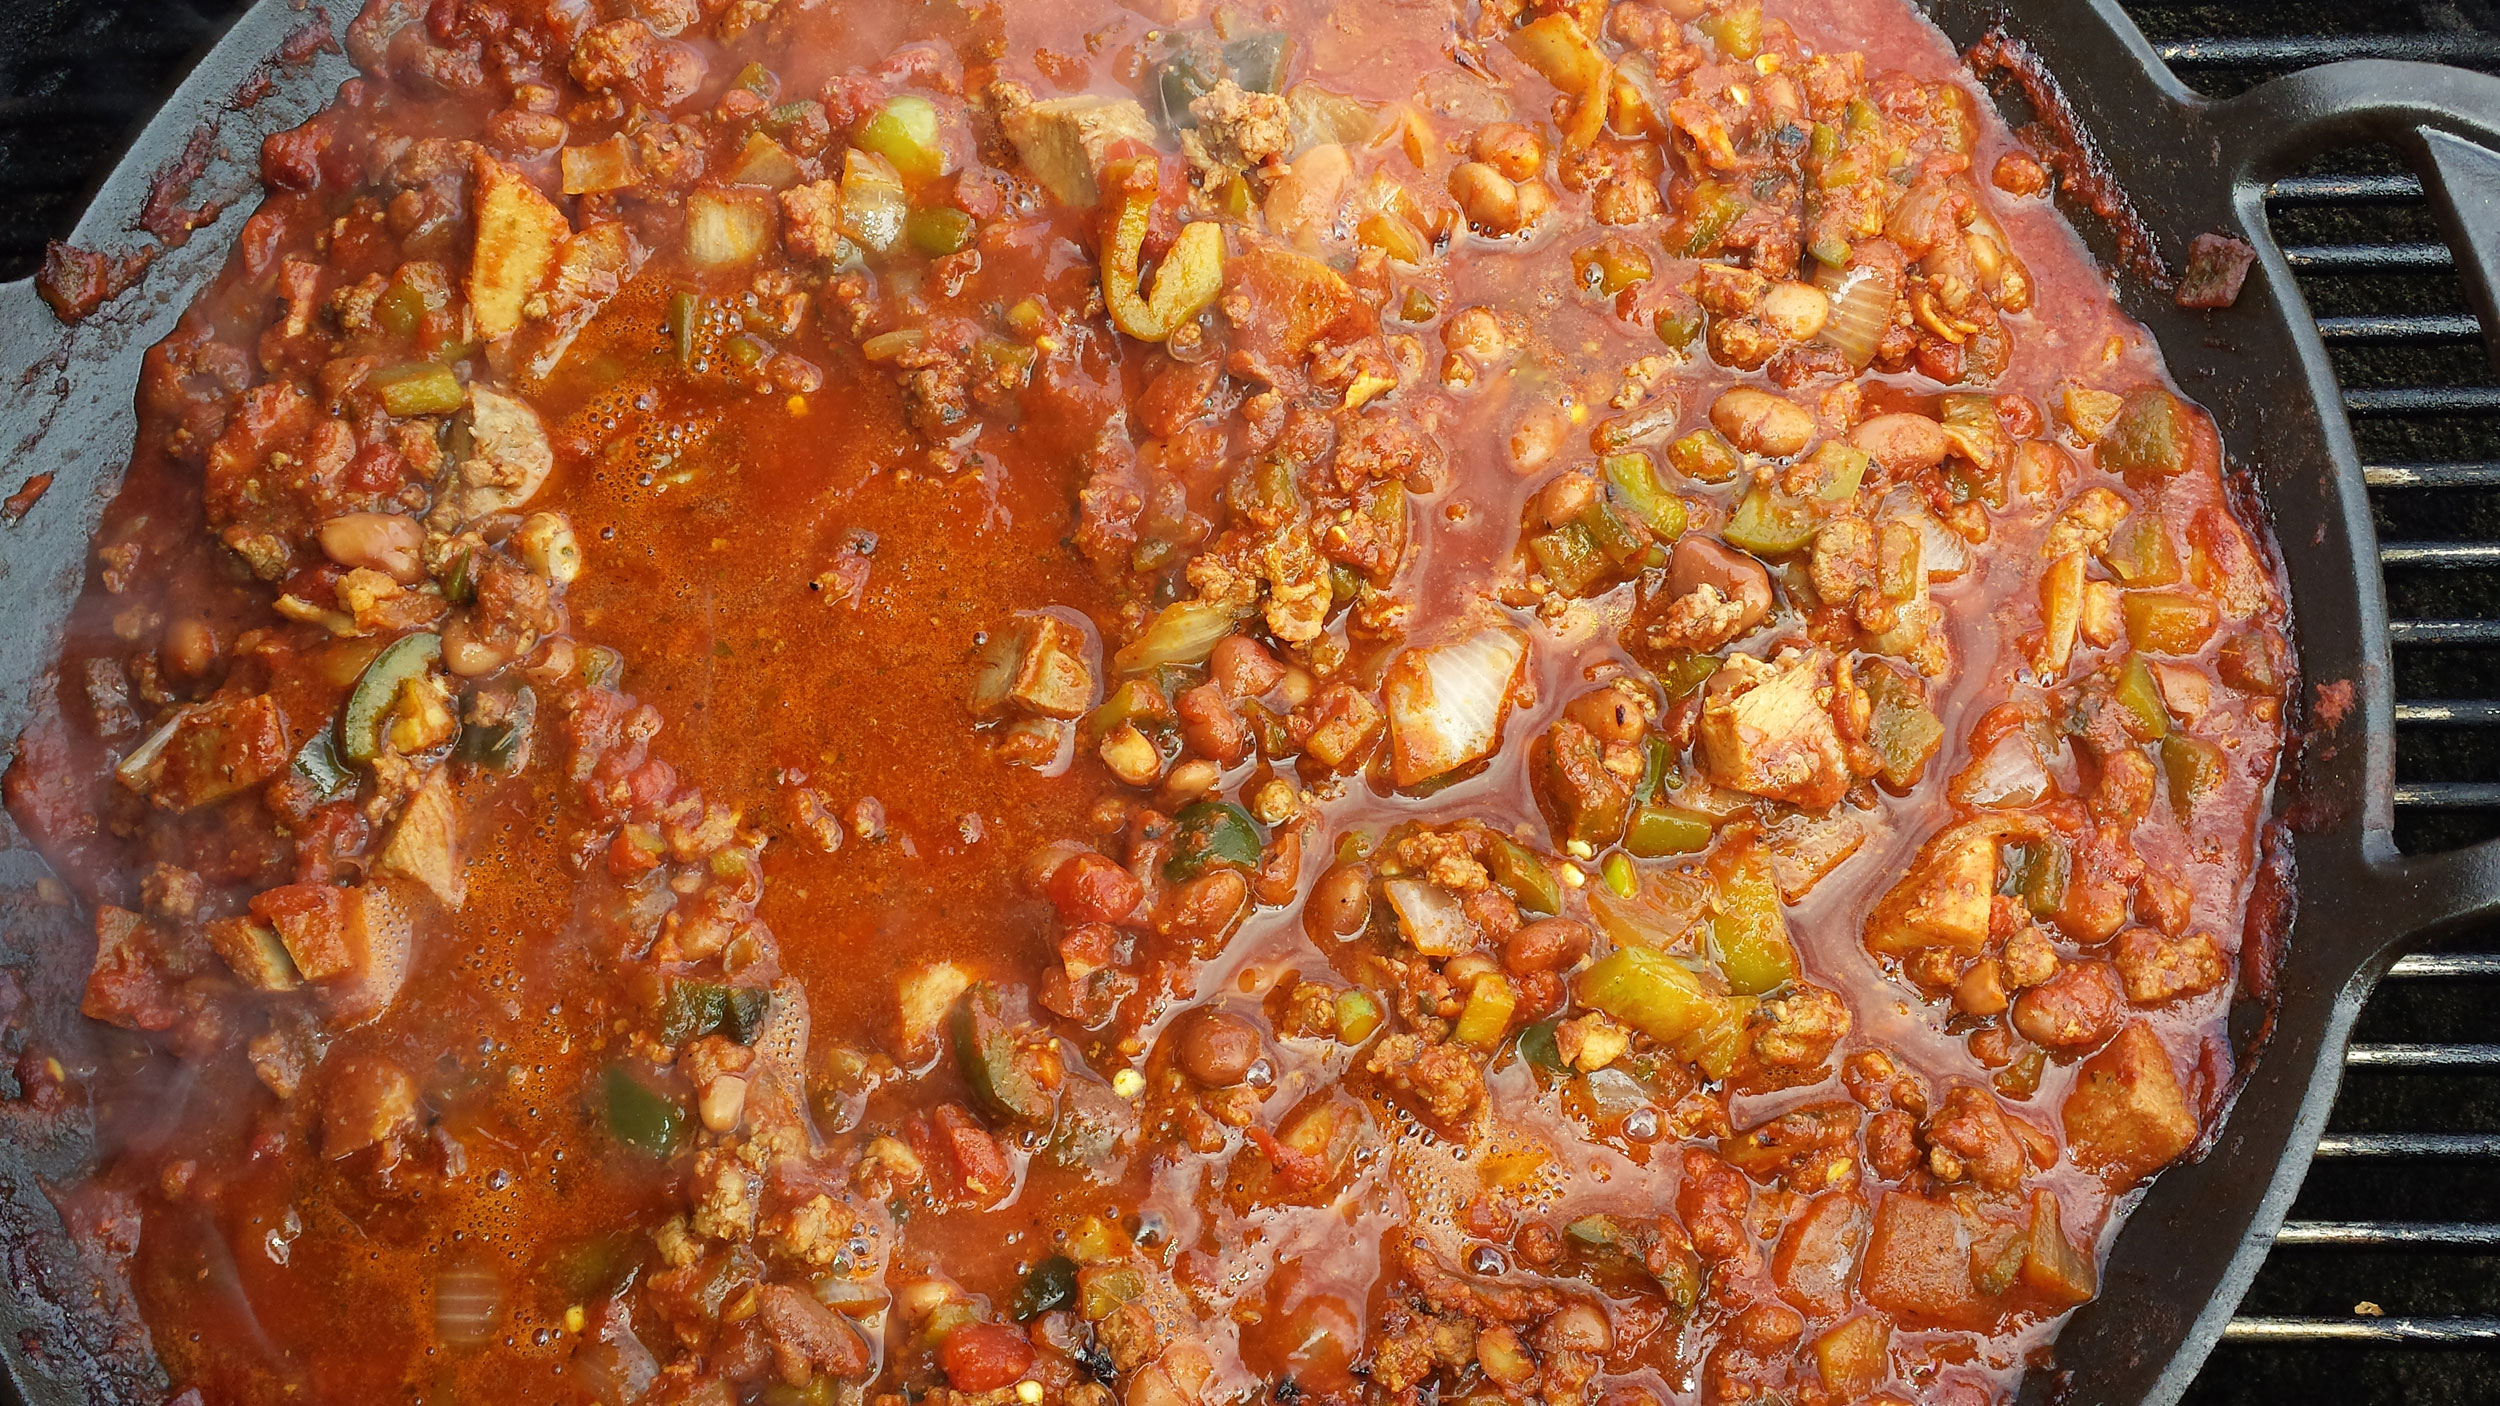
.Simmered away for a couple of hours, adding liquid when needed.
We also had used soaked pecan chunks on the charcoal throughout this whole
process, from the peppers/onions to the end of grilling our chili to add a nice smoky flavor.
We also had used soaked pecan chunks on the charcoal throughout this whole
process, from the peppers/onions to the end of grilling our chili to add a nice smoky flavor.
What a great chili. I hope you try grilling some chili. It sure is fantastic!
Enjoy!