My daughter decided she was going to have a wedding that wasn't traditional. She and her husband to be decided they wanted a Maui destination wedding. It was just the bride and groom along with the parents. The bride and groom had a gorgeous beach wedding with the sunset photos that will live forever in our memories.
A little background on the bride and groom. They are both professional people. The groom being a high school English teacher. The bride has a bachelor's degree in business and she works at a software compliance company. They are gamers who could play video games for a good part of the day if they were able to. They are also into Doctor Who big time.
When my husband and I were in Maui for the wedding, we of course had to go shopping. We saw a t-shirt that had a stick figure bride and groom that had GAME OVER on it. A perfect shirt for gamers who are getting married! Well, we didn't get the shirts, but did mention it to the "kids". They thought it was hilarious!. After the minister pronounced them man and wife, my husband had to say GAME OVER. Everyone had a good laugh about it. Memorable for sure!
Back on the mainland, our daughter's 2 grandmas were planning a Luau wedding reception. The new groom's parents were going to throw a family reunion together in their home state as their reception. Did I say our families are very non-traditional? Anyway, my mom (one of the grandmas) was in charge of the wedding cake. She decided to make cupcakes. Now, the bride is a vegan, so I was enlisted to make some fun, personalized vegan wedding cupcakes for the bride and groom, while mom made the "normal" cupcakes. I took up the challenge!
The bride and groom love chocolate. The groom even more so than the bride! I knew I was going to make chocolate cupcakes. Then had to decide what to do to make it different. My daughter is always putting Doctor Who pictures up on my timeline on Facebook. Awhile ago I had remembered seeing dalek cupcakes posted. I figured I could make a pair of bride and groom daleks and put the gamer twist on it with the daleks holding a sign that said GAME OVER.
OK, now to make the cupcakes vegan. I bought a devil's food cake mix from Whole Foods. The instructions on the box said to make the mix vegan, use applesauce instead of egg, and a vegan "butter", which I chose Earth Balance original, plus water. Easy enough!
I know Pocky isn't vegan, at least the chocolate part on the stick isn't. But, I know that the daughter would still eat that tiny bit, or give that part to her husband. I wanted to have light chocolate dots for the boy dalek and white dots (wedding dress) for the girl. It didn't quite work out that way. Of course I waited till the last minute and ran around to about 6 different stores and couldn't locate the right color dots. So I settled on the pink and blue dots that were handpicked out of the multi-color mix I picked up.
I put two cupcakes together (stacked) and shaped it into the famously recognizable dalek shape. I "frosted" the daleks with melted semi-sweet vegan chocolate chips. Added the dots on the body portion and Pocky as the appendages. The crowning glory were the GAME OVER signs.
We brought the bride and groom daleks out at dessert time at the reception. The bride and groom were so surprised and they laughed! All their friends (Doctor Who fans and gamers as well) took pics and the couple shared the daleks with them. They were a tremendous hit!
Enjoyable people, enjoyable food, enjoyable time. GAME OVER!
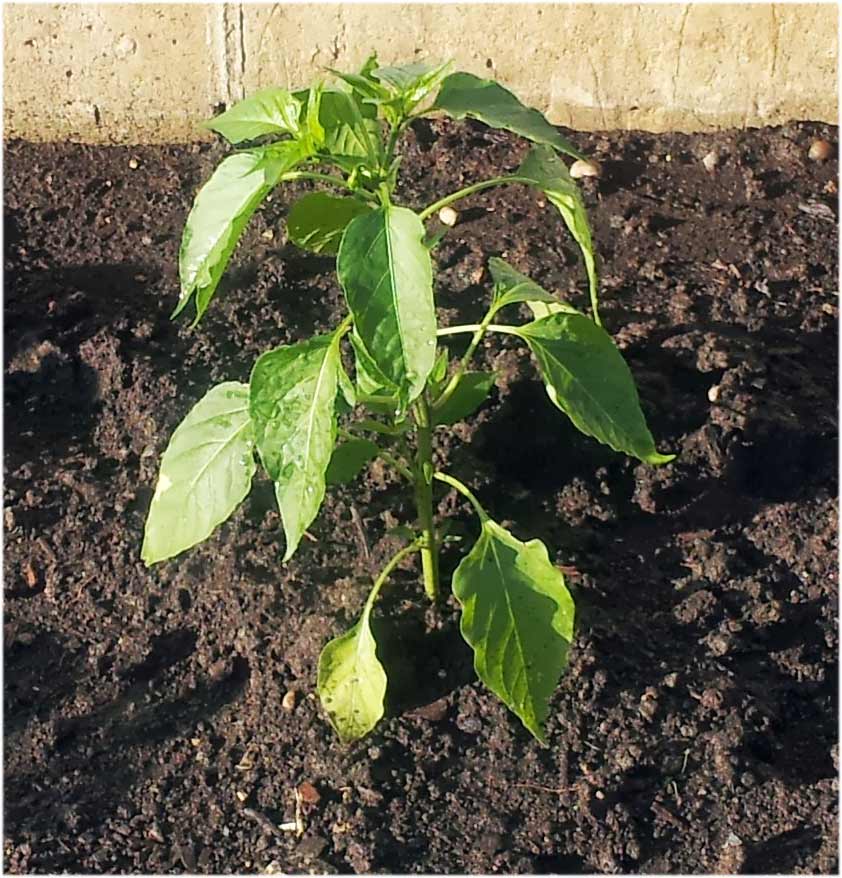
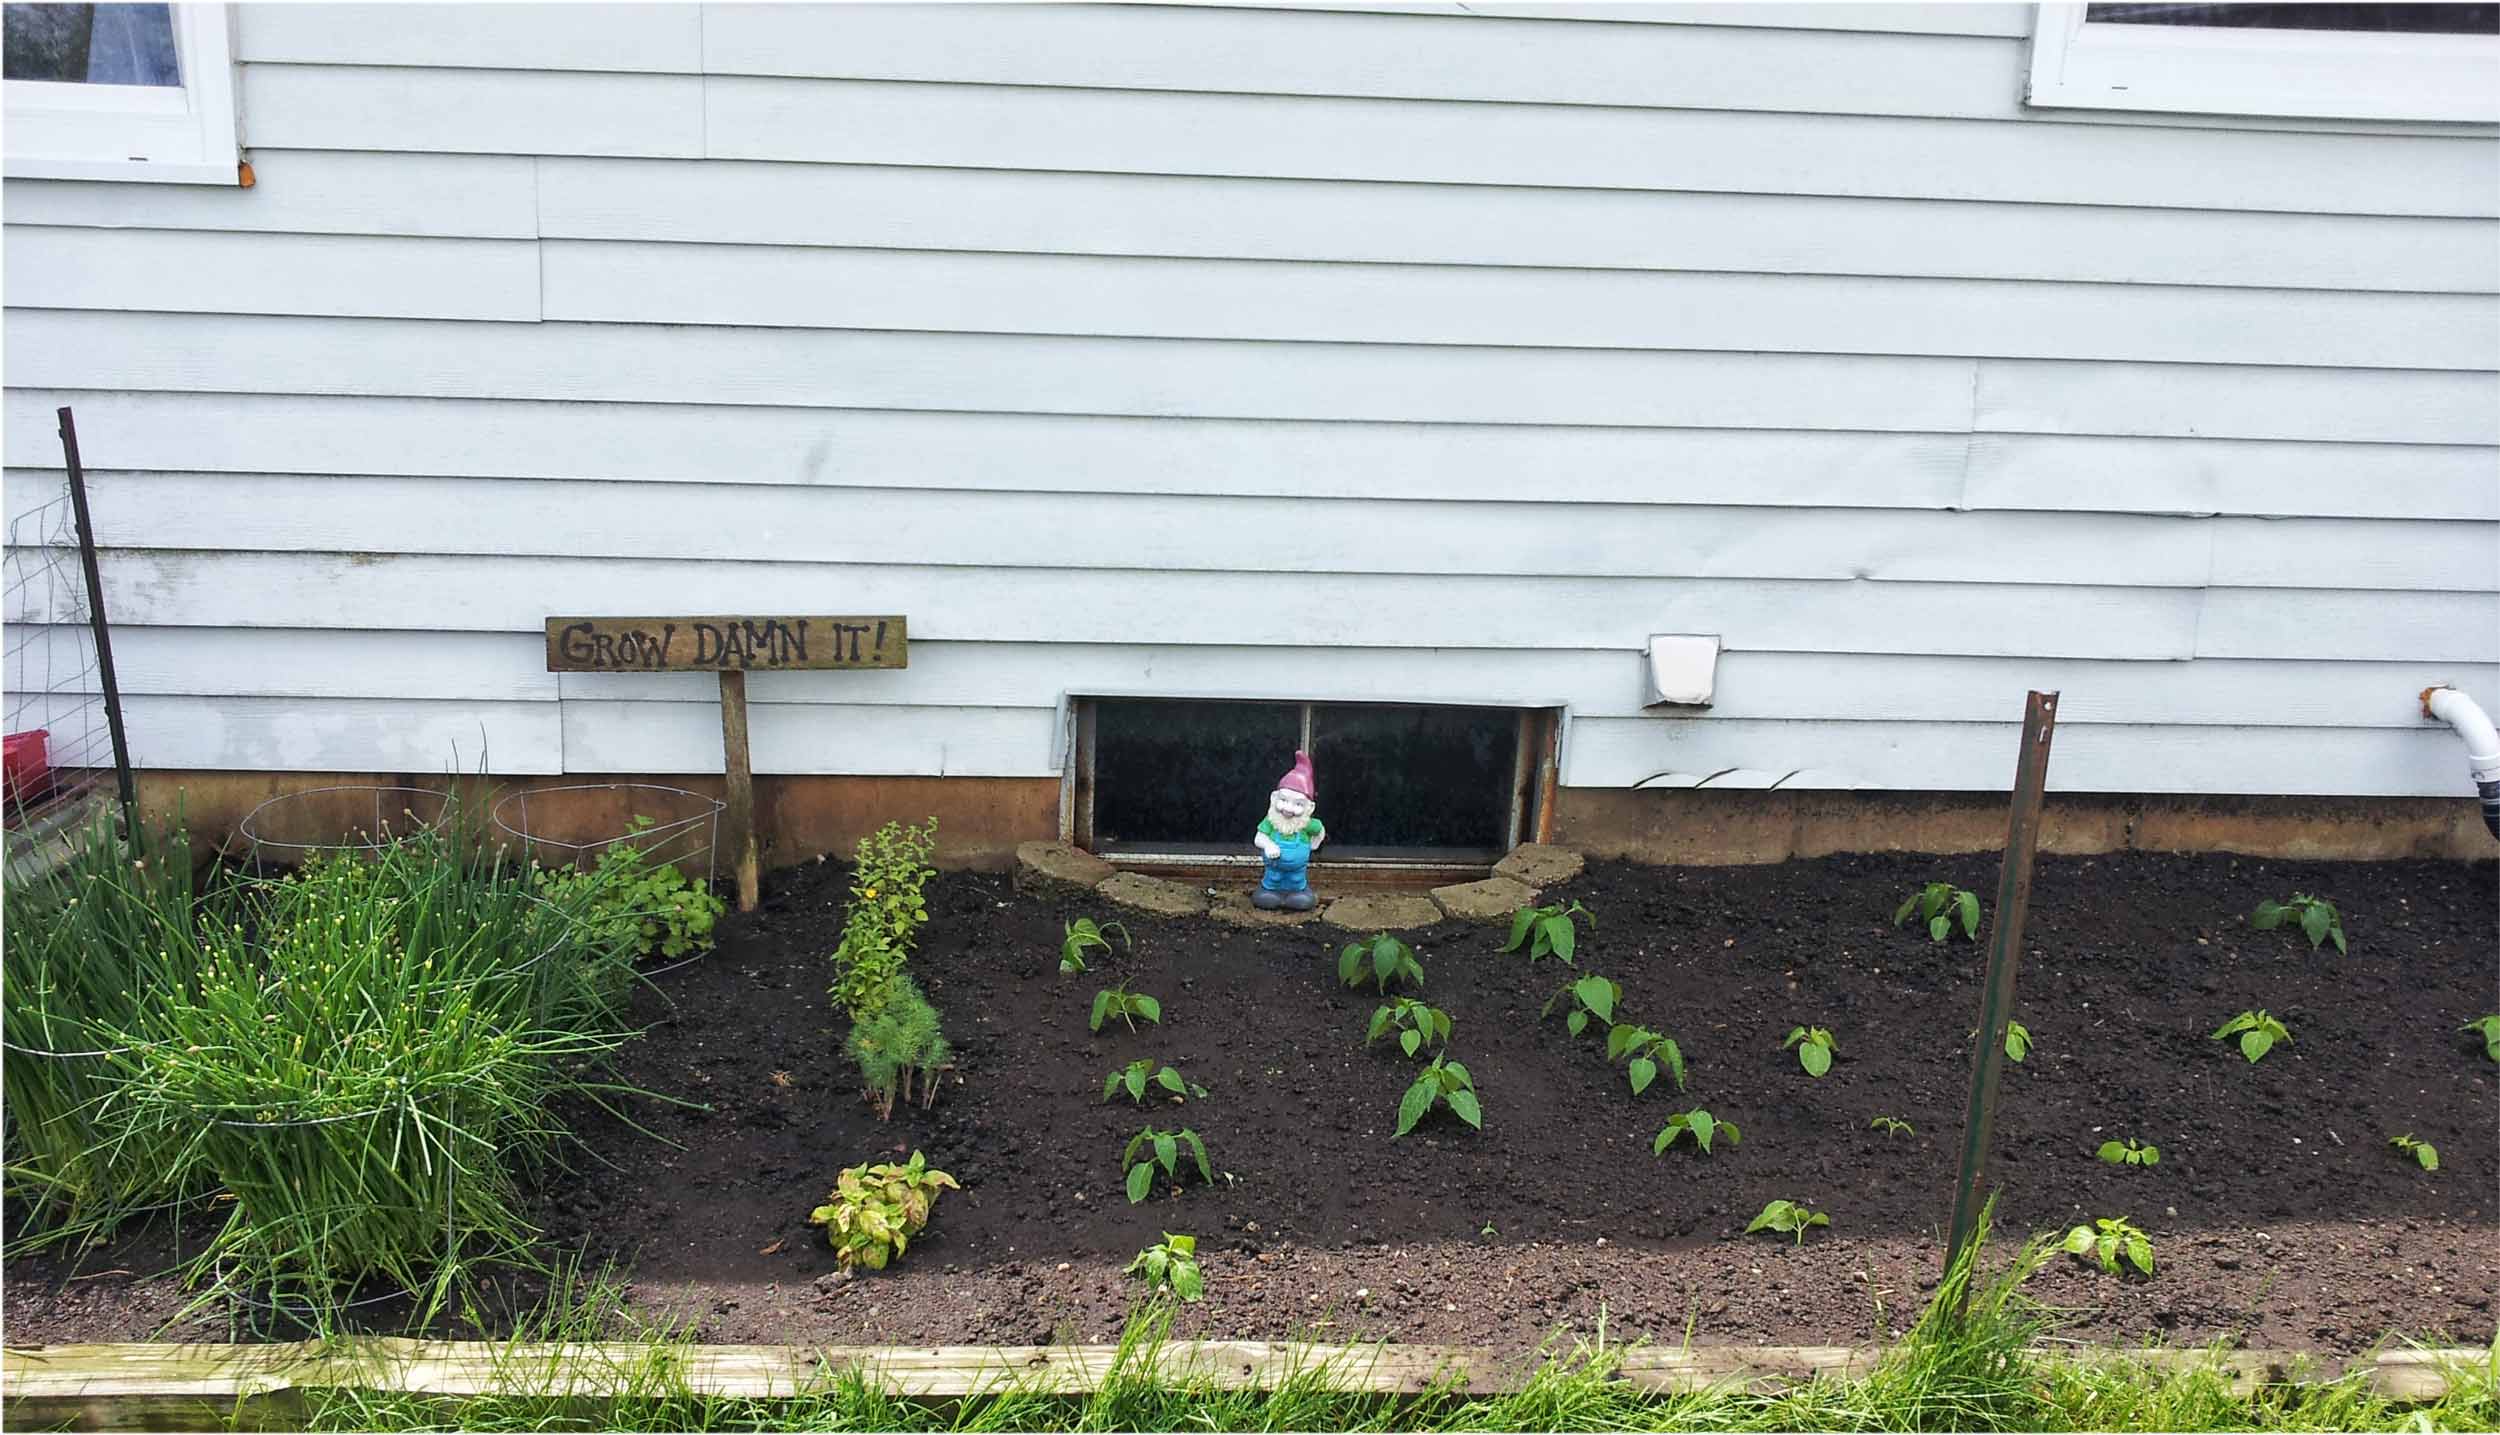
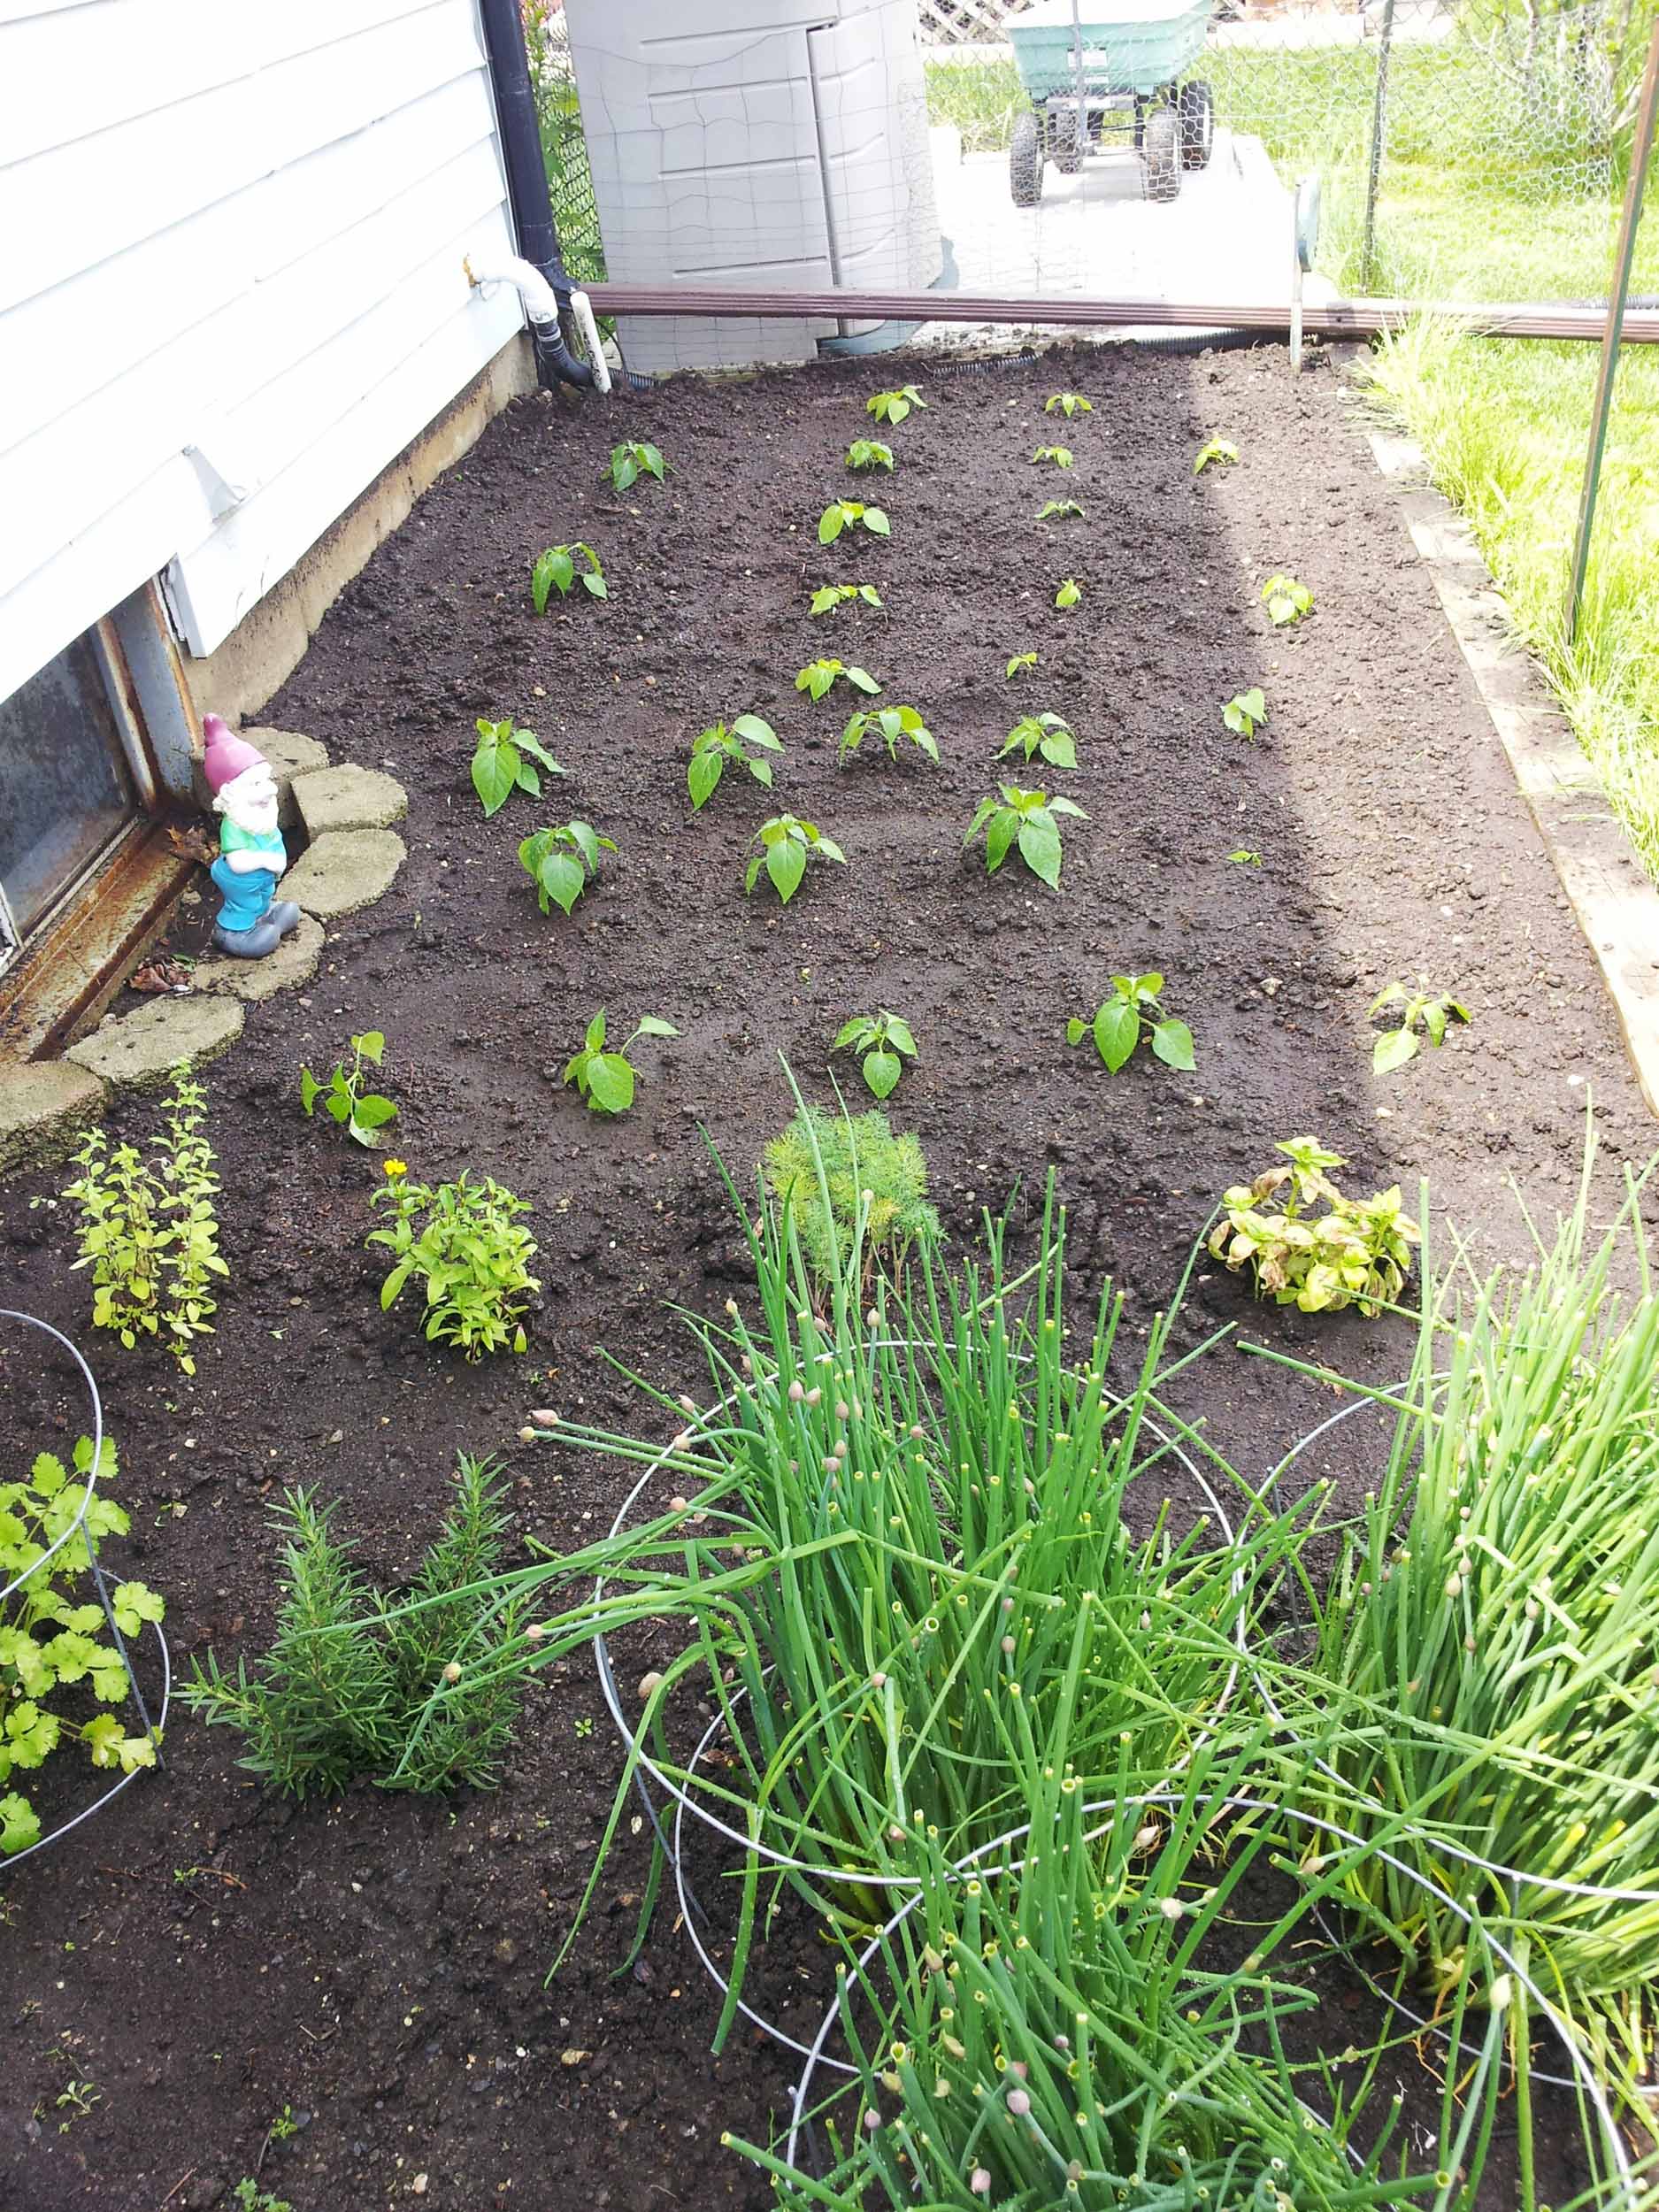
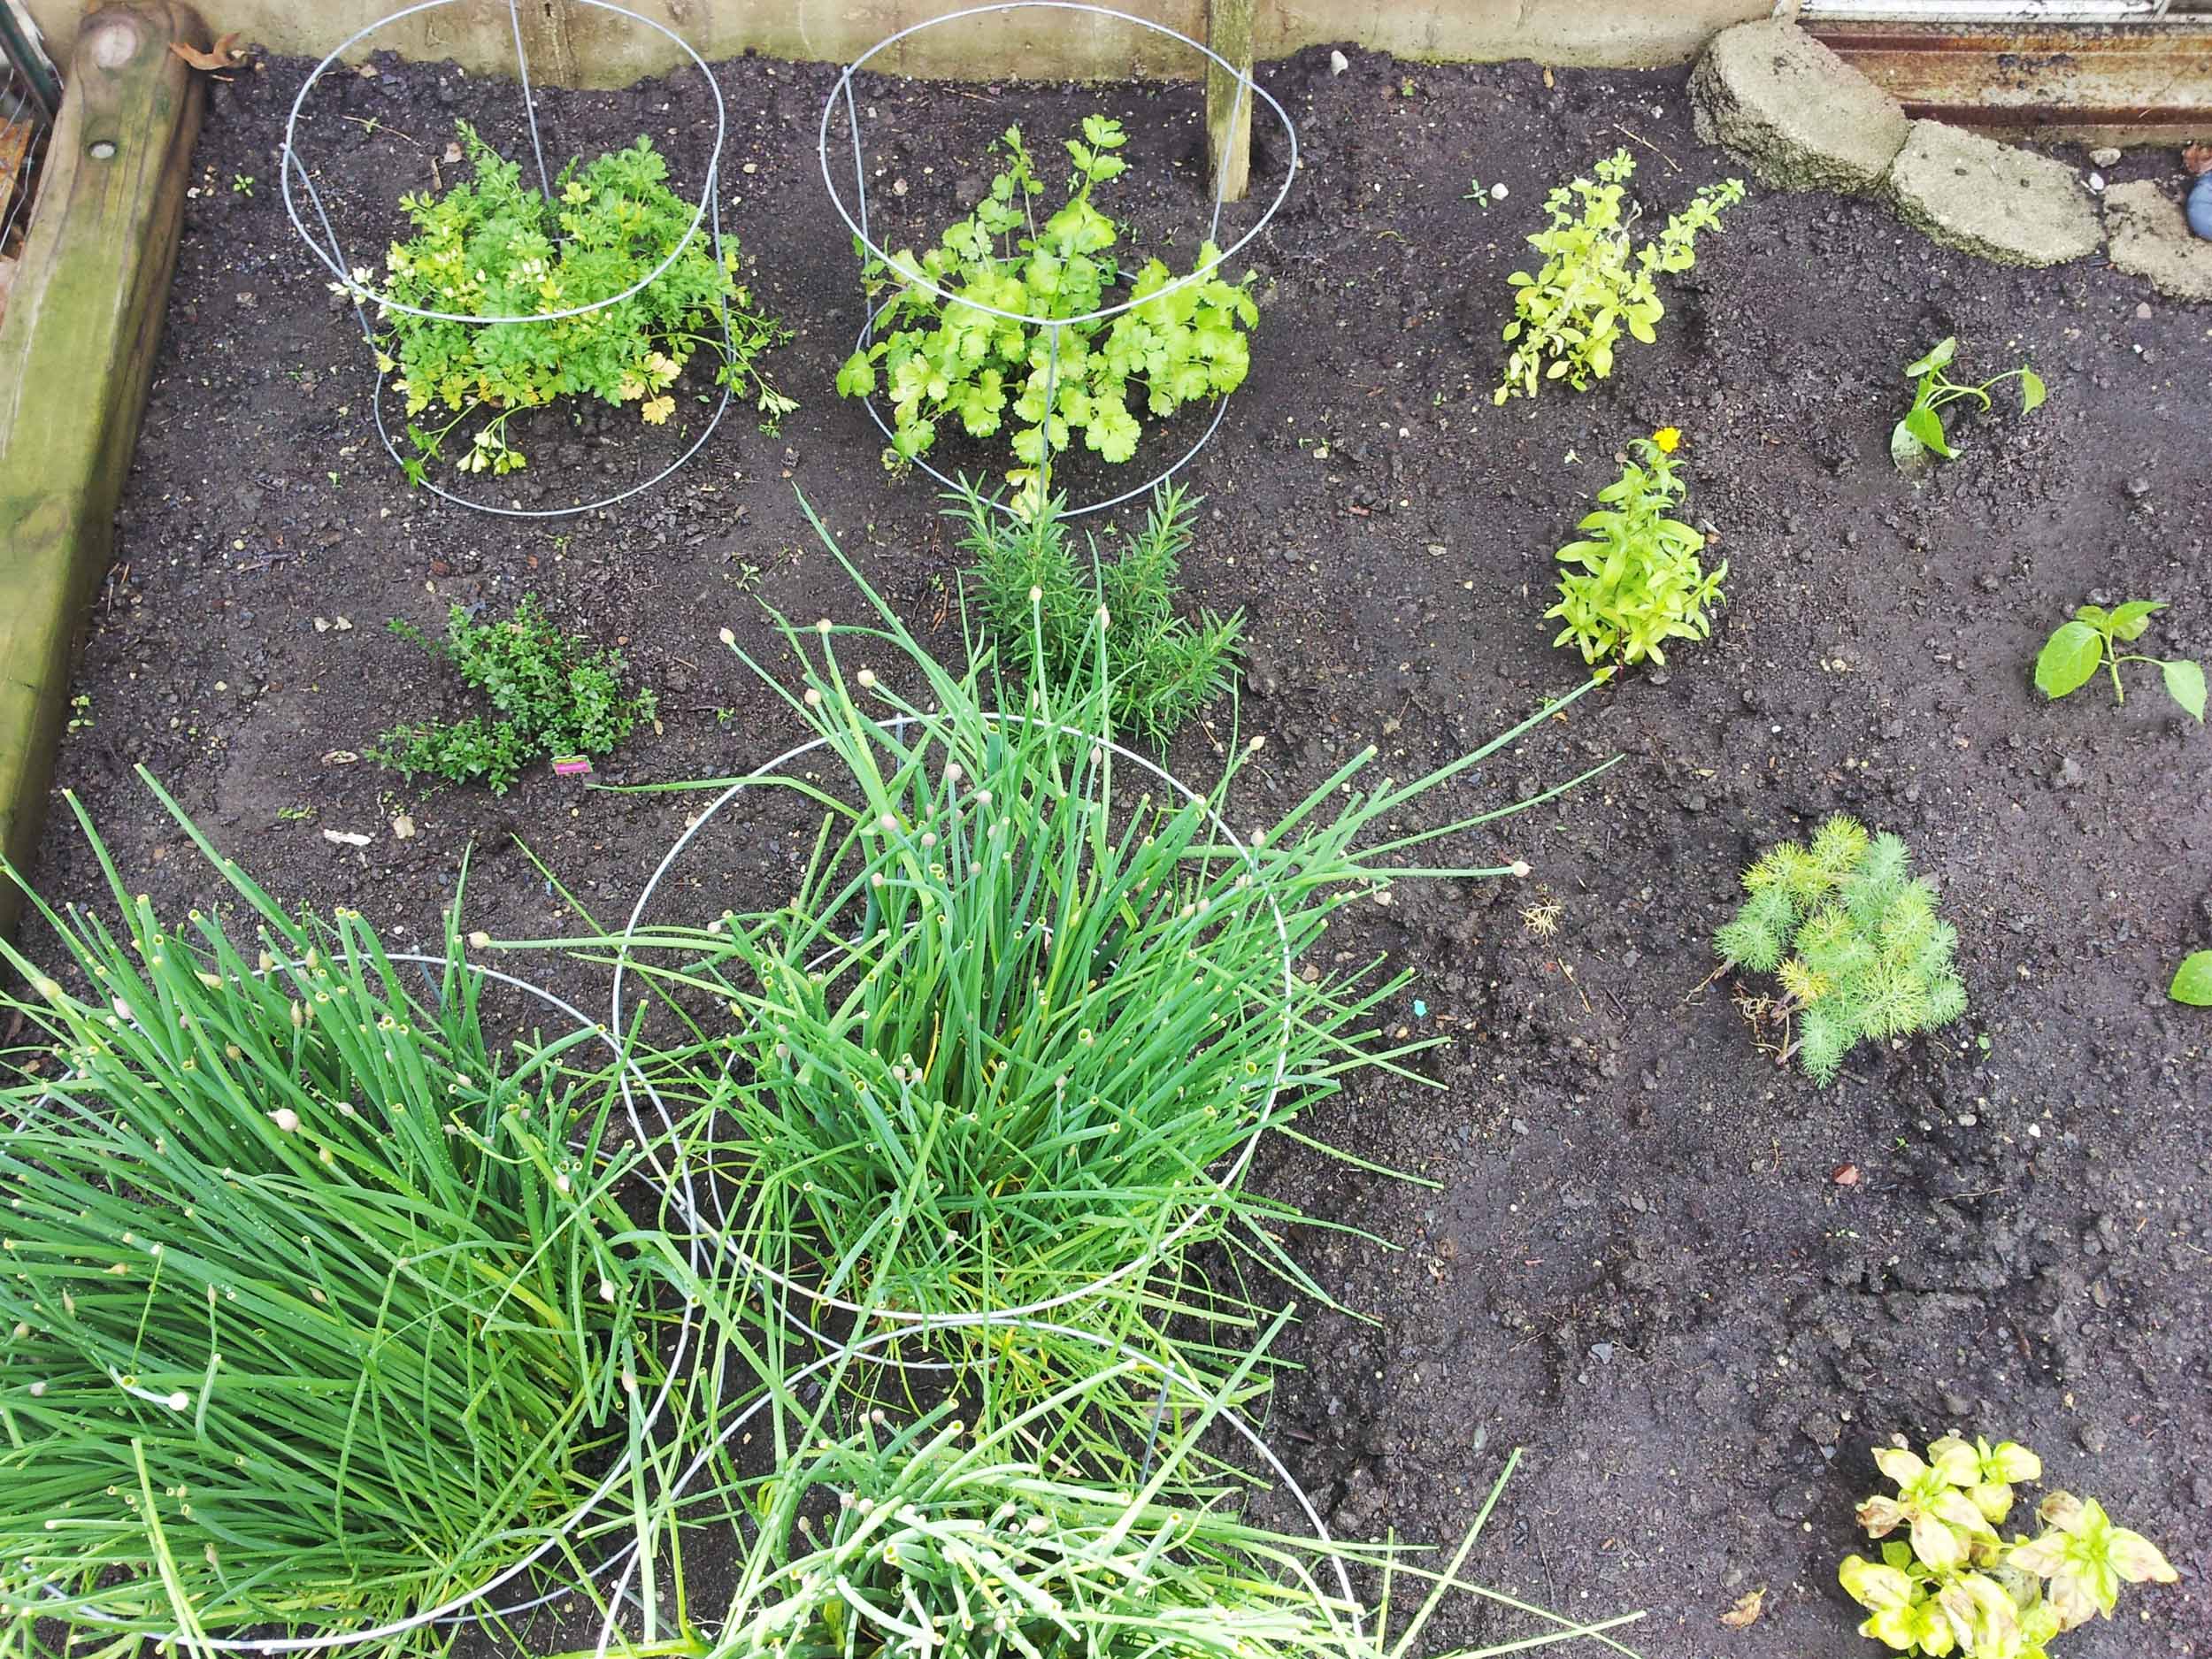
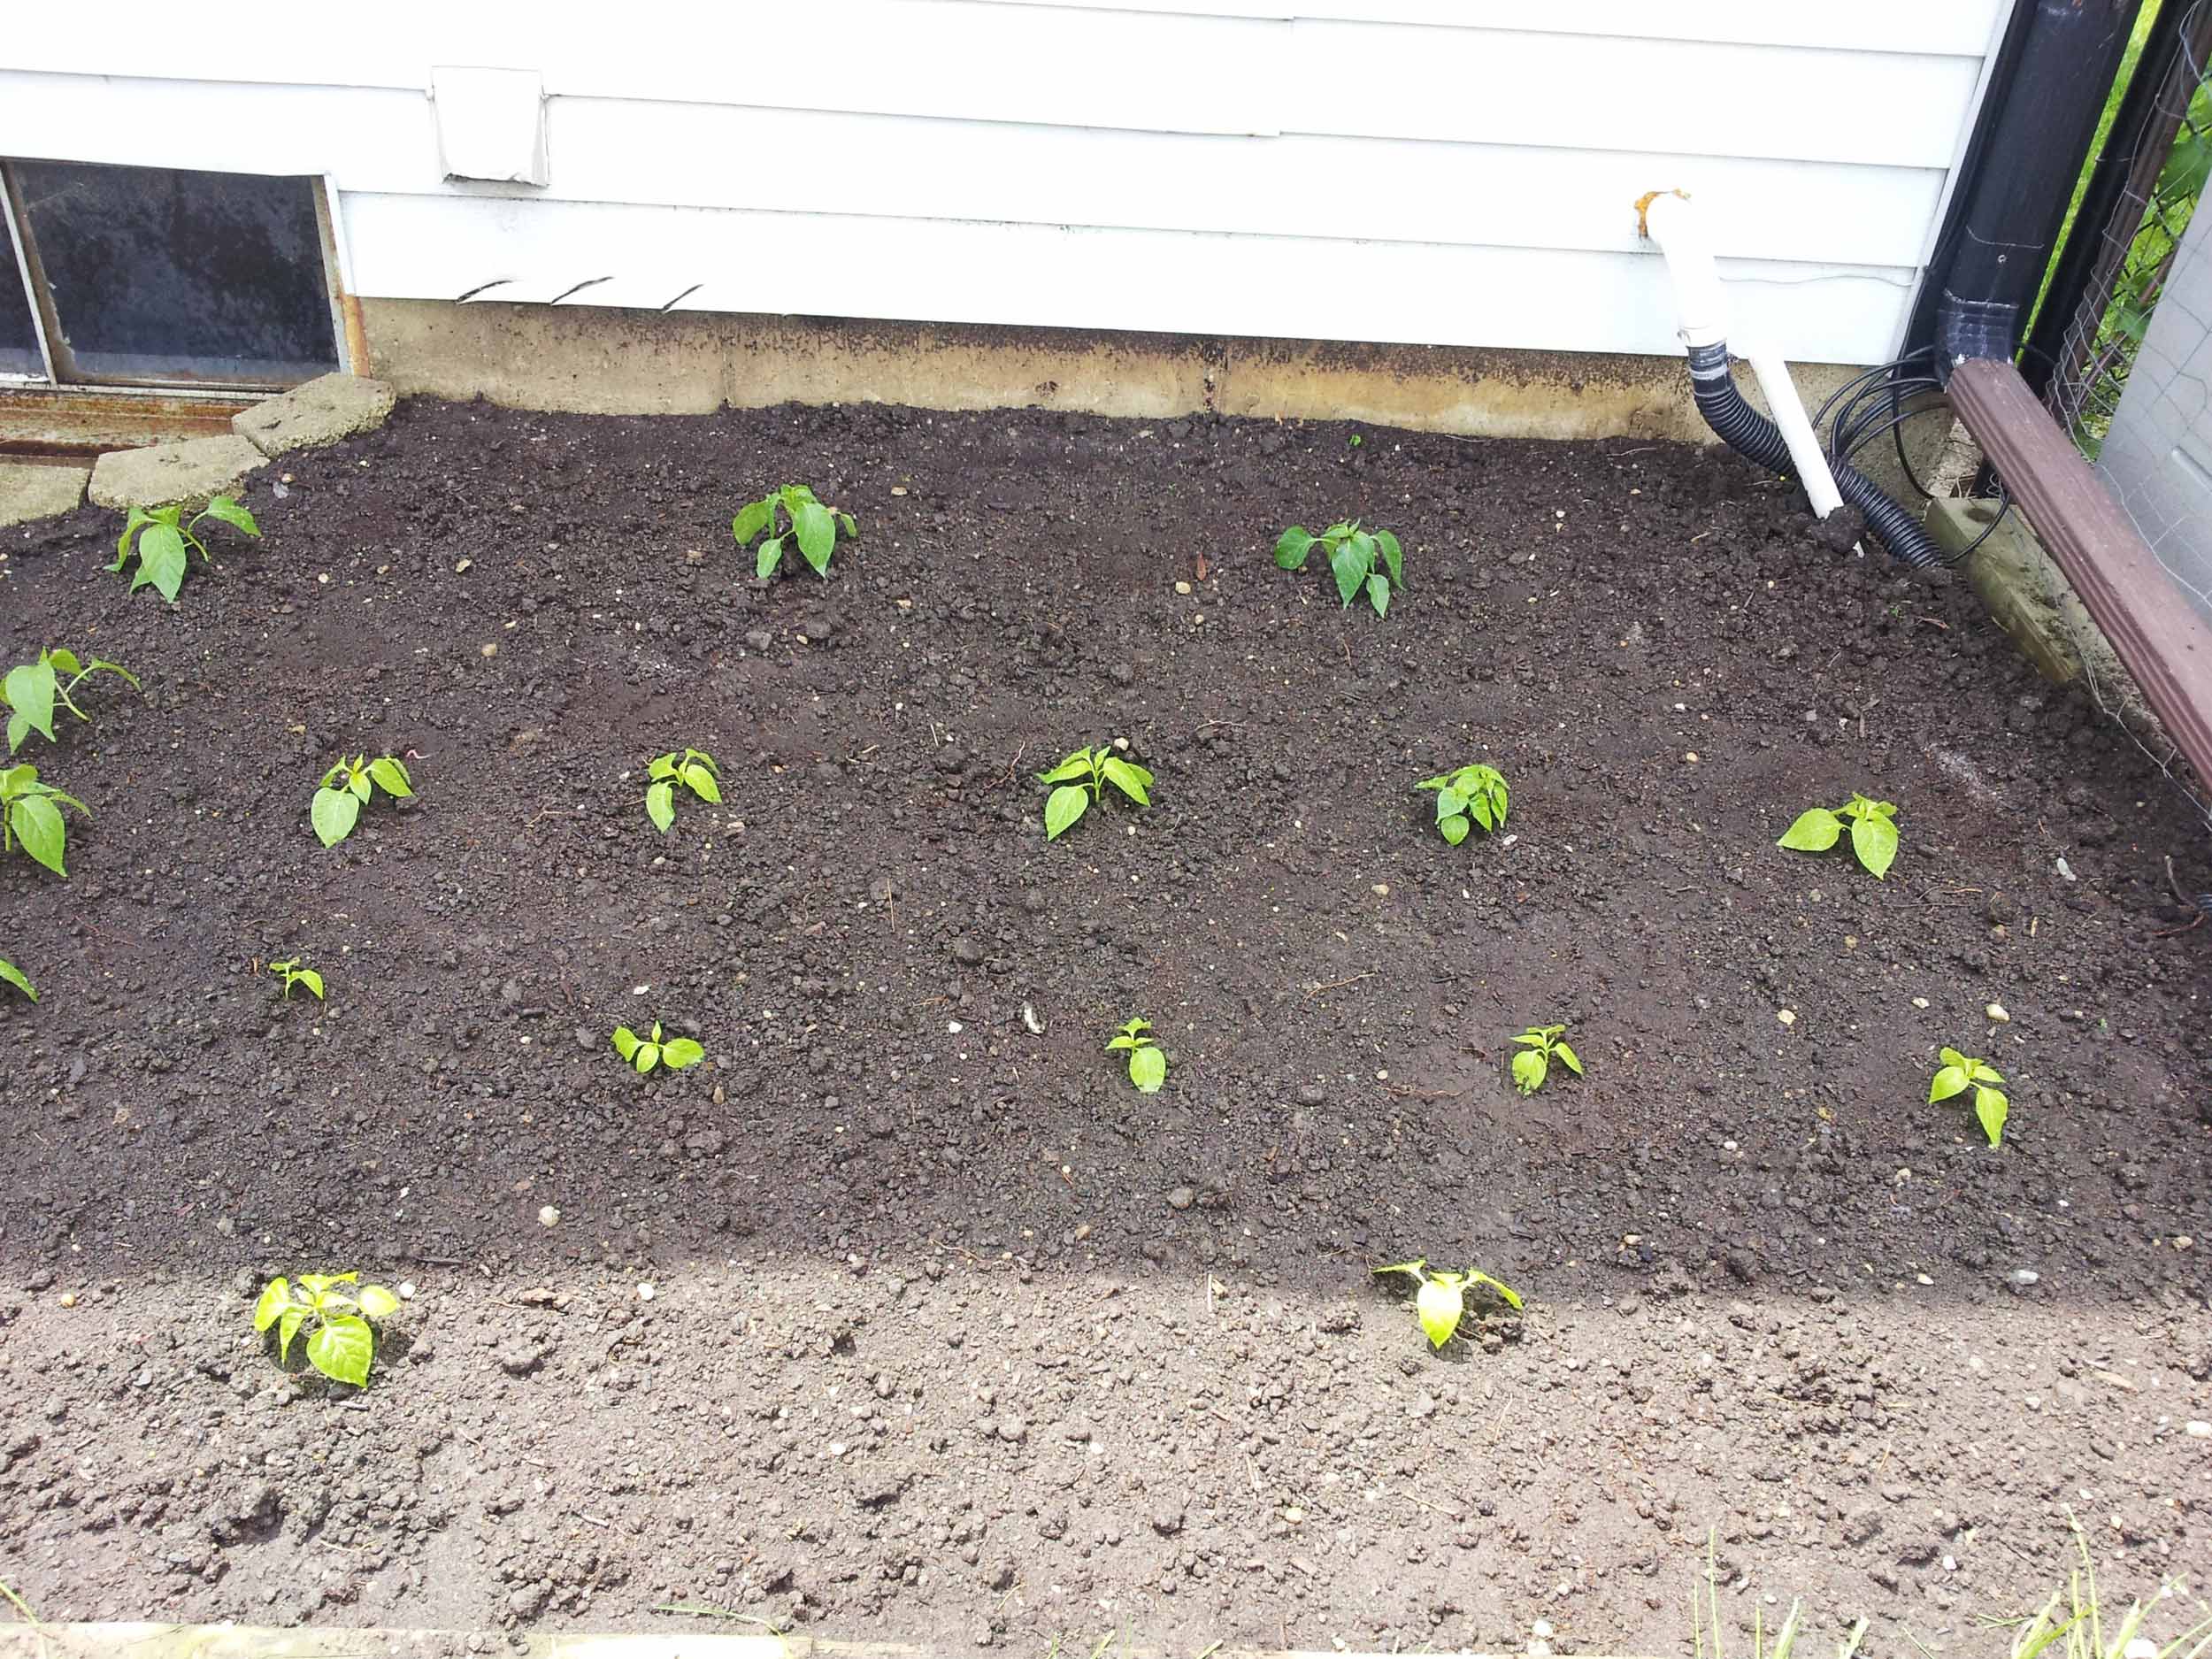
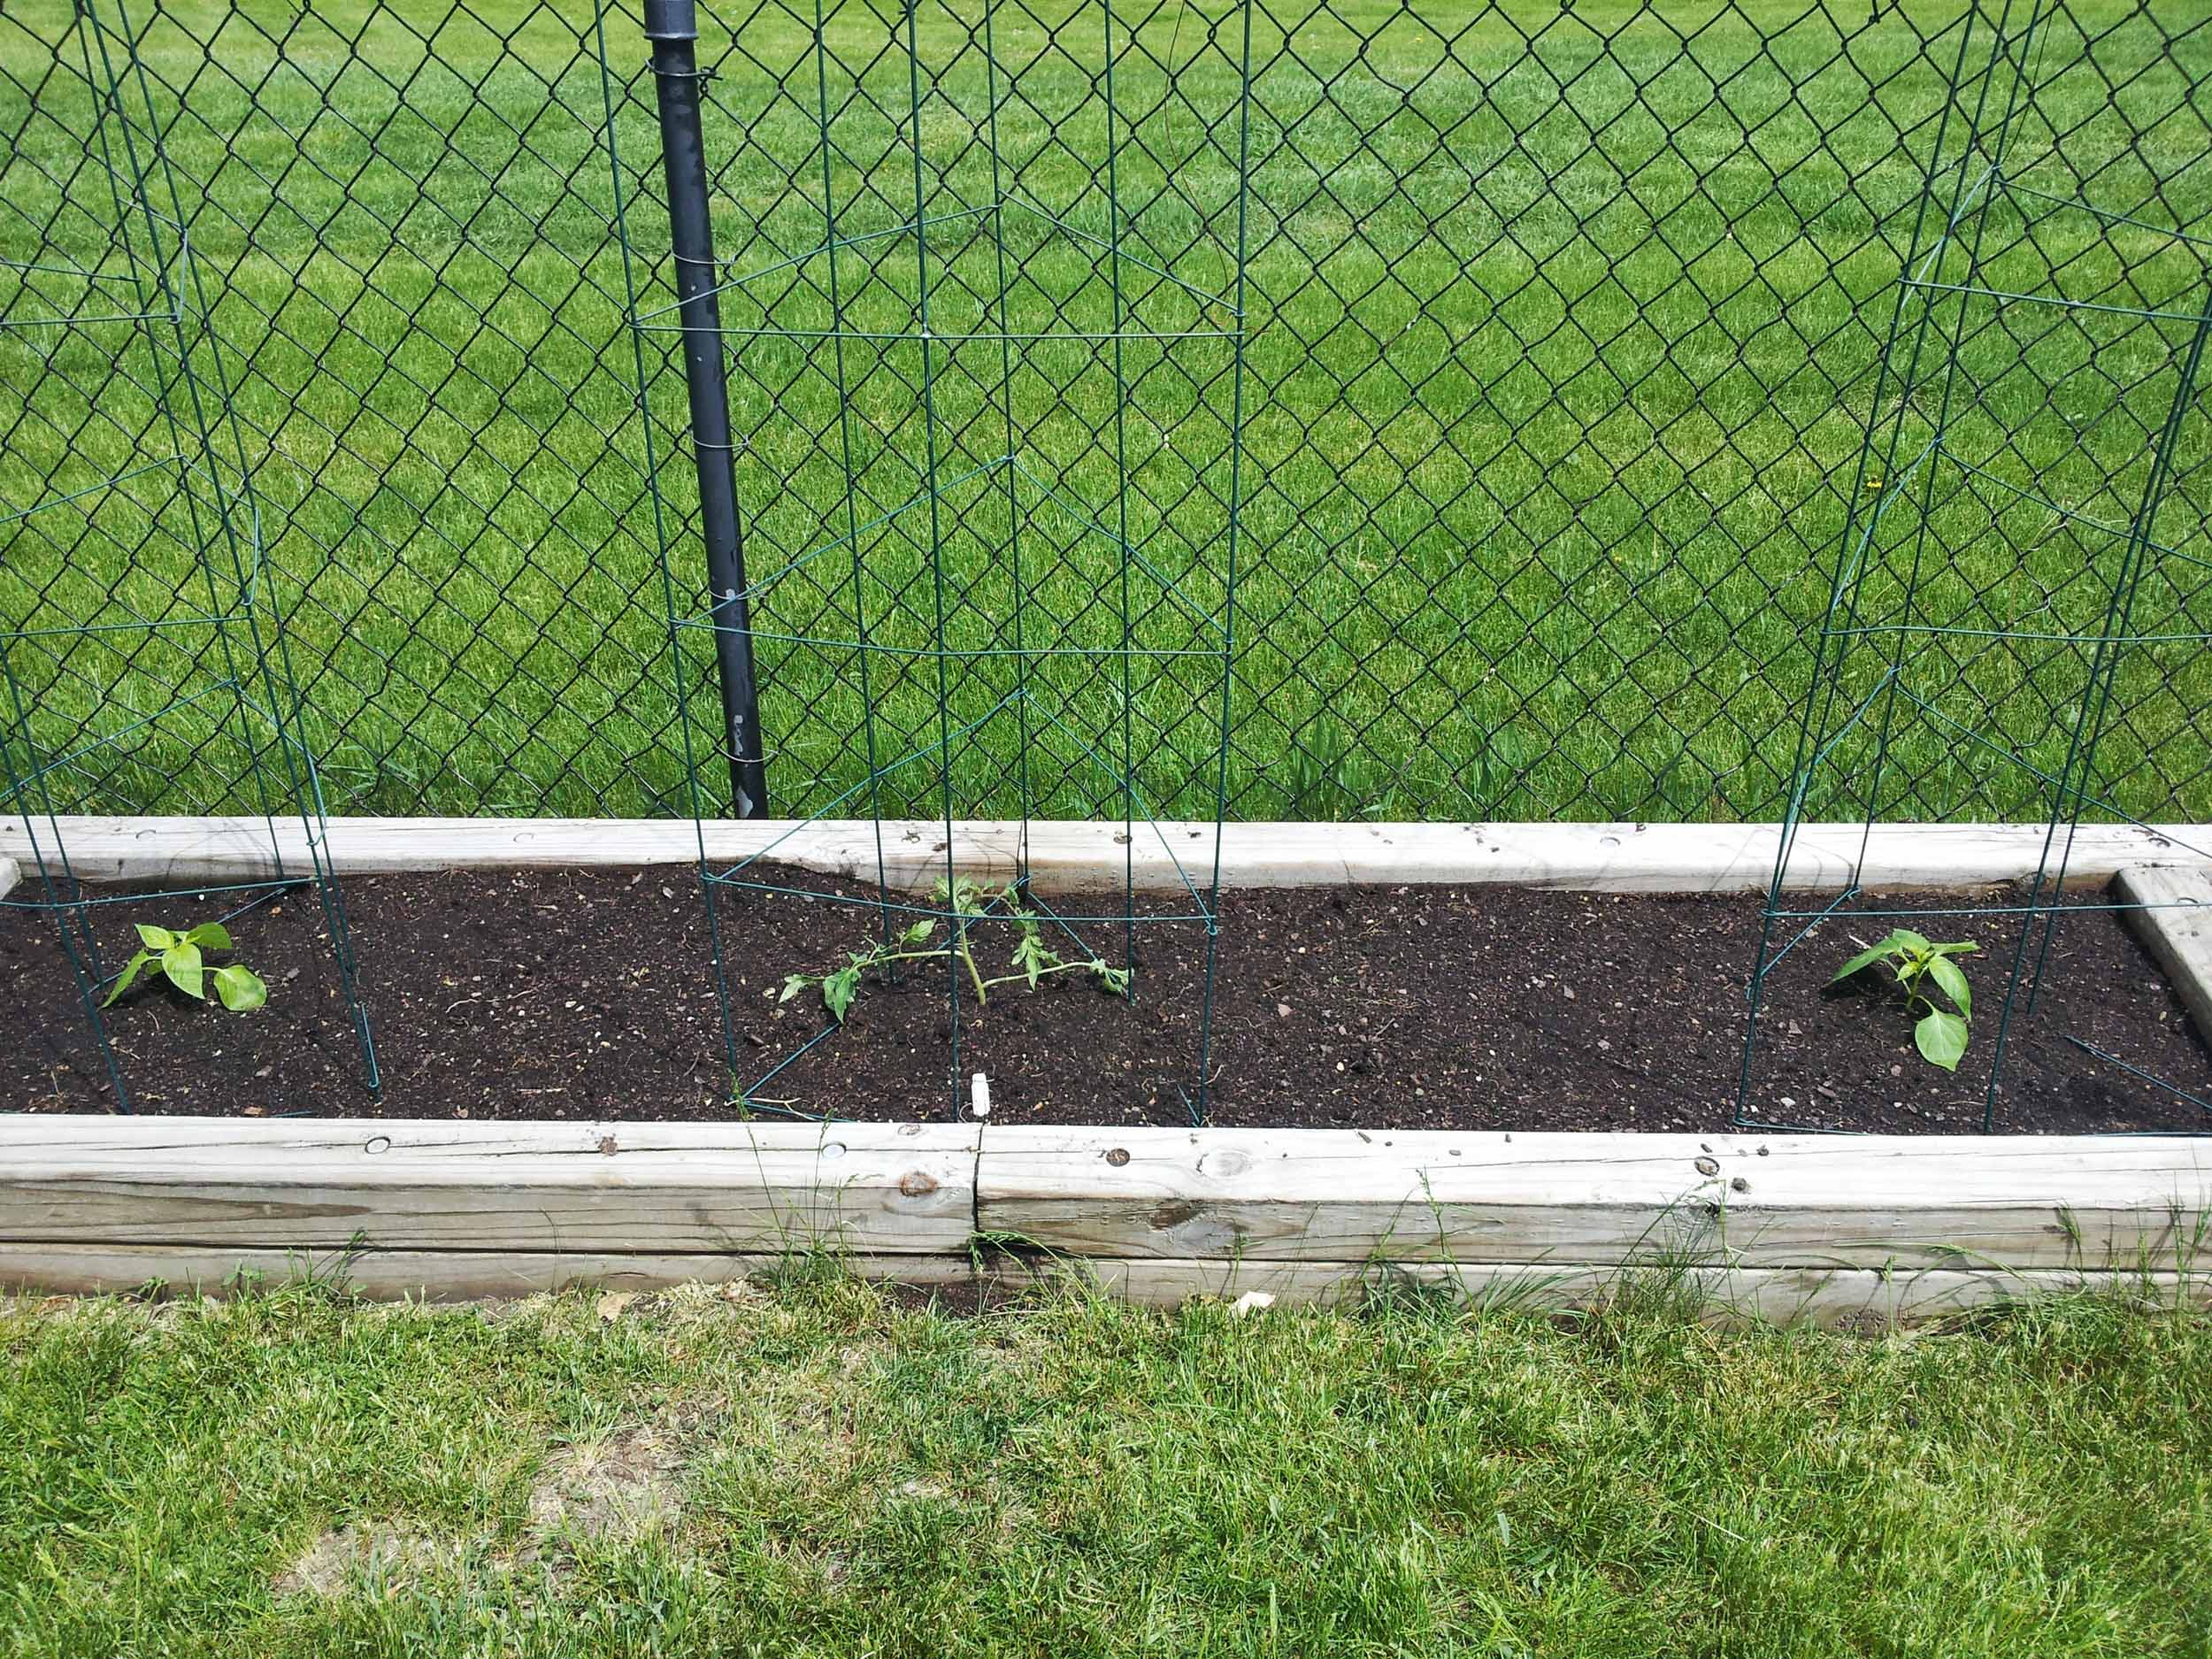
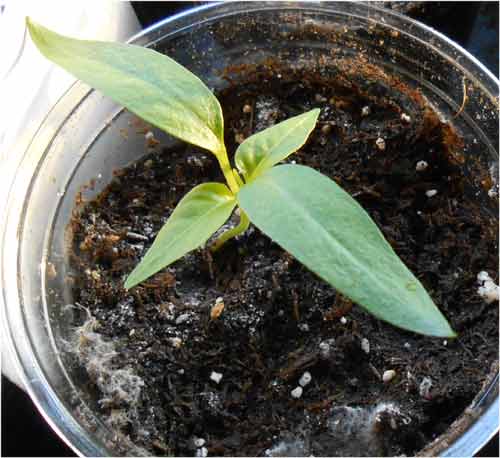
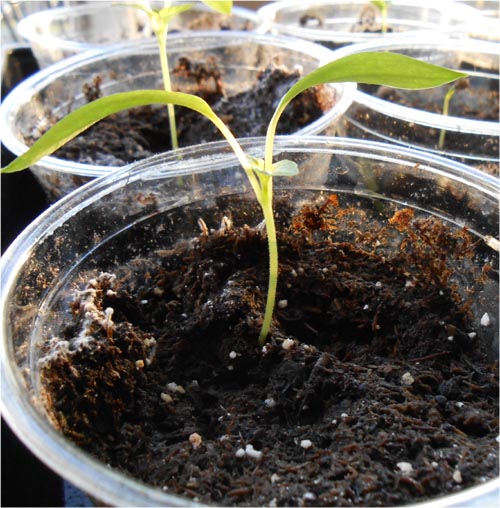
So far on my seedling count:
16 giant jalapeno seeds... 14 up
16 cubanelle seeds... 10 up
2 poblano seeds... 2 up
2 habanero seeds... 2 up